GT Arrowhead - For Fork Sake + Machining - PG13
Comments
-
After a decent "test" ride a while back in mixed conditions, i quite liked the bike. And i did 3+ hours with ease. So i have decided to continue using it to preserve the parts on my main bike.
I decided to give it a decent upgrade by swapping wheels with another bike. By doing this i have a muuuuch lighter set, a much nicer looking set, and an extra gear. And no stupid 15 spanner rear axle, which now means i can ride without the spanner in case of punctures. And i have now gone from single to double wall.
The old set was Alesa rims, and not sure of spokes and hubs.
The new set is:
Rear: Shimano FC-MC18 Hub on Zac 19 rims, and nice stainless steel spokes.
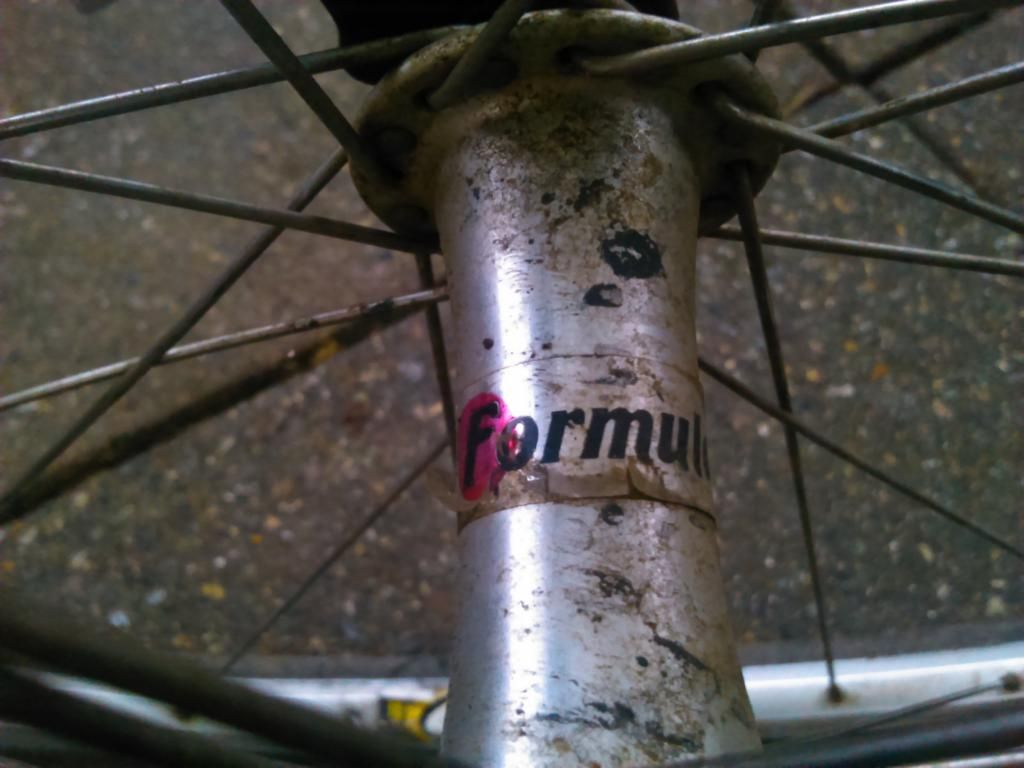
Front: Formula Hub on Zac 19 rims, and same spokes as rear.
Kept the Maxxis Beavers.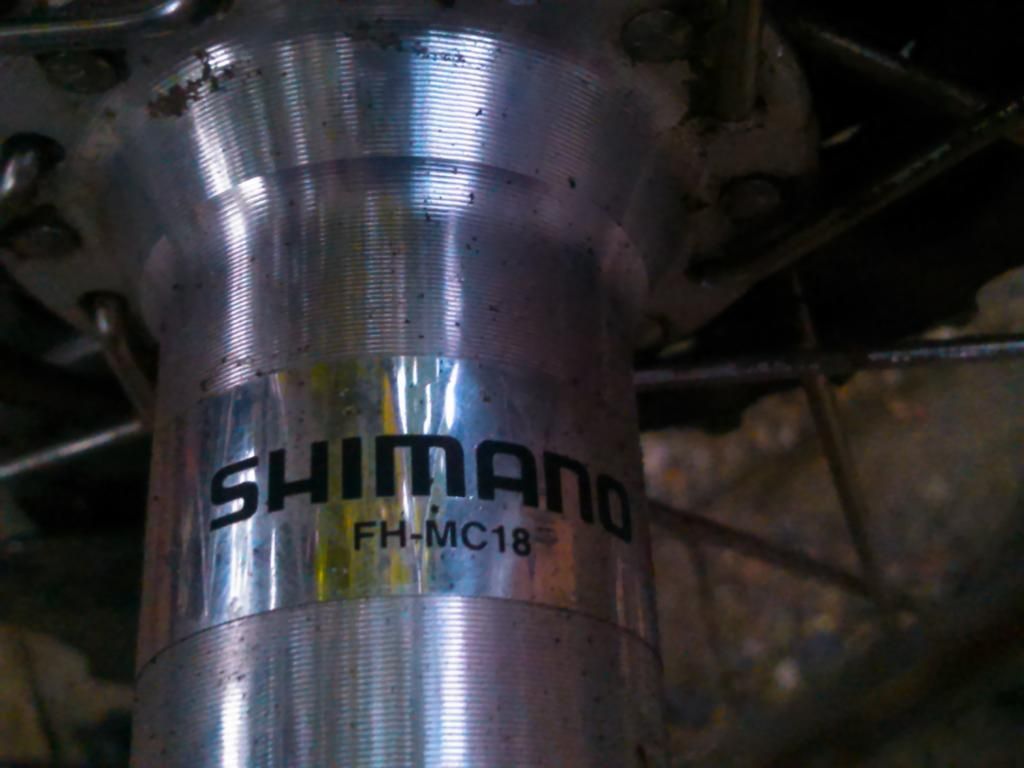
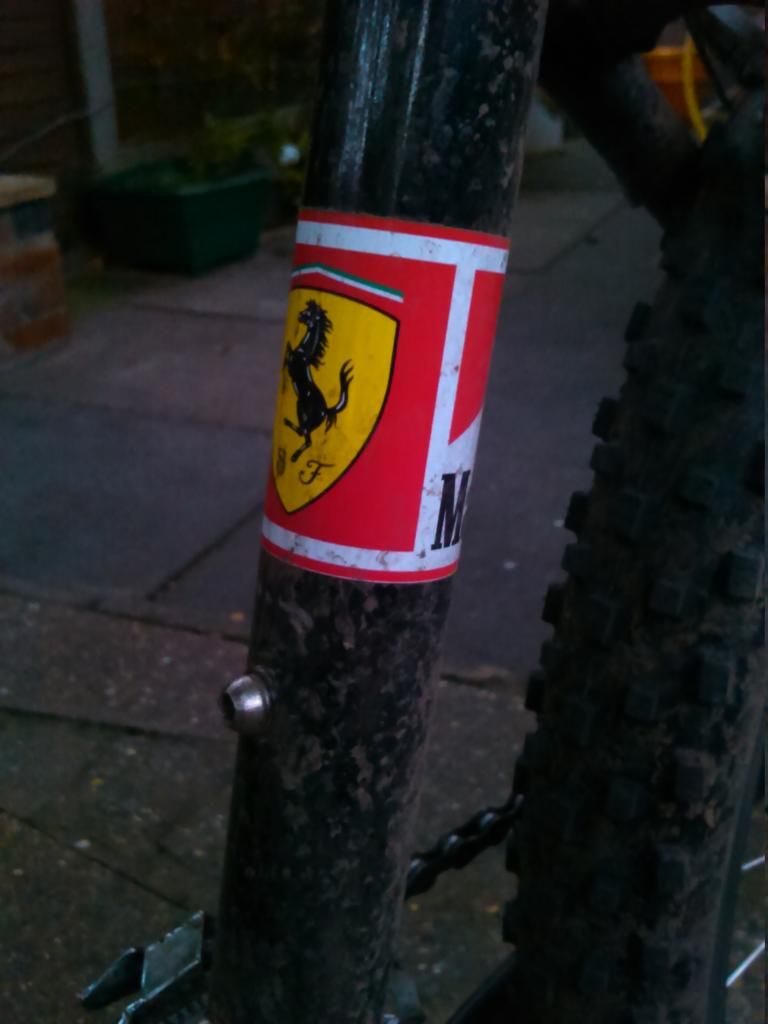
I also put a sort of seat tube Ferrari wrap around decal on. I gave it a go to see what it would look like. It fitted almost perfectly, leaving almost no gap, so i thought why not... I now have a Lotus headbage sticker, and a Ferrari sticker.
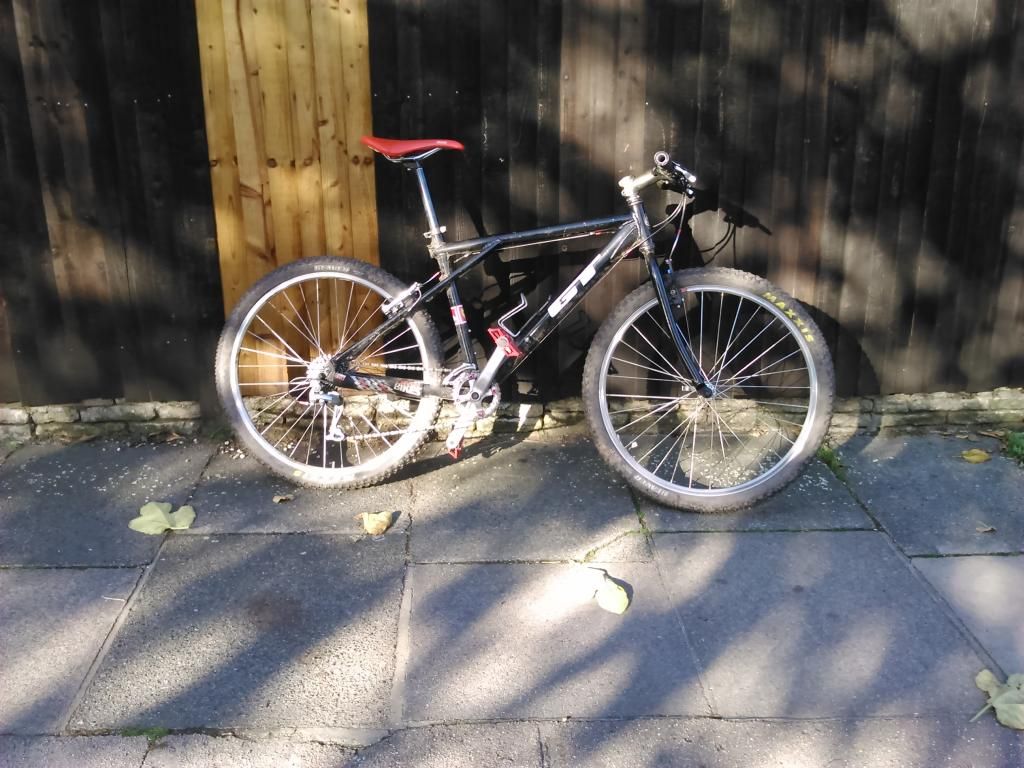
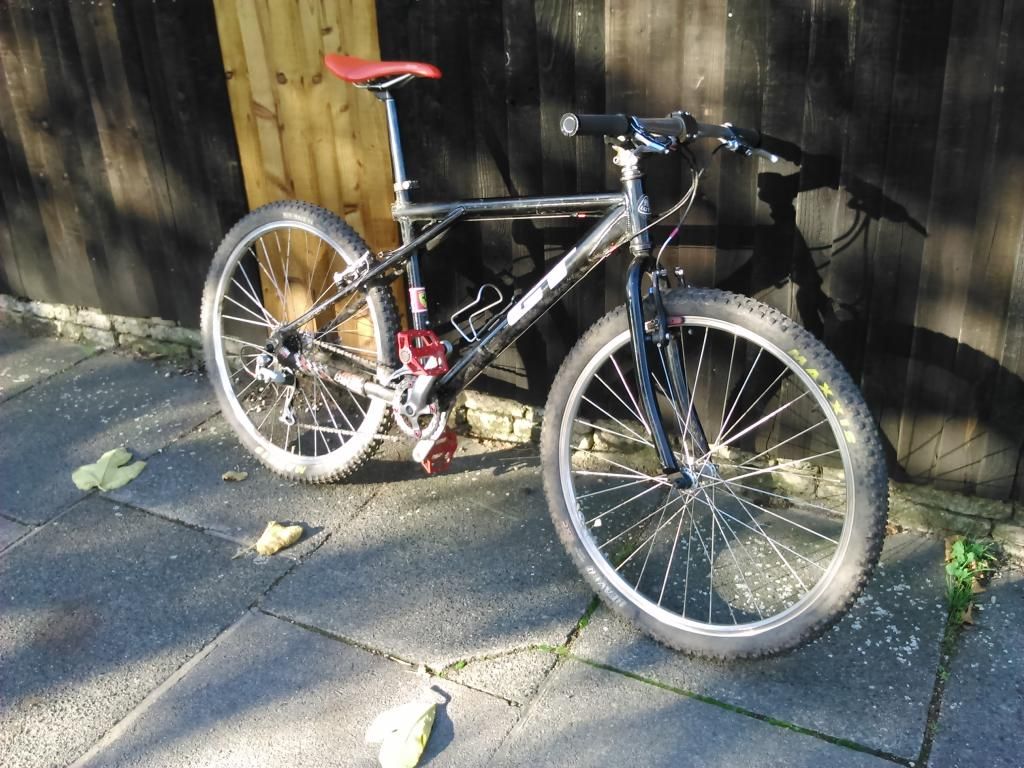
If i do do anything more to this bike, it will be in the pursuit of lightness, but other than that, i dont think i will purchase any new bits for it in the future. Certainly not the near future.
Only thing i would do is put a better set of v brakes on the front, which will come from the same bike that i swapped the wheels with.0 -
If there's a push bike that deserves a ferrari logo, its this one
 0
0 -
Looks cool. I've got an old Marin Pine Mountain from about 1990 in my garage which I keep meaning to dig out - this may just inspire me to do it!0
-
Pesky Jones wrote:If there's a push bike that deserves a ferrari logo, its this one

Yes, obviously. After all it is the most luxurious, fastest, iconic and most desirable individual bicycle on earth. :PArthur Scrimshaw wrote:Looks cool. I've got an old Marin Pine Mountain from about 1990 in my garage which I keep meaning to dig out - this may just inspire me to do it!
Cheers. You should, its always good to mix it up a bit by having both the new and old. 0
0 -
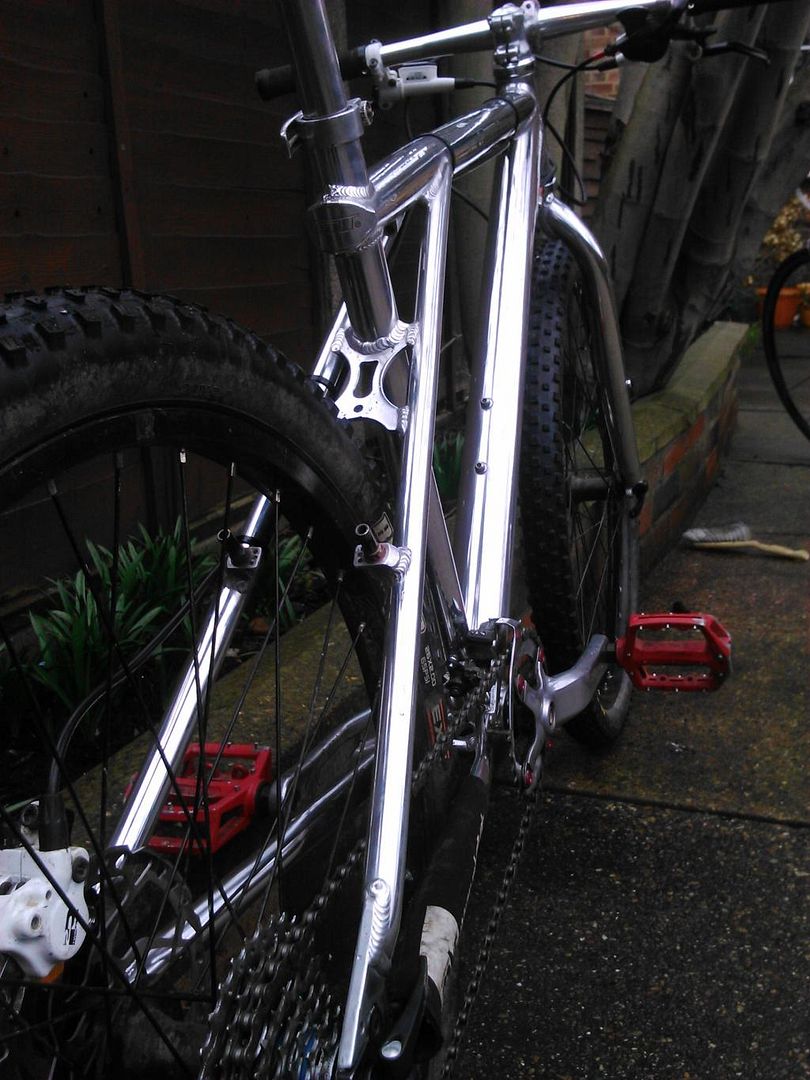
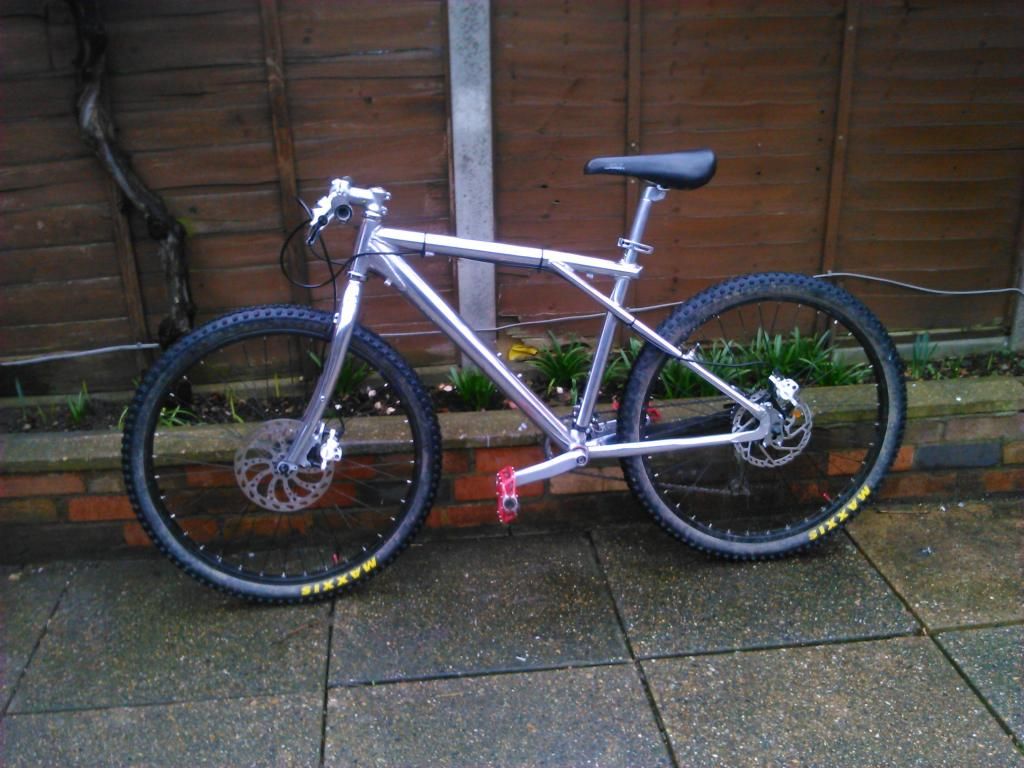
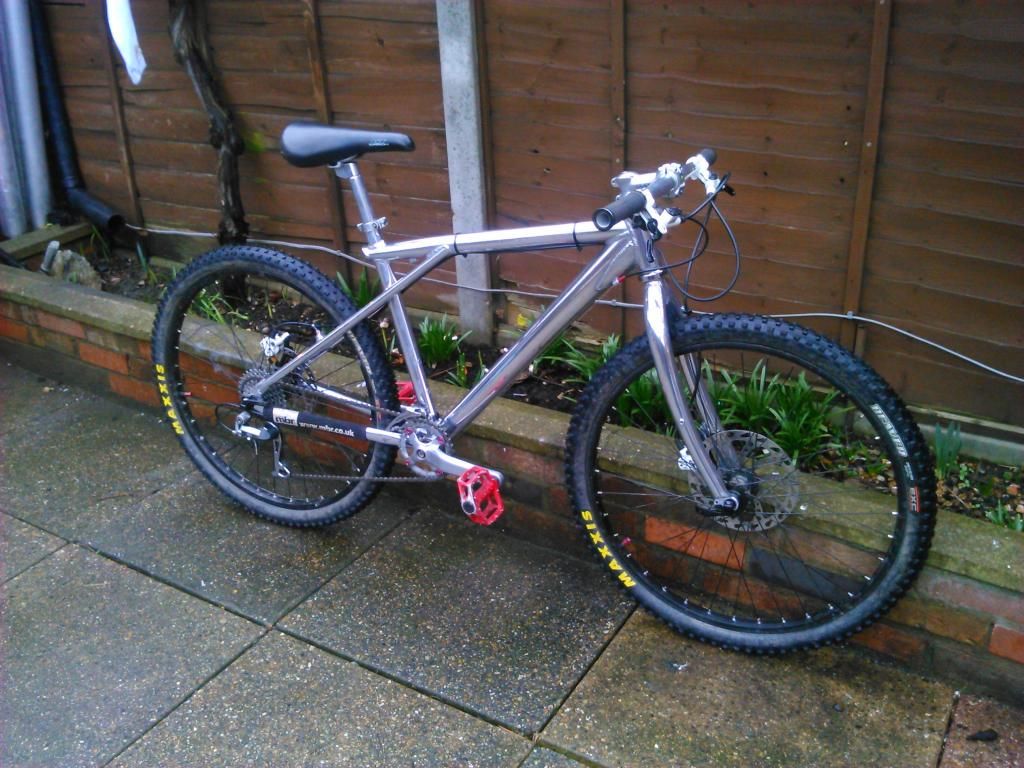
Yes, i have done it yet again! A complete rebuild. But this time i think i have done it better than the rest. A huge upgrade in both the performance and looks departments.
Well the bike handled brilliantly before, and i really enjoyed riding it. And i took it out for one really muddy ride and after 3-4 hours it had managed to seriously eat away at the braking surface of the rims and take the pads back very nearly to the metal. Clearly, having V brakes and riding in the mud just wasnt going to work it in the long term. By looking at the amount of wear on the braking surface, it looked like another ride (maybe 2) and there would literally be no braking surface at all. And id be needing a new set of pads after every ride.
So what i decided i would do was to convert the bike to disc brakes, which would be relatively cheap, and would open up the option to upgrade frames in the distant future, as the only thing that would have made it difficult to was the fact that i only owned 1 set of hydraulic disc brakes, so id be having to get a set if i wanted to upgrade to a disc frame.
And as for the polishing, i dont really know what made me go for the polished frame to be honest. Well ive always wanted to have a polished frame at some point, but it does require a monumental amount of time to acheive completely if you want it done completely by hand (which is exactly what i did).
So i took it all apart and i used a gel paint stripper to get rid of the majority of the black spray can paint: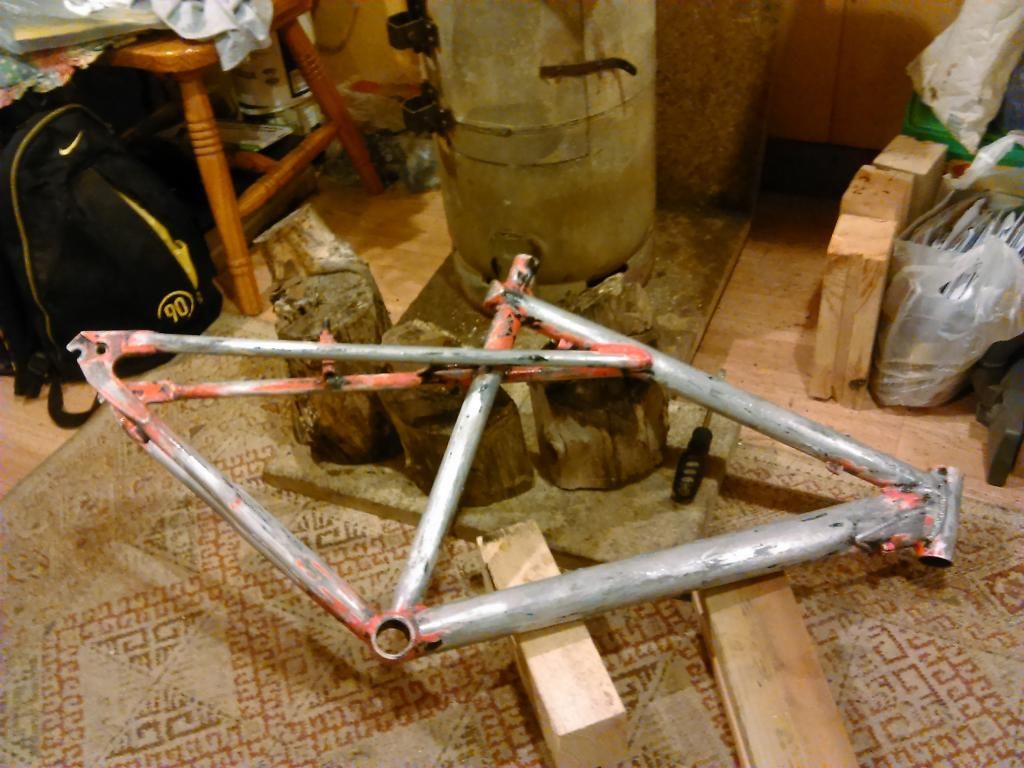
And that was only the easiest part. After this point, it was incredibly tedious and boring to take all the paint off. I wondered many times whether i had made a big mistake going for a polished finish. It really was a mission.
I spent many hours with P150 sandpaper getting the paint off. After i had removed the easy to get to parts, i gave up on the sandpaper. I now had the dodgey bits + all of the welds to deal with. My weapons of choice were a wire brush designed for using in plumbing and blow torch. I heated the paint for a few seconds, and attacked it with the wire wool, which worked pretty well. I also used 2 wire wool attachments on my dremel (or as Silverline called it, the "hobby tool" lol) to finish up the welds.
After all of the paint removal had finished (thank fffffffffffffk for that, never again am i stripping a frame!) it was time for the next stage: Wet sanding down the frame with different grades of sandpaper. I did it in this order (P150, P500, P100, P2000) This was alot more enjoyable, but still a pain in the arse, as i was doing it while it was 2-3 degrees. I used hot water ofcourse, which made things better. And fast forwards another 4-5 hours, and i had finally got it down to p2000 standard, and ready to be polished.
I used nothing more than T-Cut and 2 rags (one to apply and one to remove) to do the polishing. And i was really chuffed with the results: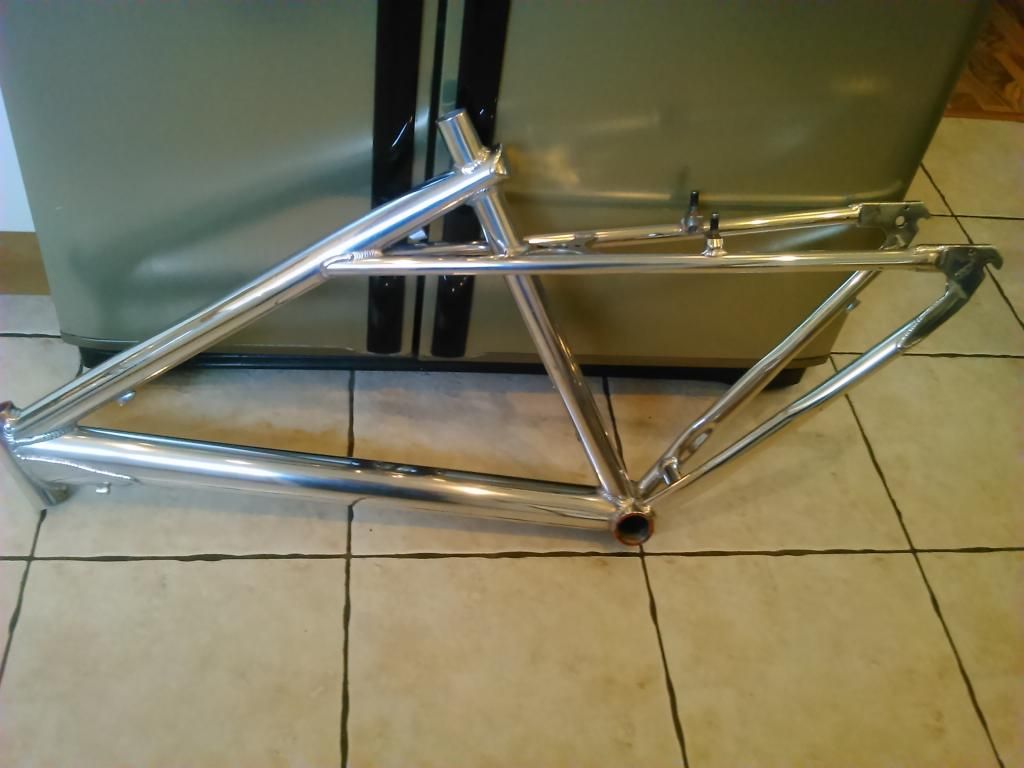
So, now the frame was ready to roll, i put it aside and switched my focus over to the fork and finishing kit, which i also decided to strip down completely and polish up. The fork was painted, so 3 rounds of gel paint stripper and that was all ready for sanding, and the rest of the stuff was anodized, so i used some Oven Pride oven cleaner for it, which worked wonders. So powerful it also made a bald patch on the bottom of my forearm!
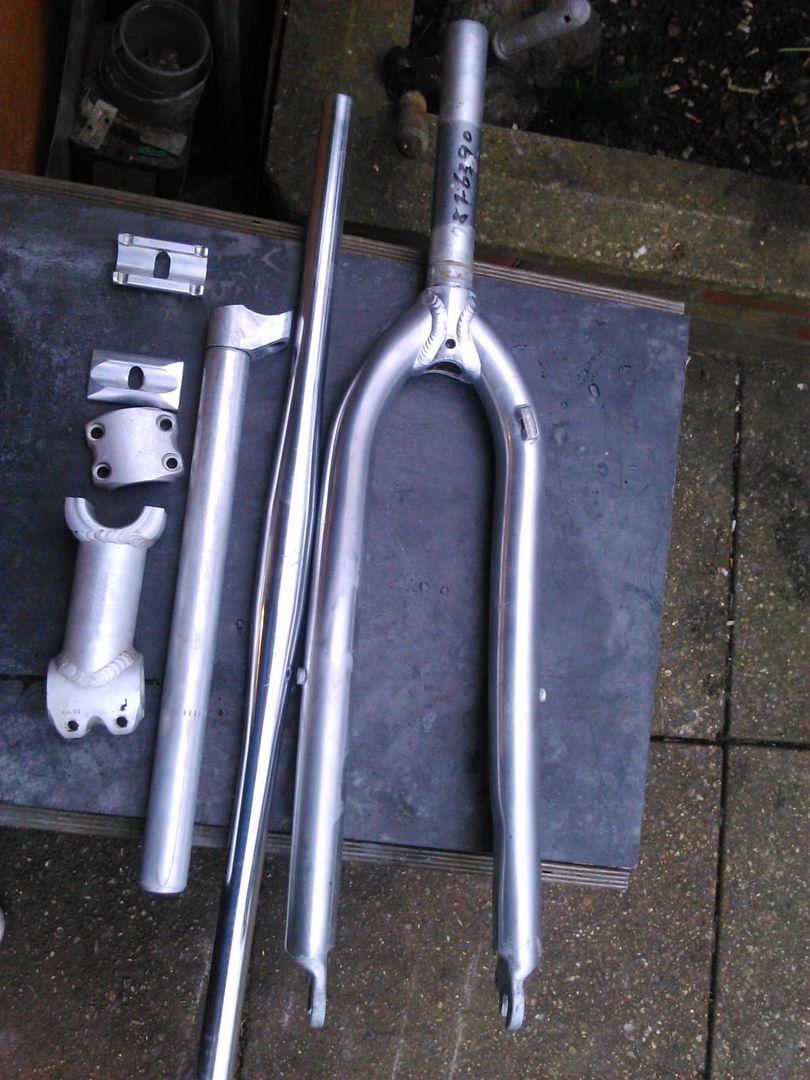
The anodizing was all removed, so onwards it was to sanding and polishing. Fast forward another load of hours, and i had FIIIIIIIINALLY got the bike to the point where it was ready to build. (But i had to re-do my rear axle on my wheel as it wouldnt fit with my A2Z brake disc adapter).
The cranks were also anodized, but i stripped them down in the summer.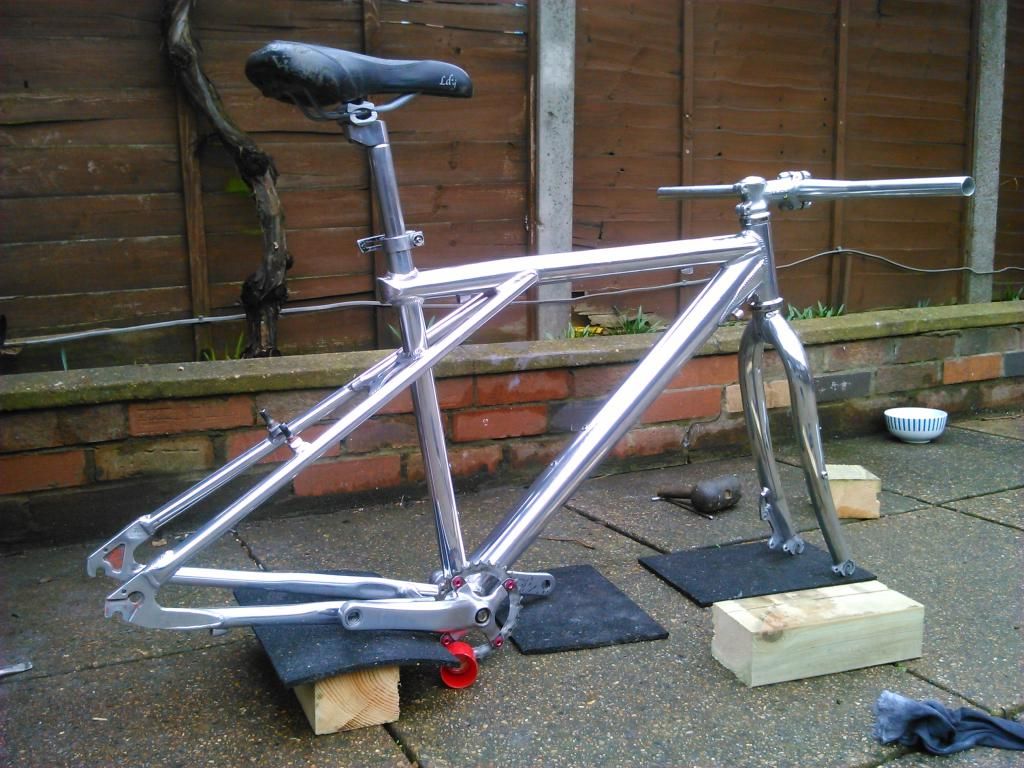
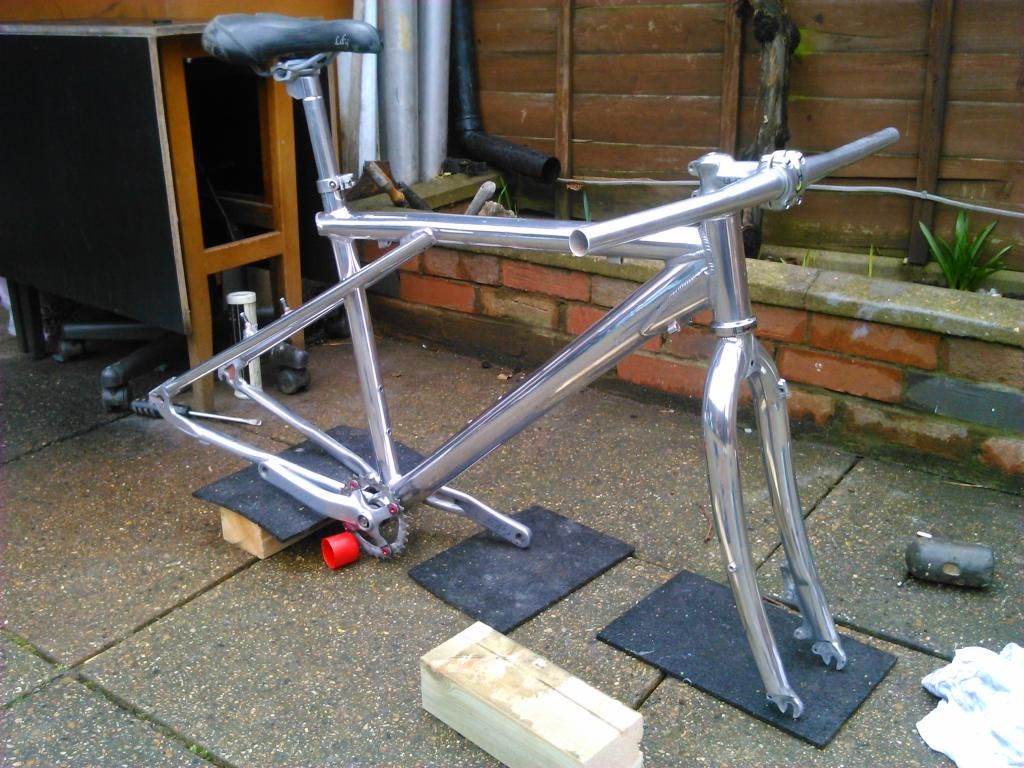
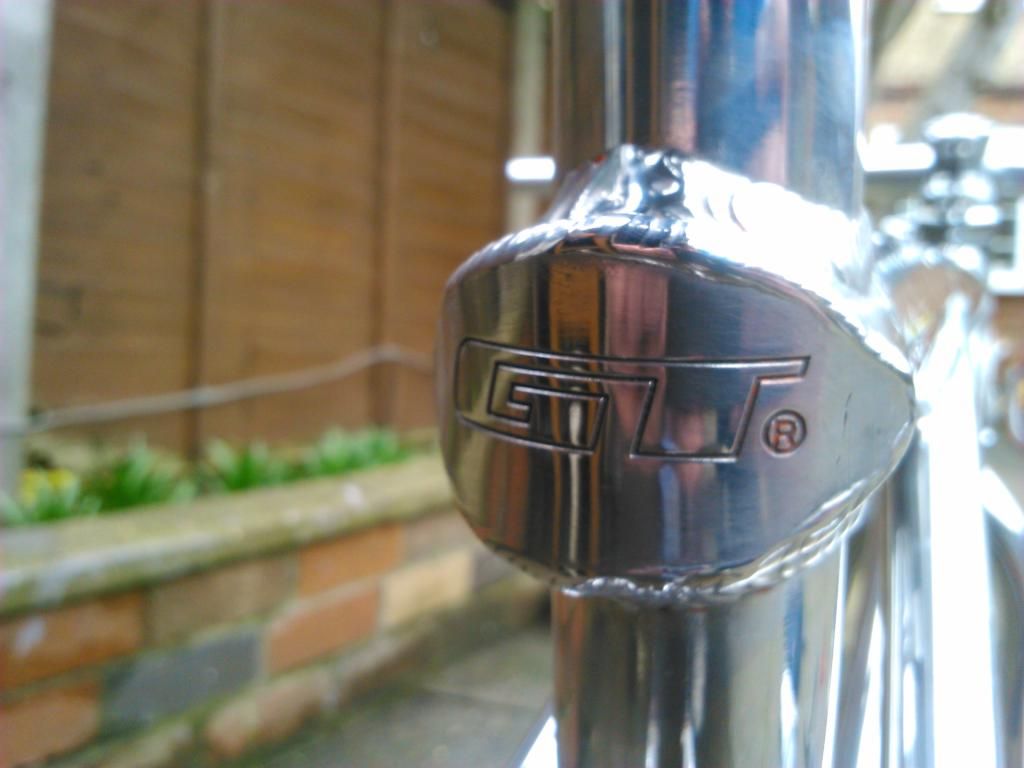
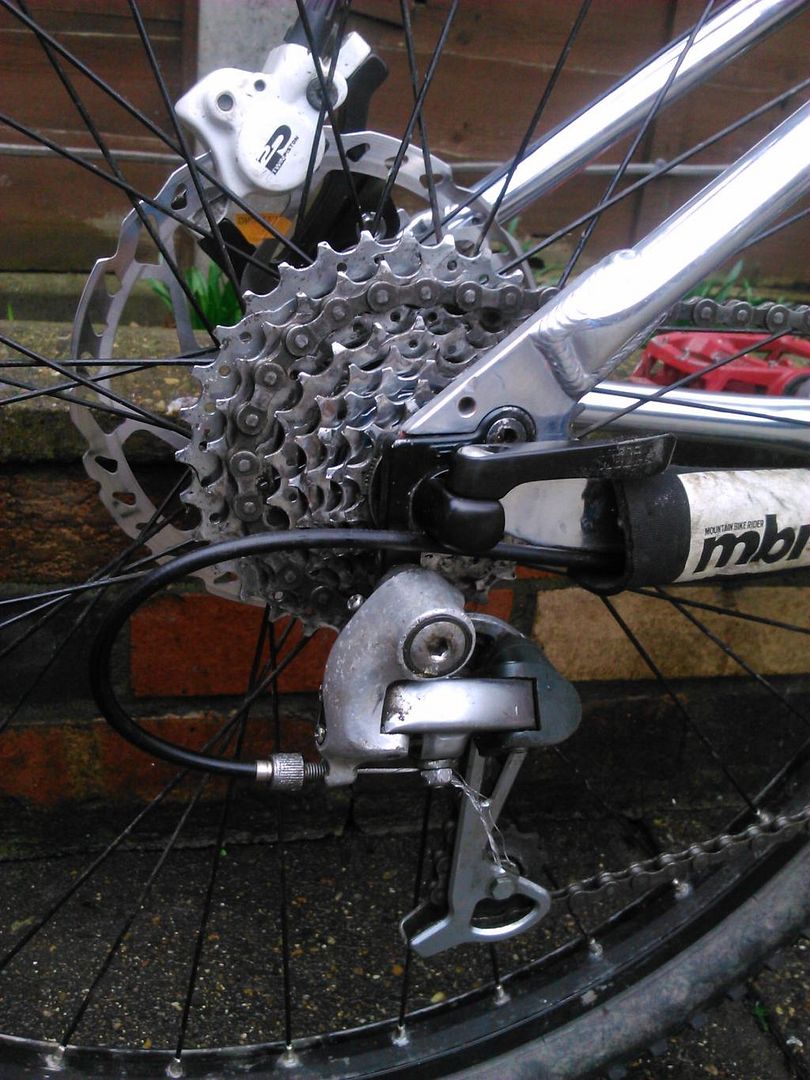
And it was fairly plain sailing from then on to getting the bike completed. Just a rebuild, and luckily everything went on easily and i didnt encounter any issues with the assembling. Happy that my adapter worked with my Tektro Auriga brakes. But i changed my cassette to an 8 speed with larger rings, and my chain isnt getting on with it unfortunately, so a new chain it is
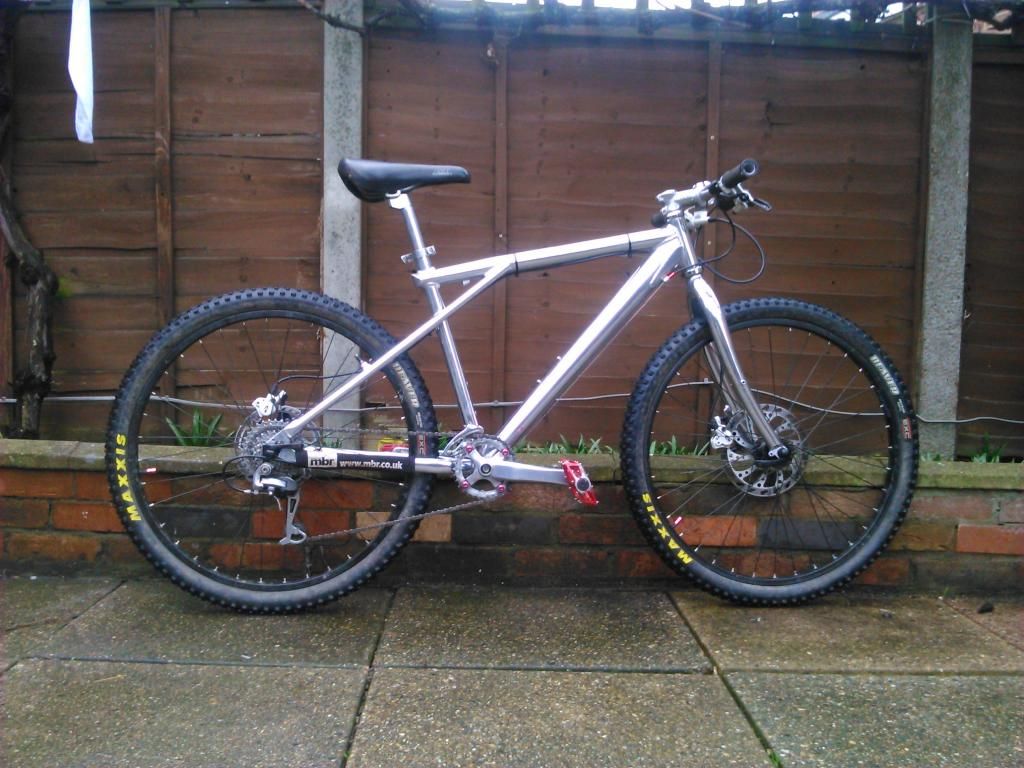
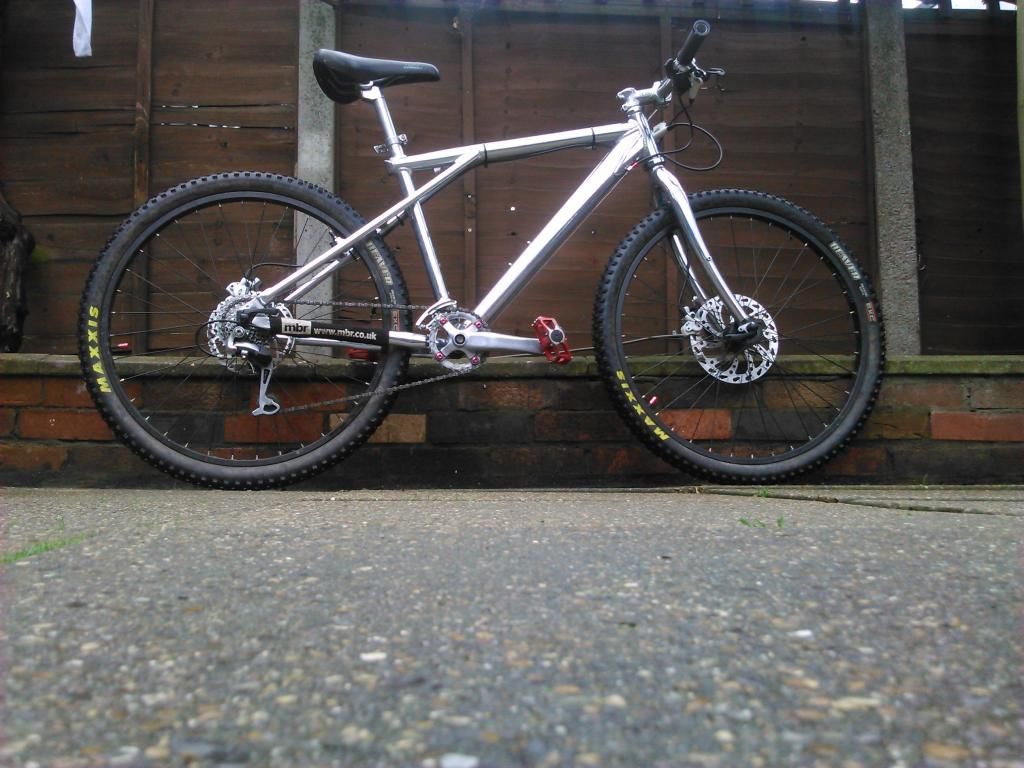
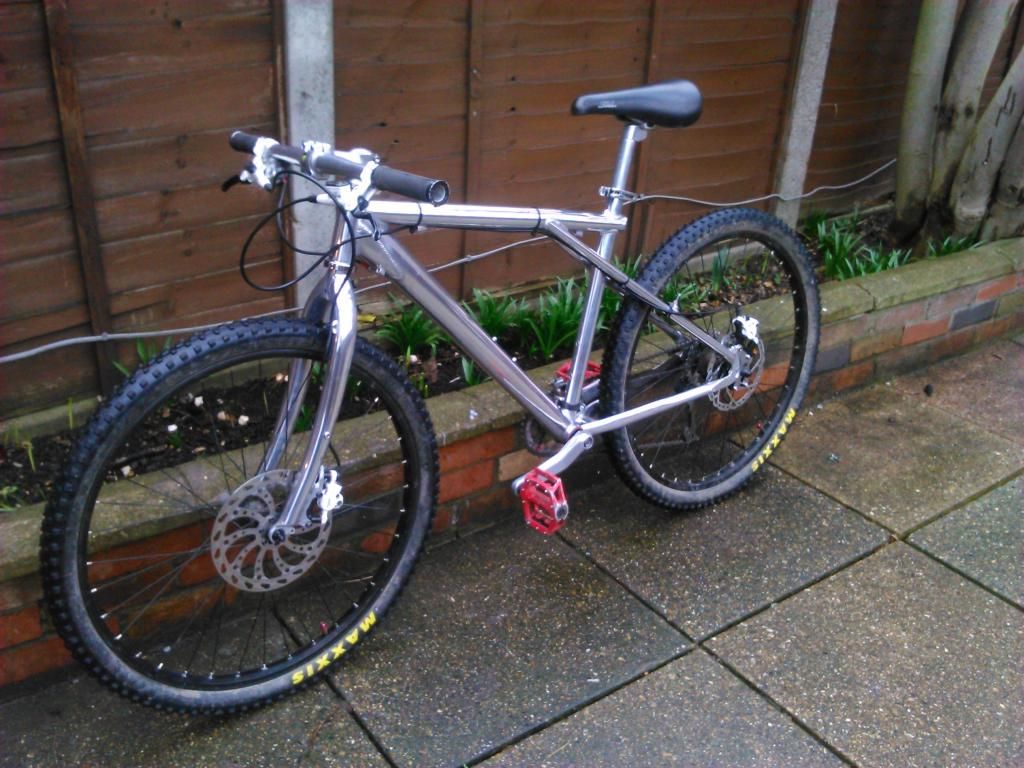
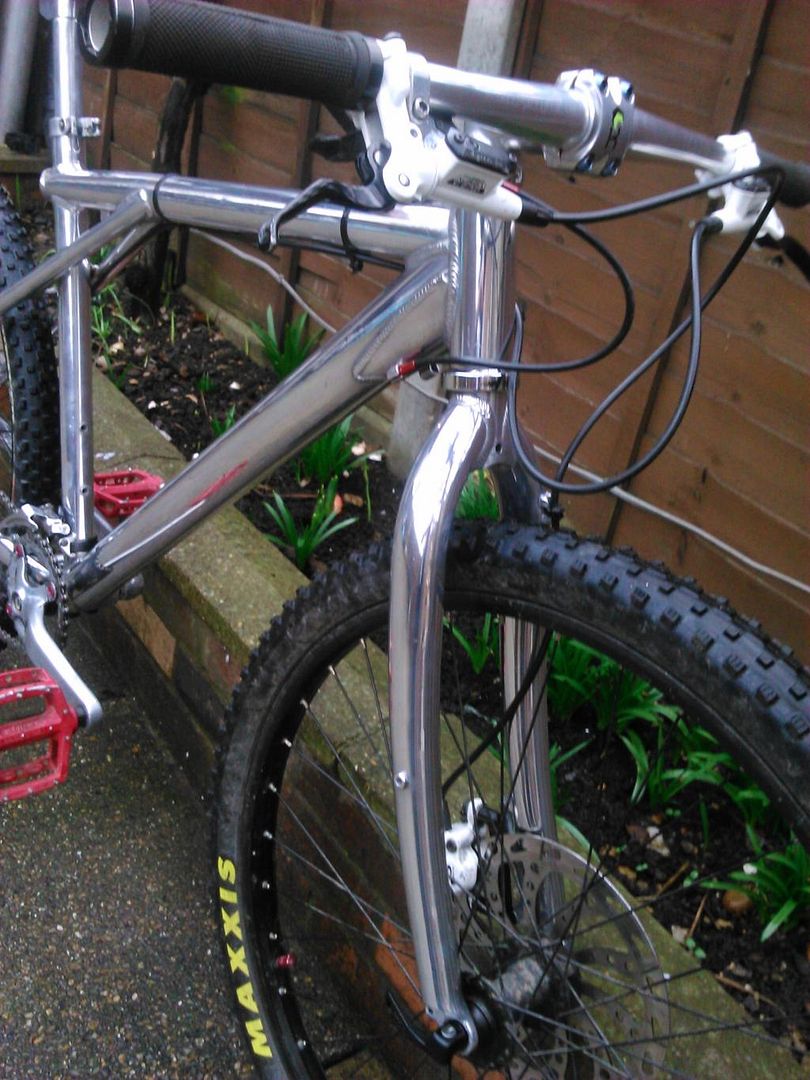
I dont think it looks bad, i think it was well worth my many many many hours of work.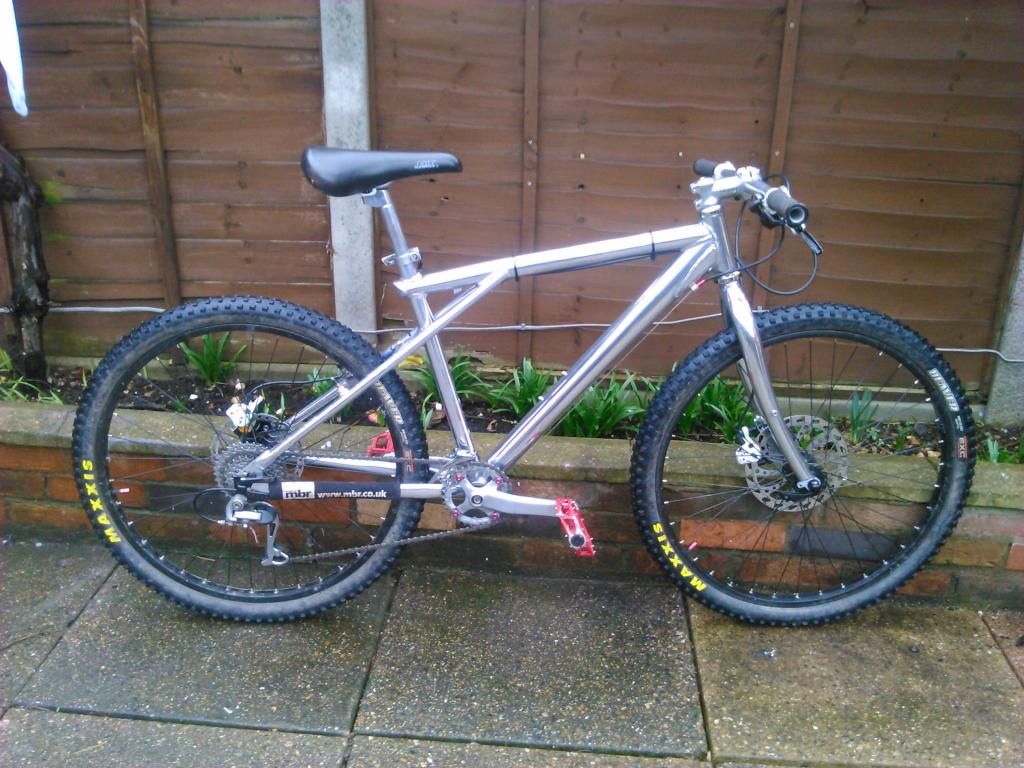
 0
0 -
-
And the specs list
Frame: Aluminium GT Arrowhead
Fork: Rigid Marin Aluminium Superlight
Stem: Keirin 60mm
Handlebars: On One lightweight flat bar
Bar grips: Black, black lockrings
Headset: FSA Pig -
Front Wheel: Alex Rims DM22, Joytech hub, black spokes
Rear Wheel: Alex Rims DM22, Joytech hub, black spokes
Front Tyre: Maxxis Beaver 2.0 EXC
Rear Tyre: Maxxis Beaver 2.0 EXC
Bottom Bracket: Shimano square taper (Short)
Cranks: Truvativ (Forgot model) - Polished
Pedals: Wellgo V8
Seatpost: God knows, but its 27.2, and polished
Seat: GT Supersoft
Seatpost Clamp: GT - Polished
Chain: Shimano -
Cassette: Sun Race 8 speed
Rear mech: Shimano Acera
Rear disc: Shimano XT - 180mm, using A27 Disc Conversion mount/bracket
Front disc: Clarks - 203mm
Rear Brake: Tektro Auriga Comp
Front Brake: Tektro Auriga Comp
And ive finally proven everyone wrong. You can polish a turd!

 0
0 -
It looks bare.... you need to put some stickers on it....0
-
Im still deciding if i want stickers or not. Not too sure. I dont know what colour would look best.0
-
Good work, looks nice and tidy that, just please don't go covering it in stickers!0
-
Angry Bird wrote:Good work, looks nice and tidy that, just please don't go covering it in stickers!
Cheers! Nope. No way thats happening with this one haha.0 -
Have to say you've done a good job on that finish.0
-
-
Leave it as it is - looks slickCloset jockey wheel pimp whore.0
-
Looks very cool

I like the old fashion style with the disc brake nod.0 -
Thanks guys
 After much thought i think ill be leaving it without stickers.
By the way, thanks Step83 for giving me that 203 disc a while back! :P
Ive reserved myself a Shimano chain for only £4 from Halfords which is great. Going for a canal path ride with my family on the weekend and im hoping to take this to give it its maiden ride. Im hoping and praying that the brand new chain works with the Sunrace cassette i have on there. Otherwise its a new cassette aswell, or going back to having my old chain and cassette which seriously hampers me on hills
Also got a brand new Acera X mech that i found along with the Sunrace cassette hiding away in the spares.
Also need to change the stem to the longer Zoom one which i stripped but havent actually finished sanding it down ready for polishing.0 -
Looks great. As has been said NO STICKERS.
Oh, and get some bar plugs in will you? You really don't want to see yourself "cored".Trail fun - Transition Bandit
Road - Wilier Izoard Centaur/Cube Agree C62 Disc
Allround - Cotic Solaris0 -
What, no transparent GT stickers on the downtube.... sacrilege.0
-
No way id have the full filled ones, id have those ones you posted, with the middle bit transparent. But i think it looks cool as it is. Id probably would have gone with downtube stickers if my finishing kit was black. I wish my wheels were polished aluminium too!0
-
-
That looks really nice, good effort, I'd be inclined to get some badges for the downtube like those white but in black.Currently riding a Whyte T130C, X0 drivetrain, Magura Trail brakes converted to mixed wheel size (homebuilt wheels) with 140mm Fox 34 Rhythm and RP23 suspension. 12.2Kg.0
-
Agree on getting some end plugs!
And on black gt sticker on down tube would look good0 -
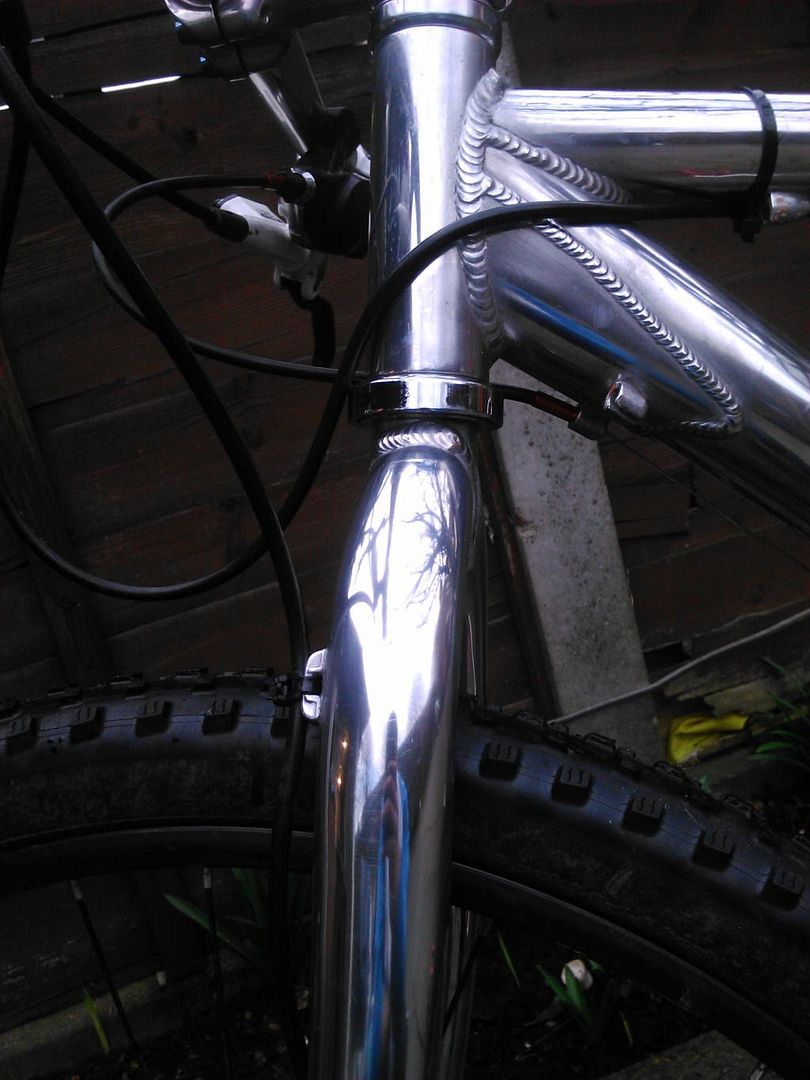
Great work, that looks brilliant. I love the raw look of the welds and the GT end plate!0
-
Thanks guys ^^^^^
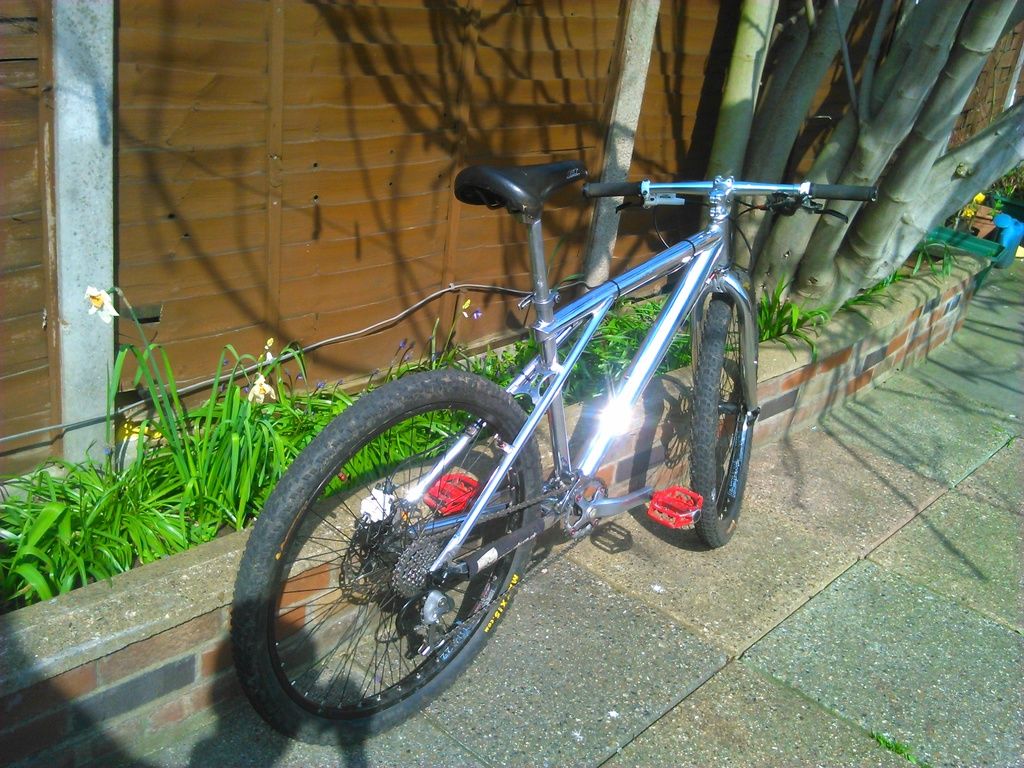
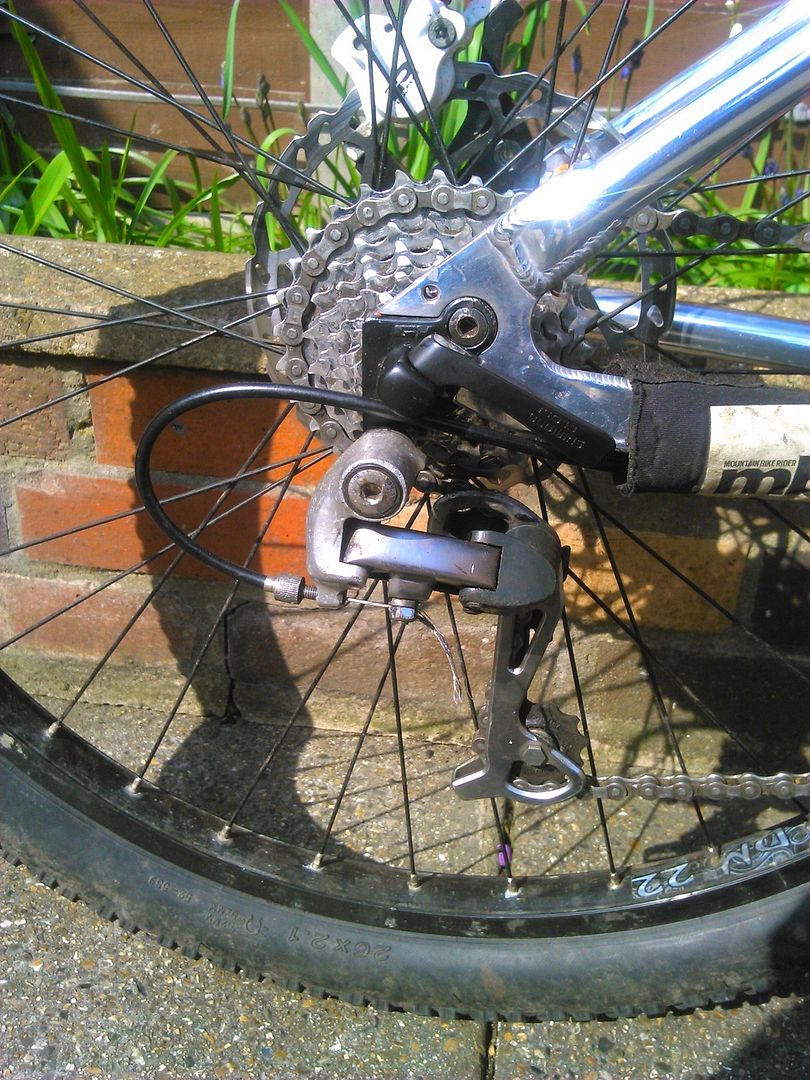
Nothing that big, just put it on Maxxis Aspens for the summer. And i have gone back to the old smaller cassette and the old chain so i can actually ride the bike. Not that great to ride at the moment as the shifter is fubar, hence my shifting woes. It still works, but only 4-5 gears and not the 8. The stem is still the short one, so handling is pretty weird too. Cant find my bolts for my other stem I can "make" some new ones. Just need to file the edges of a couple of M8 bolt heads so it fits in the stem. Easy enough to do, just put the bolt in a drill and hold a file against it as it spins.
New saddle, new cassette, new (to the bike) rear mech and maiden MTB ride coming in June.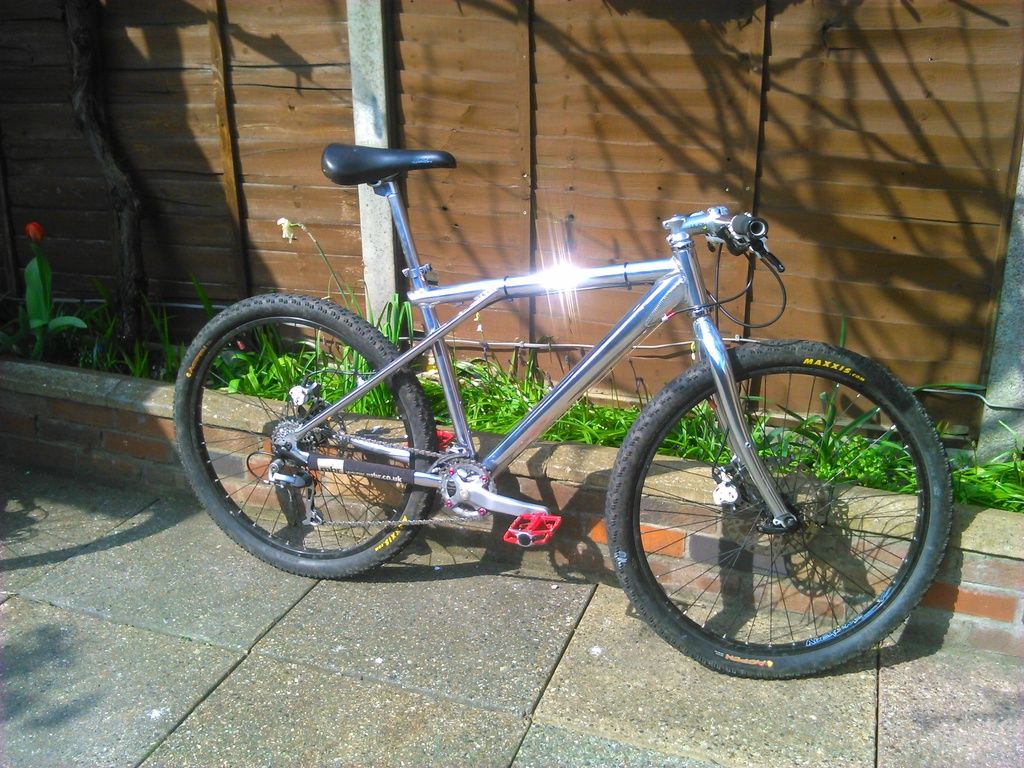
 0
0 -
QR on other side. It'll help the cable loop to the rear mech be more loopy.0
-
Its being held down under the QR there in that pic, I just lifted it over the QR and its fine.0
-
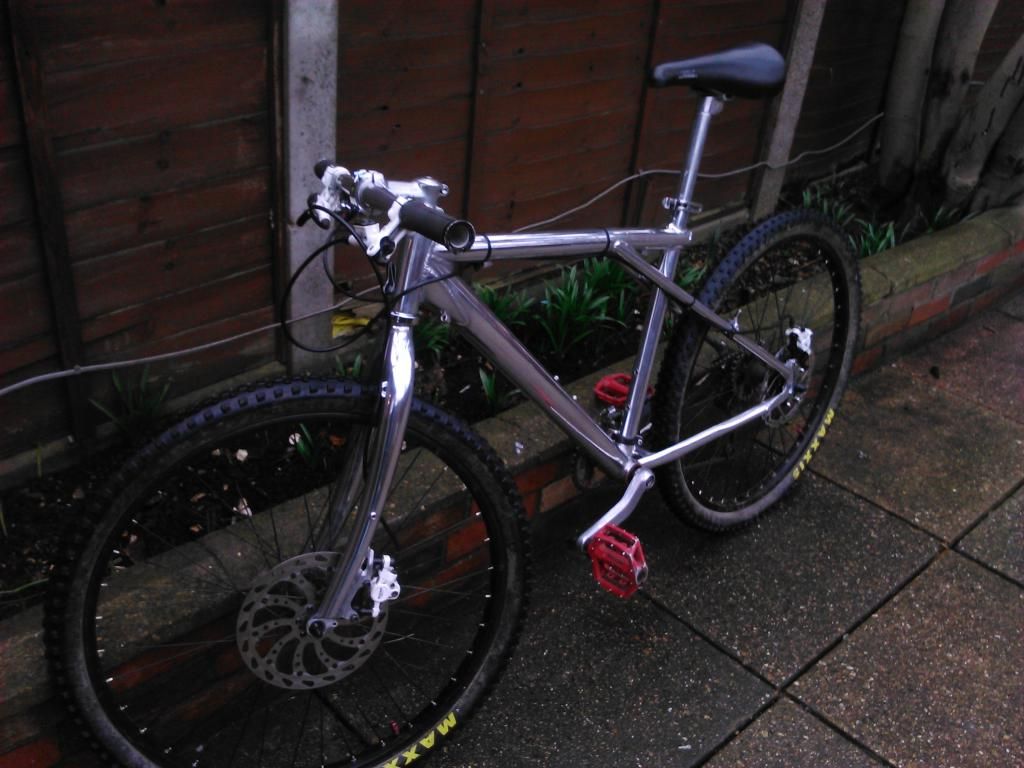
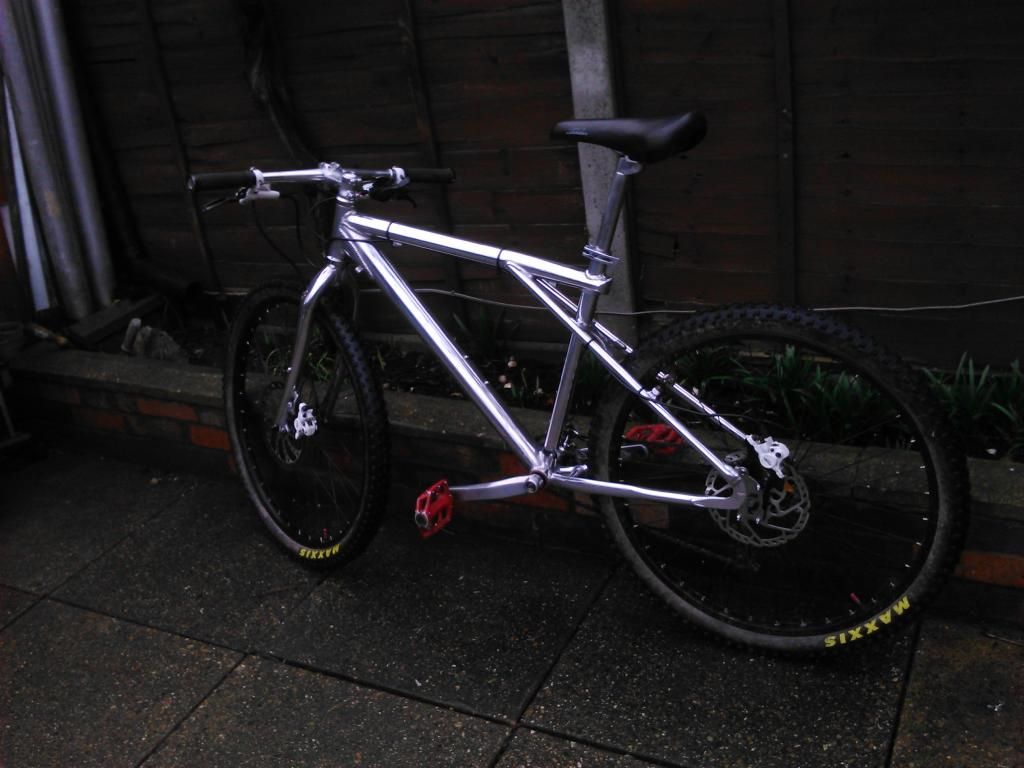
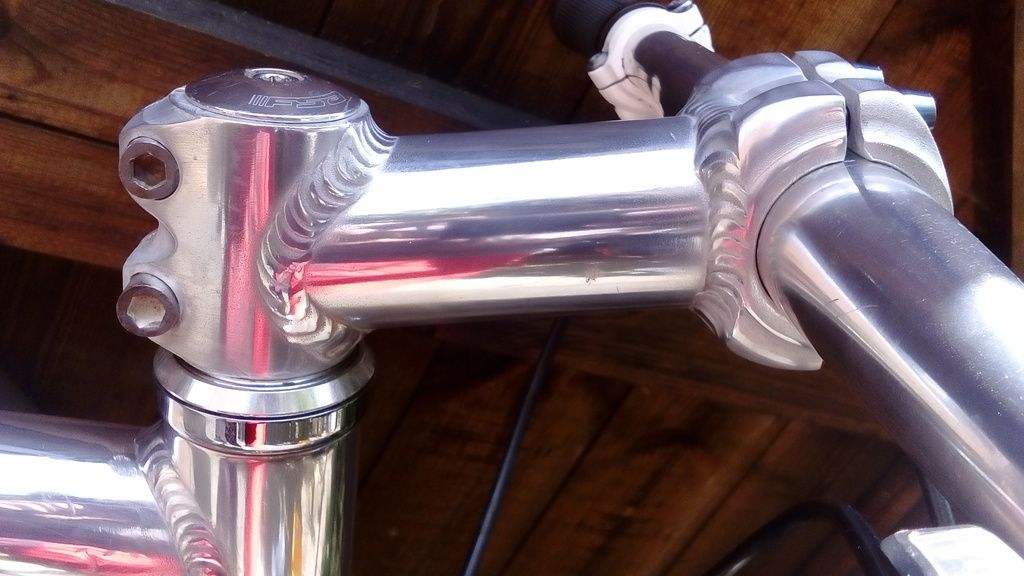
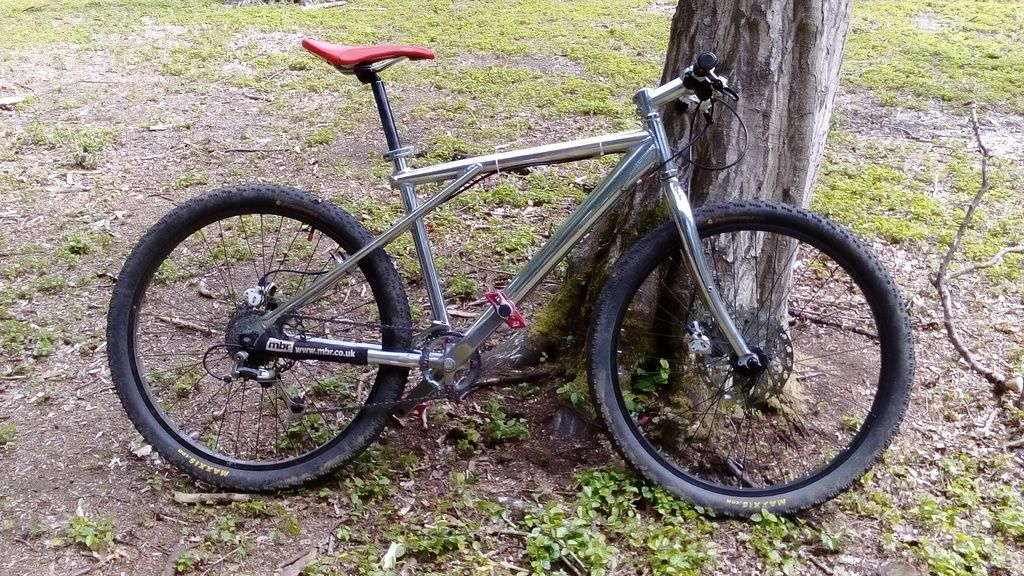
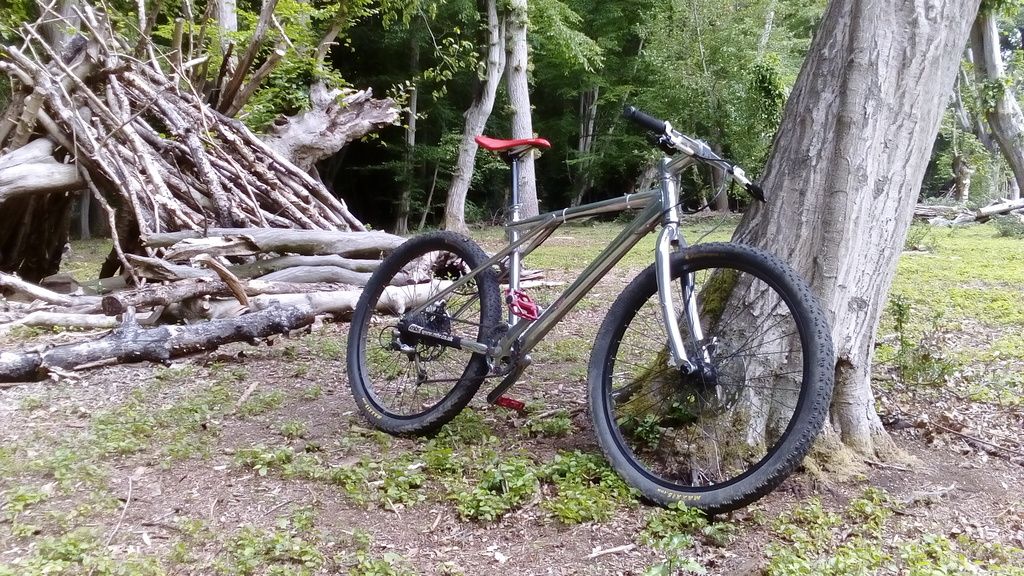
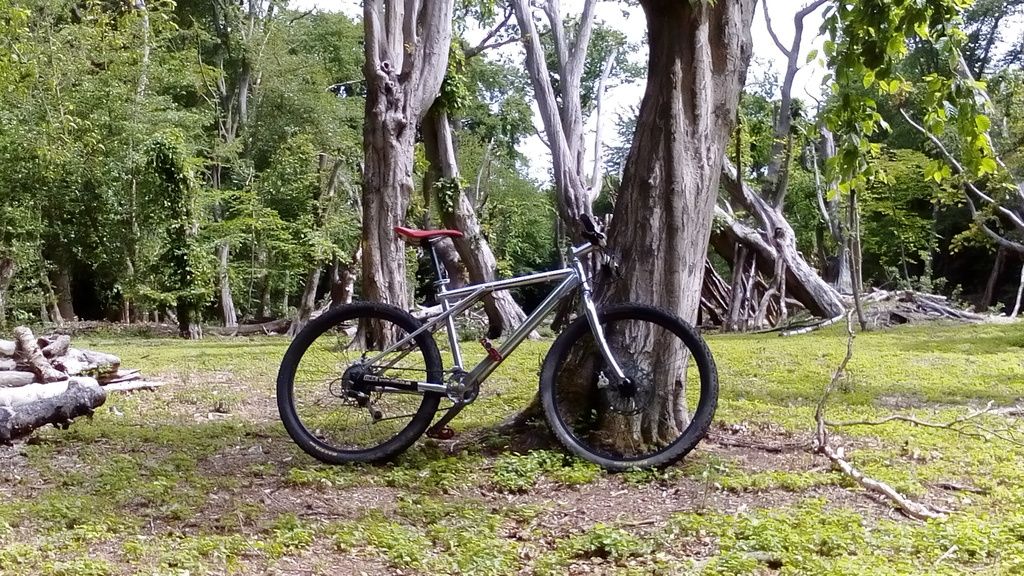
I have finally got around to upgrading my Chucker with a 9 speed drivetrain, so i have taken the old 8 speed stuff and put it on here. And i have finished and fitted my stem, so the bike is now rideable!
Took it out on its first ride yesterday and really enjoyed it. It is great with the disc brakes and a proper drivetrain, and turned alot of heads which is always a nice feeling
Ive thrown together a nice 11-12 minute lap including a handful of enjoyable bits, and im going to aim to do 6-7 blasts of it back to back. Its a great motivation to ride daily to try and monitor how i am gaining speed. My motivation isnt at its greatest because my fitness is pretty crap as i havent been cycling the whole year because of college. Hoping to compare my lap times on both my bikes, should be quite fun. Then after i get tired of blasting around the lap ill do some exploring to try and throw together a longer ride for another day.
If i can get my hands on a cheap shifter, i would switch this to a 9 speed also, as the 32 front 32 rear setup is a bit hard up the tougher hills. The shifters cost an arm and a leg though, and the cassette and chain usually amount to about £15.
Still need to sort out my polished seatpost. Have to make do with the black one for now.
The only problem i have on this bike is that being rigid and having the tyres up at 45 PSI, when im really going for it downhill or something, i find that my fingers begin to ache. I dont remember it happening before. I think it may be my cheap ebay grips? I might try gloves next time out.
Few pics.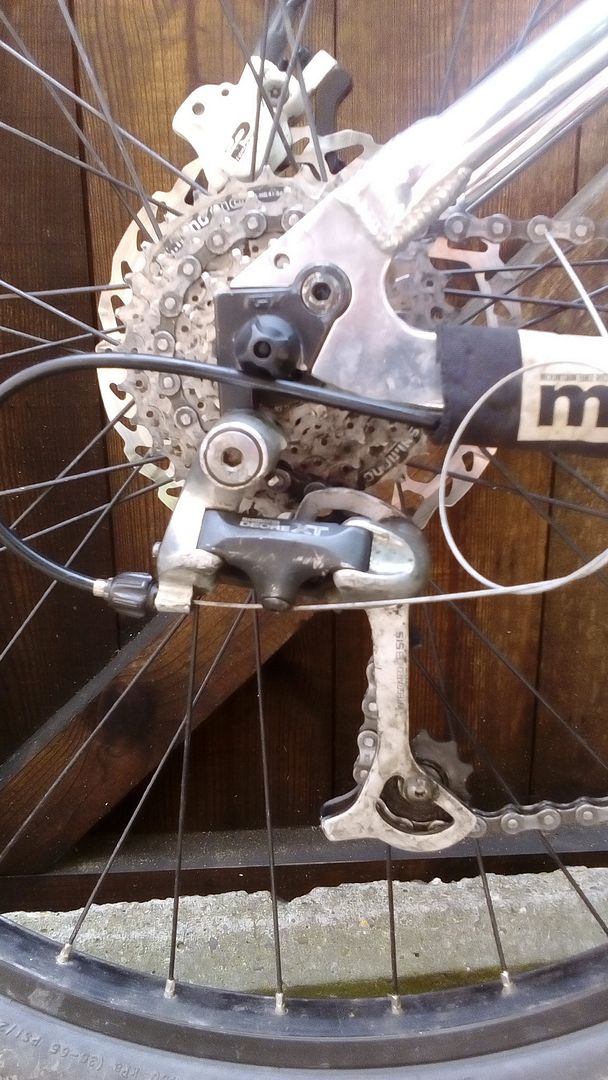
 0
0 -
Updated specs list
Frame: Aluminium GT Arrowhead
Fork: Rigid Marin Aluminium Superlight
Stem: Keirin 60mm Zoom 100mm
Handlebars: On One lightweight flat bar
Bar grips: Black, black lockrings
Headset: FSA Pig -
Front Wheel: Alex Rims DM22, Joytech hub, black spokes
Rear Wheel: Alex Rims DM22, Joytech hub, black spokes
Front Tyre: Maxxis Beaver 2.0 EXC Maxxis Aspen 2.1
Rear Tyre: Maxxis Beaver 2.0 EXC Maxxis Aspen 2.1
Bottom Bracket: Shimano square taper (Short)
Cranks: Truvativ (Forgot model) - Polished
Pedals: Wellgo V8
Seatpost: God knows, but its 27.2, and polished
Seat: GT Supersoft
Seatpost Clamp: GT - Polished
Chain: Shimano -
Cassette: Sun Race 8 speed Shimano Deore 8 speed
Shifter: Shimano Deore XT (Retro) Shimano Altus 8 speed
Rear mech: Shimano Acera Shimano Deore XT 8 Speed
Rear disc: Shimano XT - 180mm, using A27 Disc Conversion mount/bracket
Front disc: Clarks - 203mm
Rear Brake: Tektro Auriga Comp
Front Brake: Tektro Auriga Comp0 -
Its being held down under the QR there in that pic, I just lifted it over the QR and its fine.
Except it's now not in all pics, although you have put it on the correct side.0 -
Also, is moving to the Altus shifter an upgrade? Does it feel nicer to use?0
