GT Arrowhead - For Fork Sake + Machining - PG13
Comments
-
GT-Arrowhead wrote:Kowalski, my mum wasnt in
Yeah she was. So was the postman. Balls deep in her arse... 0
0 -
Why the hell would anyone shuv their balls up someones arse?! LOL. My balls hurt just by thinking about that!0
-
GT-Arrowhead wrote:Why the hell would anyone shuv their balls up someones ars*?! LOL. My balls hurt just by thinking about that!
Eh? I said he was balls deep in her arse, not that he put his balls in her arse (would that even be possible, lol?). 0 -
Ohh. If you added "he was" then i would have understood. I thought you meant literally balls in arse. And no, i dont think so! 0
-
GT-Arrowhead wrote:Ohh. If you added "he was" then i would have understood. I thought you meant literally balls in ars*.
What are you on about, lol?
The milkman's had her too, and the window cleaner... 0
0 -
GT-Arrowhead wrote:Why the hell would anyone shuv their balls up someones ars*?! LOL. My balls hurt just by thinking about that! "Why have that extra tooth if you're not using it?" - Brian Lopes
Votec V.SX Enduro 'Alpine Thug' 2012/2013 build
Trek Session 80 -
-
Not from that though!0
-
Leave the poor lad alone . I started riding on an arrowhead and loved it ........... shame he didn't take up my offer of free polishing kit .
I was hoping to drop it off when he was in school and entertain his mum . 0 -
She would've given your man wand a good polishing...0
-
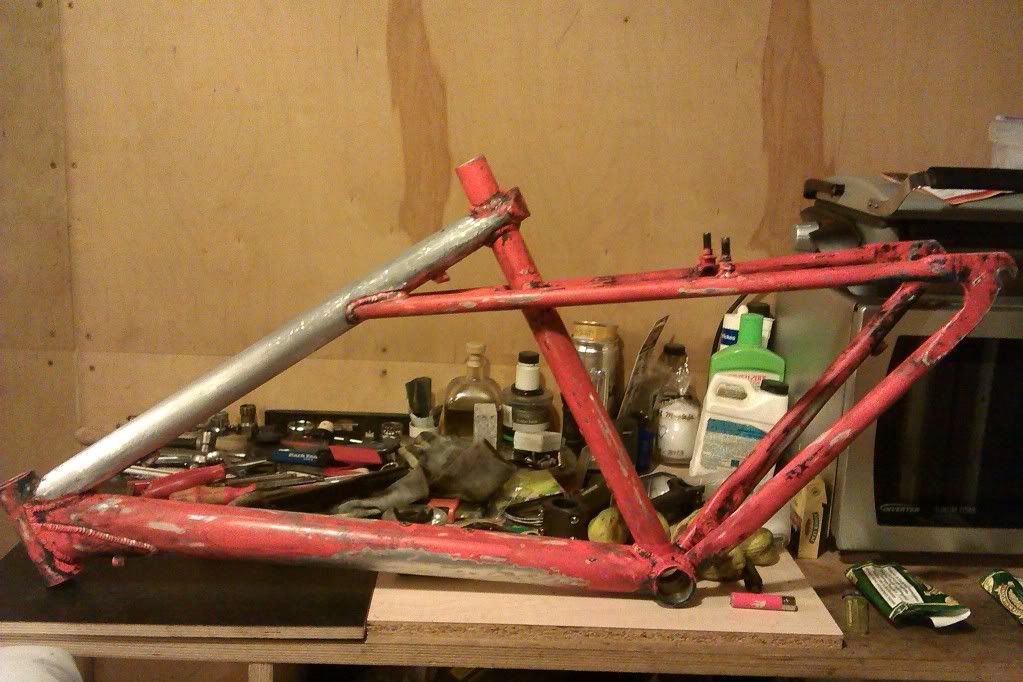
Day 2:
Paint stripper got rid of 90% of the blue, was too lazy to give it one final go on the small areas i missed. But i may aswell do it tomorrow as i completely forgot about the fork today! :roll: I used white spirit to get rid of residue and clean it all up ready for sanding tomorrow. Im hoping to have the build completed on Sunday. I am just waiting for the chain and ill have everything.
The factory paint was unaffected by the stripper but that is not a worry as that has been sanded beforehand so its very thin. I will remove all the paint with finishing paper by hand tomorrow, and ill use the wire wool attachment on that hobby tool to get the paint off the welds. (Not keen on sand papering welds)
The factory paint actually looked awesome before i sanded it down, it was very vibrant (much much brighter than in the pictures). I wish i could have kept it, but it was already sprayed when i got the bike so i had no choice but to sand it all down.
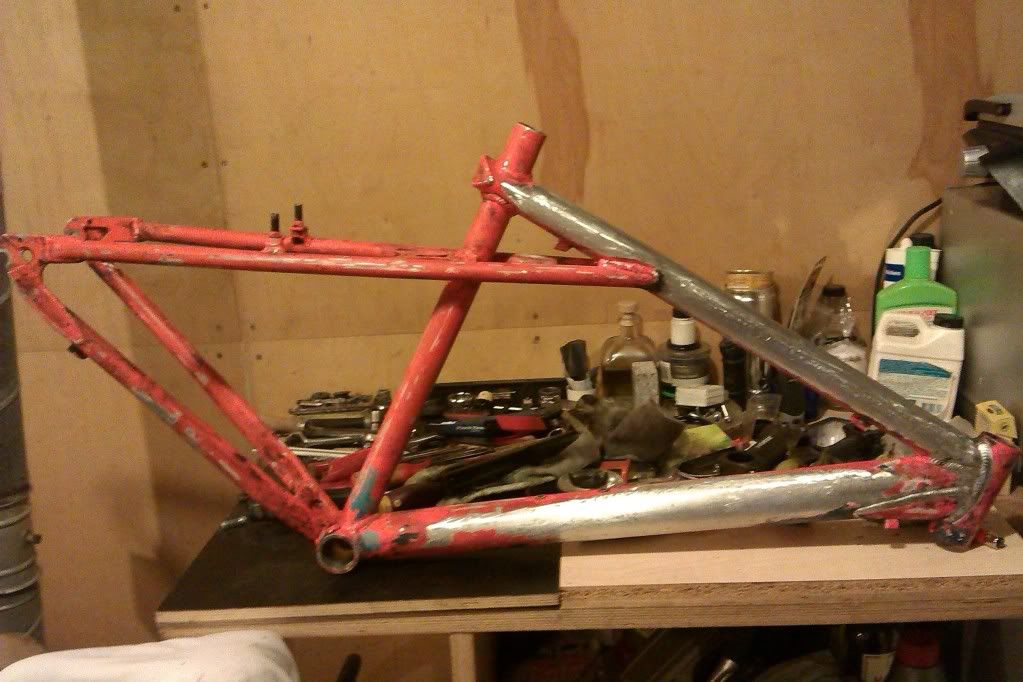
 0
0 -
Mine was that colour. Actually saw one when out on my bike today.0
-
there are some VERY mean spirited folk posting on this thread,
OP I actually liked it better in its ''stealth bomber'' phase, as below
[quote="GT-Arrowhead":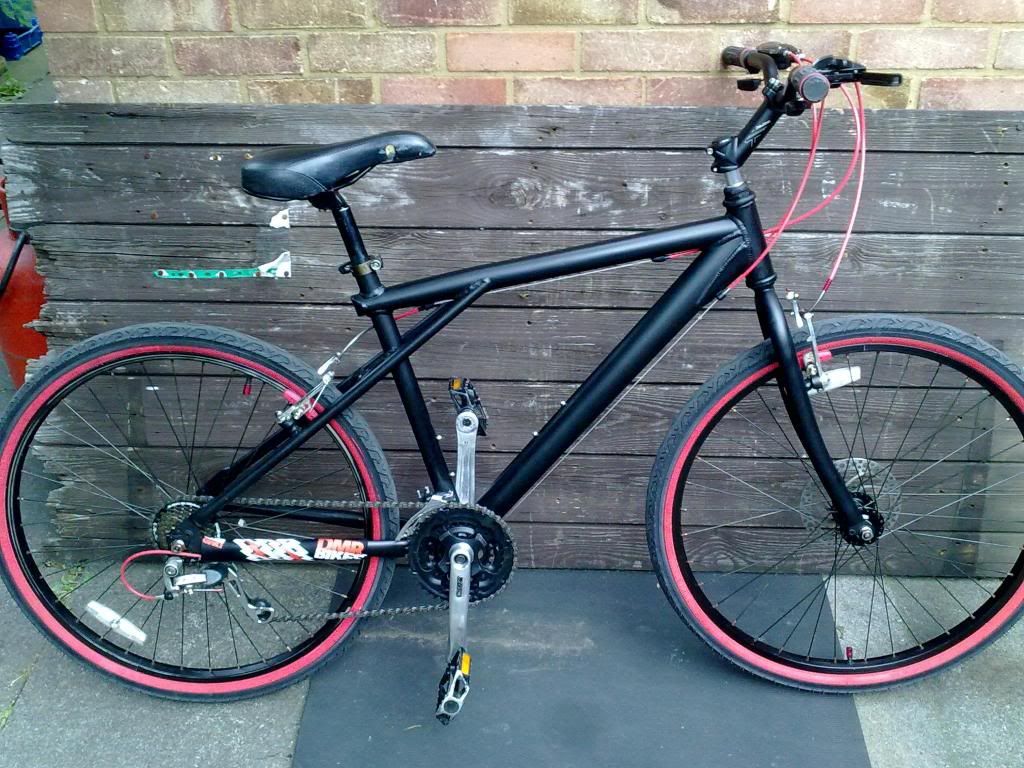
.[/quote]0 -
The parts are all sorted now. The crank is a really cheap POS but there you go. One worth alot more would do exactly the same job would it not? And probably weigh something like 200g less or whatever but i couldnt care less.
Im no longer going for a polished aluminium finish. Im going gloss black. I have the paint already, bought a can to spray cranks with so i essentially have a full can. And i have primer and lacquer too. Its going to be too much effort going polished aluminium and i reckon i made a bad choice sanding it down anyway, should gone straight for the stripper. Le uncle pointed out that the factory paint needed to be scraped off rather than wiped off like domestic paint. :oops: so ive got a little left to remove and the frame is clean.
The pedals are technically sold, im getting these now in white: http://www.ebay.co.uk/itm/New-Pair-Alum ... 1c32a00b92 or possibly these http://www.ebay.co.uk/itm/Wellgo-B087U- ... 53fe9dcddf Ive made 3-4 quid profit either way.
Selle Italia X1 saddle with the BTwin seatpost (both very light!)
The wheelset is sorted, the fkin chain is about 7-8 links too short so ill have to get another :roll: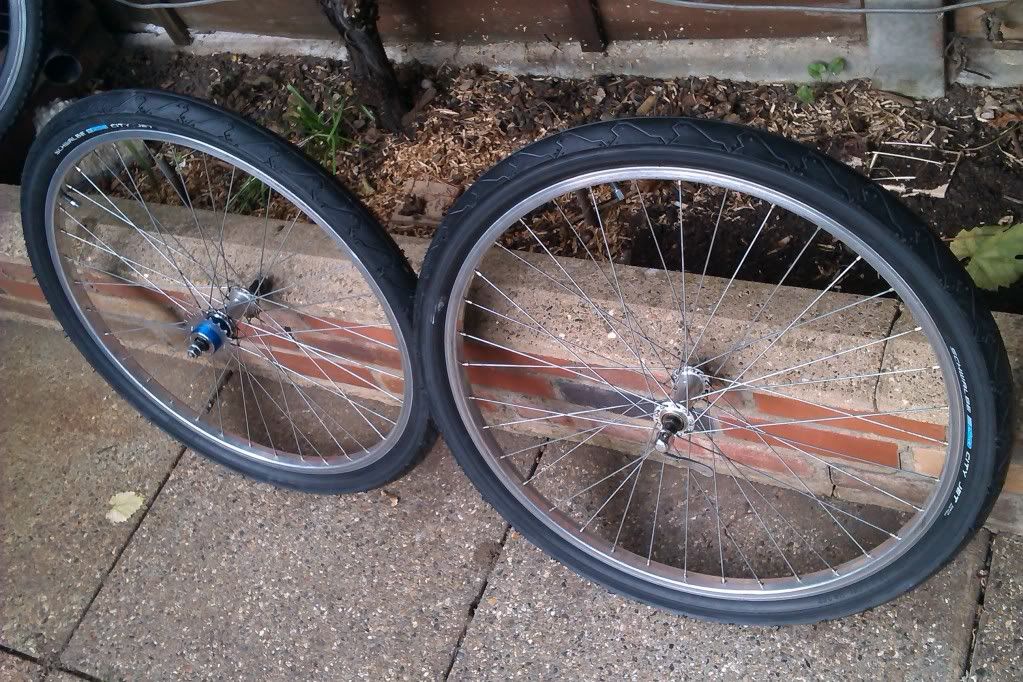
Im going to wrap my blue v brakes in vinyl which will cost me the profit i made on my pedals. Blue black and white would look odd. And ill save up pocket money for new spacers on the rear hub, white, chrome or black.0 -
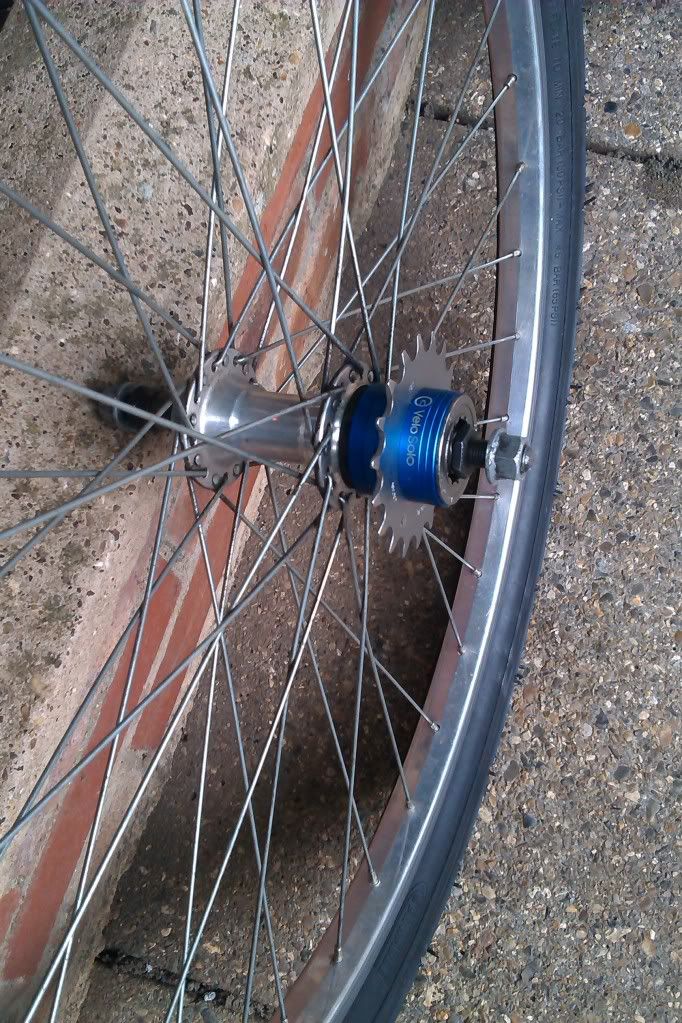
Have you got a chain tension device to run that bike single speed?i suspect it hasn't got horizontal drop outs so with out a way to tension the chain properly it ain't going to work.0
-
I ran my Hardrock singlespeed without a tensioner for three years and a few thousand miles without problems. You might need a half link in the chain to get the length right though.Transition Patrol - viewtopic.php?f=10017&t=130702350
-
Well there you go I stand corrected0
-
Russy, i also thought the same. But i had a look at some pictures of other peoples bikes on google and they too had "drop in" drop outs as appose to horizontal sliding ones, and the chain seemed to be taught enough. So i thought id have a go without a tensioner at first to see if it works.
I see how those half link chains work now, it just allows you to fit the chain to take up more slack. I saw loads of them while looking for my chain. I thought they were for some special sort of Pro BMXs or something. Would they work with the cog and drivetrain ive got? Its the first time i saw something like that so i was a bit confused as to what they actually were.0 -
Finished it off last weekend. The singlespeed kit didn't work out since the chain wouldn't be taught enough, and i dont wanna spend anymore on it, so ive decided ill either use the SS kit on my Raleigh as it has sliding dropouts or give it to my dad to put on his racing bike project.
I think it came out pretty well, the seat angle needs to addressed i think, i put a new stem on, since i stripped the threads on the aluminium one when i was undoing it to adjust the seat angle.
My fake carbon brakes look half decent, but took really long to do. All in all im happy with the end result. Im just waiting on my Lotus decal to go on the headtube which i ordered a week ago and still hasnt arrived. (I bought a Lotus decal just to make it personal.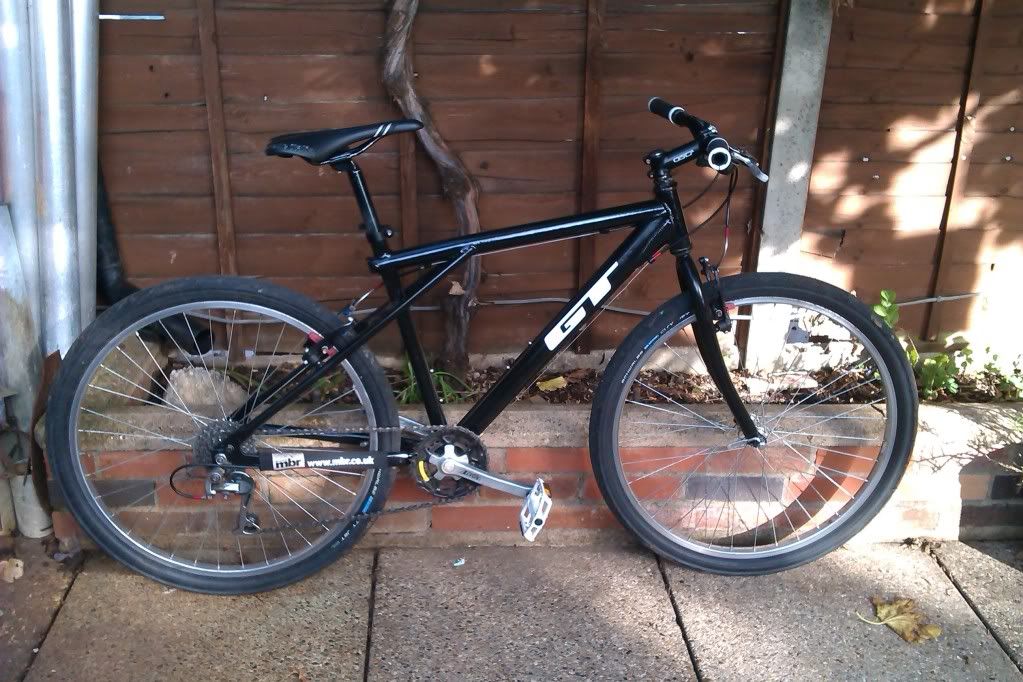

Specs:
Frame: GT-Arrowhead
Wheels: Alesa
Tyres: Schwalbe City Jet 1.95
Seatpost: GT
Seatlamp: GT
Handlebars: GT
Bar grips: Cheap ones with white lockrings
Stem: GT
V brakes: Alhonga (unknown brand but are the best ive used)
V brake lever: Avid (forgot the model)
Cranks: Shimano Altus
Pedals: Wellgo B087U
Cassette: Shimano Hyperglide
Chain: Shimano HG
Rear mech: Shimano Acera
Saddle: Selle Italia X10 -
This has been in a sorry state since October, which was the last time i put it together if you look above at the previous post. I stopped riding it because i hated the handlebars, the cranks were useless with bent rings, and the bottom bracket was a disgrace and the crank bolts kept on coming loose and the LHS crank arm kept sliding off. So i gave up on it.
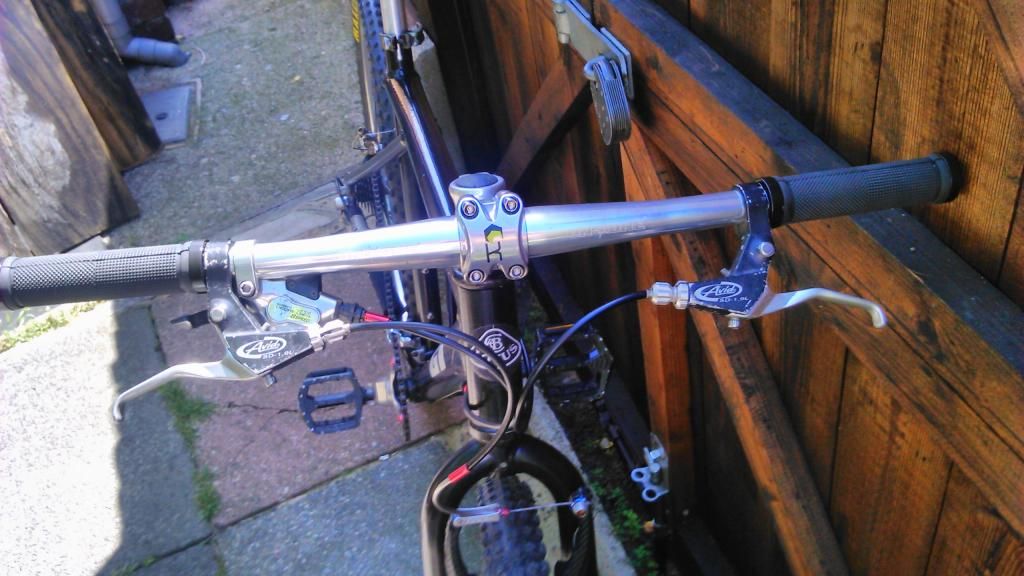
I wanted something to do during my easter holiday period, and i thought why not just throw this back together again. I knew i would be doing this from many months before, and so, i bought myself an On One flat bar during the sales, and a new stem which cost me £20 ish altogether.
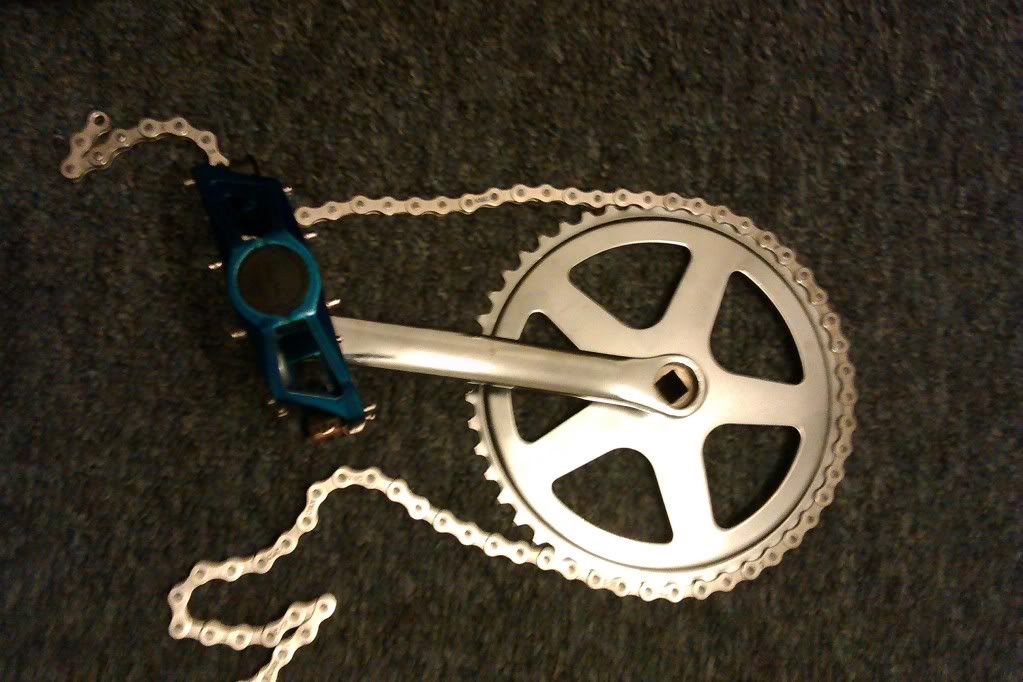
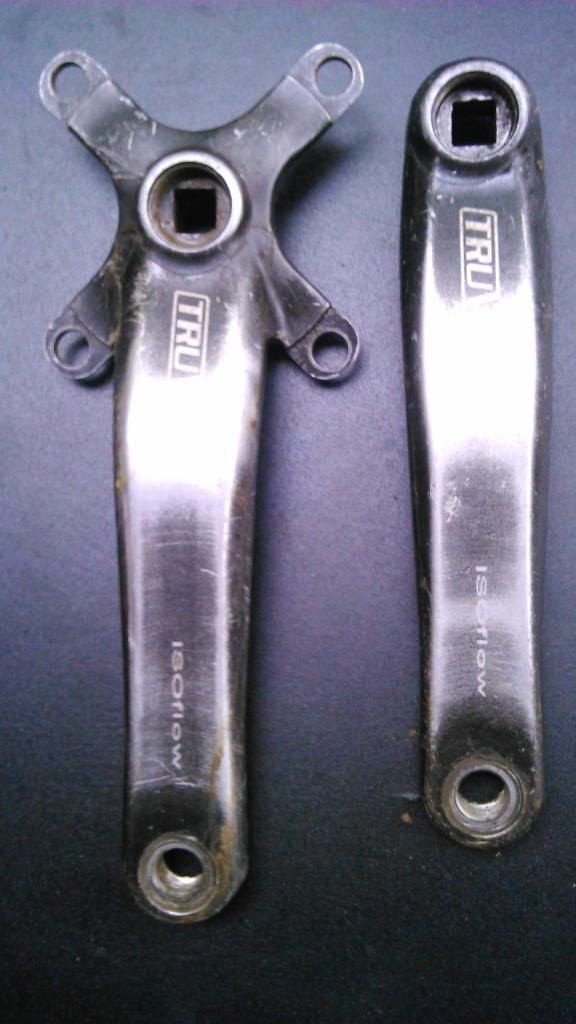
The first thing i did was try and get myself some new cranks that have removable rings, and fortunately i got them for free!! Big thanks to VW for that, really helped me out and saved me a few quid The easter holidays was 2 weeks long, and looking at the heel rub on the cranks gave me a good idea, and i decided that i would get the cranks polished up. But the reality of the exams hit me, and i left it until a few days ago...
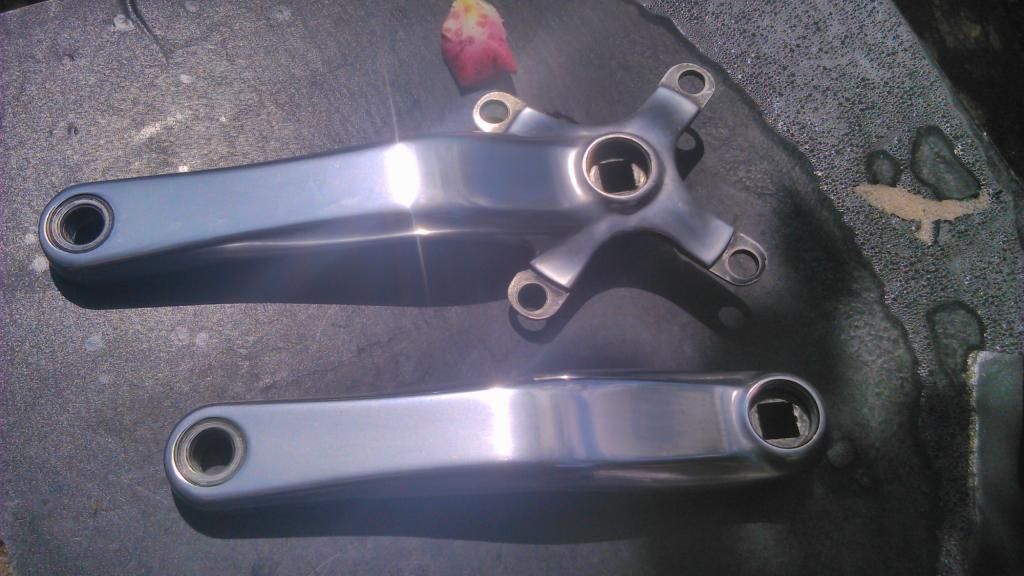
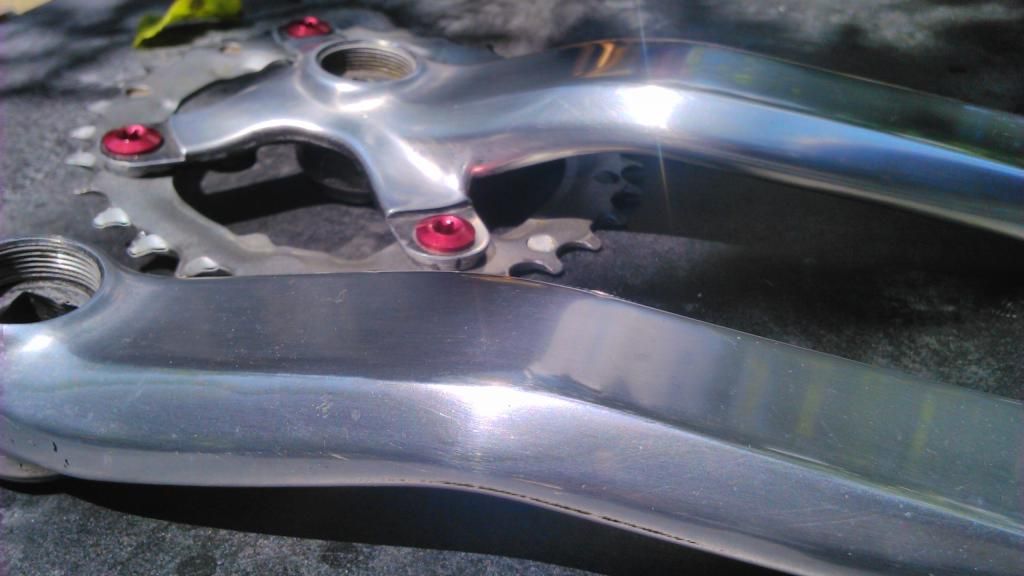
I used wet and dry sandpaper for the whole process, firstly starting with p800, which i had at home already, i spent a good 3-4 hours altogether sanding away, mostly trying to get the anodizing off. After that, i used some p1000 to do the next stage of sanding, which lasted around half an hour, and then i had to get some p2000 from halfords which was cheap enough, and that also lasted half an hour. After that i went for several once overs with some t cut, and that produced a really good shine that i was happy with, it wasnt mirror effect, but i wasnt aiming for that. A, because i couldnt be bothered, and B, the rest of the polished aluminium on my bike wasnt that shiny.
So this is what it looked like before i started, and after.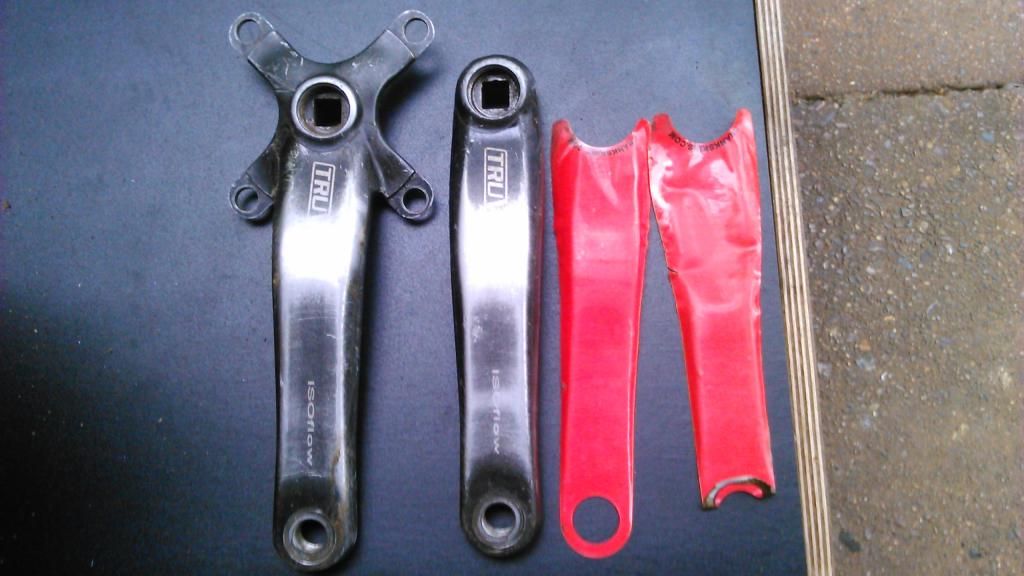
As for the bike, i stripped it down, got rid of the shyte BB, put another one in, and found the bearings were worn out so badly the cranks wouldnt even rotate in the plane they are supposed to rotate it in, it gave the same feeling that a loose crank arm would give you So i reserved myself a proper Shimano 68 x 113 BB from Halfords that should have a very long life. Went for the short axle, as i was planning to run a 1x7, and shorter axle would make for a better chain line.
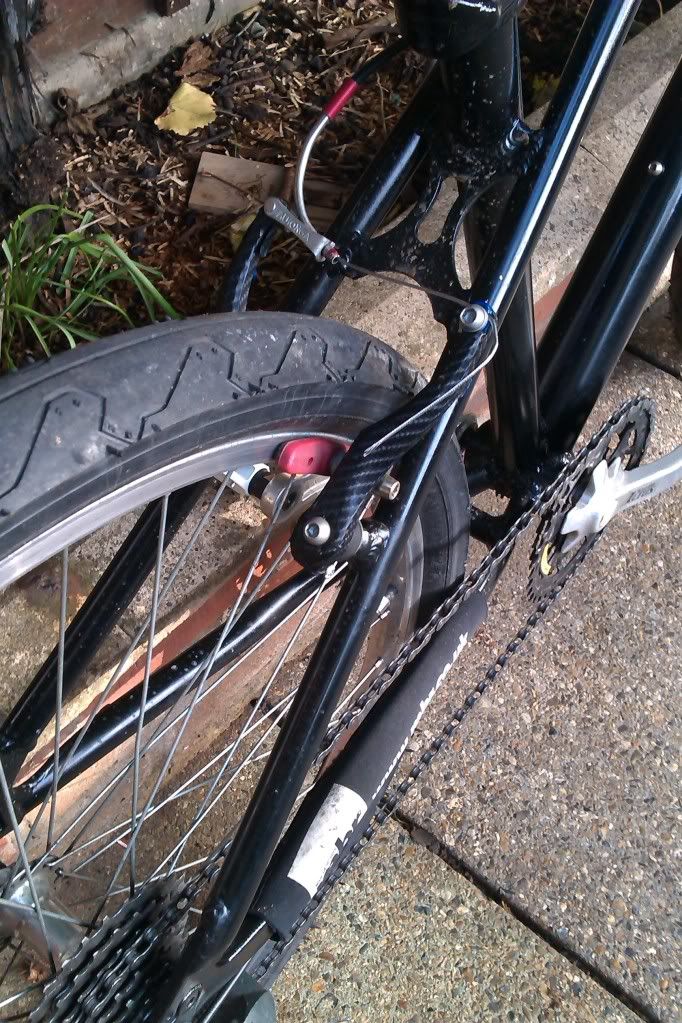
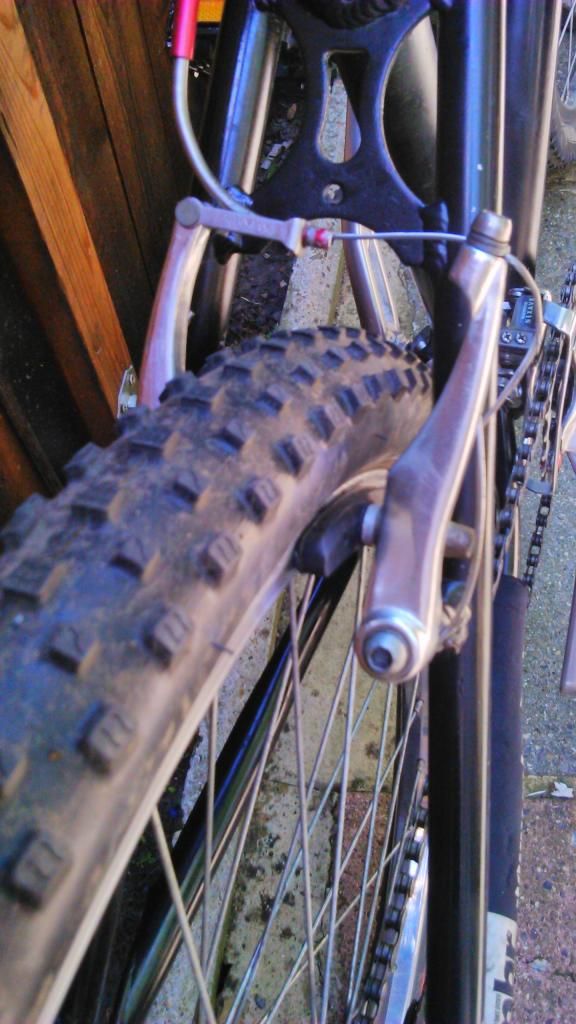
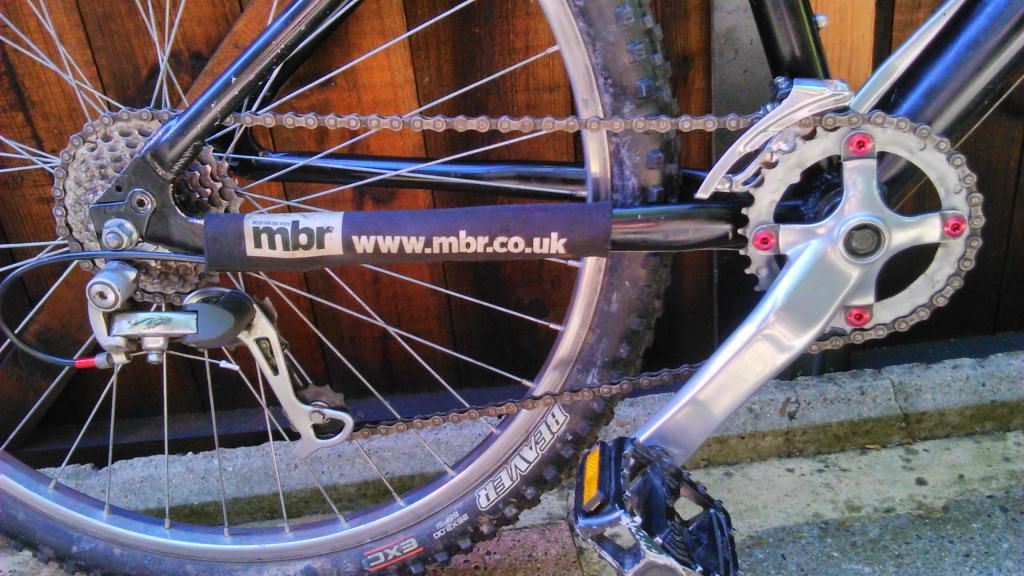
I decided to lightly sand some of the badly damaged paintwork and touch it up with the black paint. Then i added some new grease to the headset, and began the rebuilding! I swapped the rear v brake out for a better one from another GT that i bought not long ago. I used a Shimano Nexace front mech as a chainguide, whether it works or not i dont know as i havent been out on a proper ride on it yet, but hopefully all will be well. I took 2 link out of the chain, so that should slighlty "correct" the tension of the chain, as the chain used to run on a 42t chainring.
Okay so here are a few pics of it, will get some more as i am now going to get it extremely muddy today. Cant wait to try it out after all this time.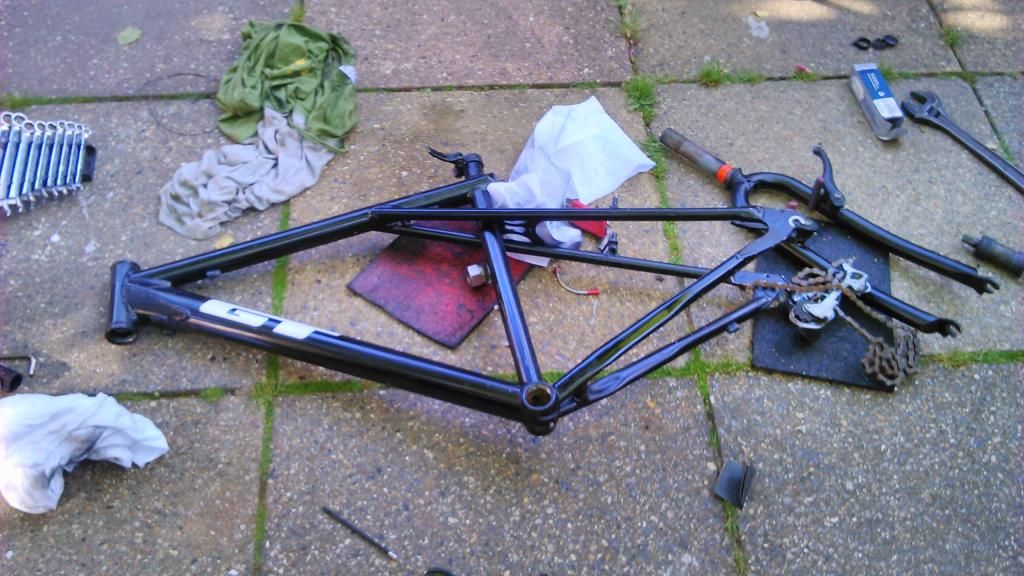
Yes, a Lotus headbadge Looked really bare without anything there, and this was all i had. Its a bit more personal this way too. Hopefully i dont do a Lotus F1 and breakdown every 10 minutes.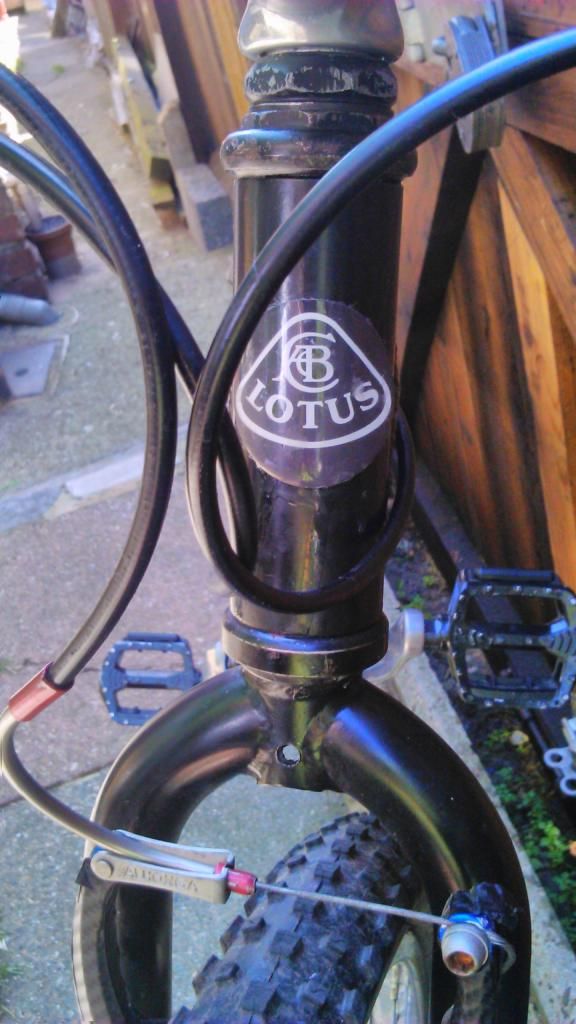
 0
0 -
Frame: GT-Arrowhead
Wheels: Alesa - Single wall
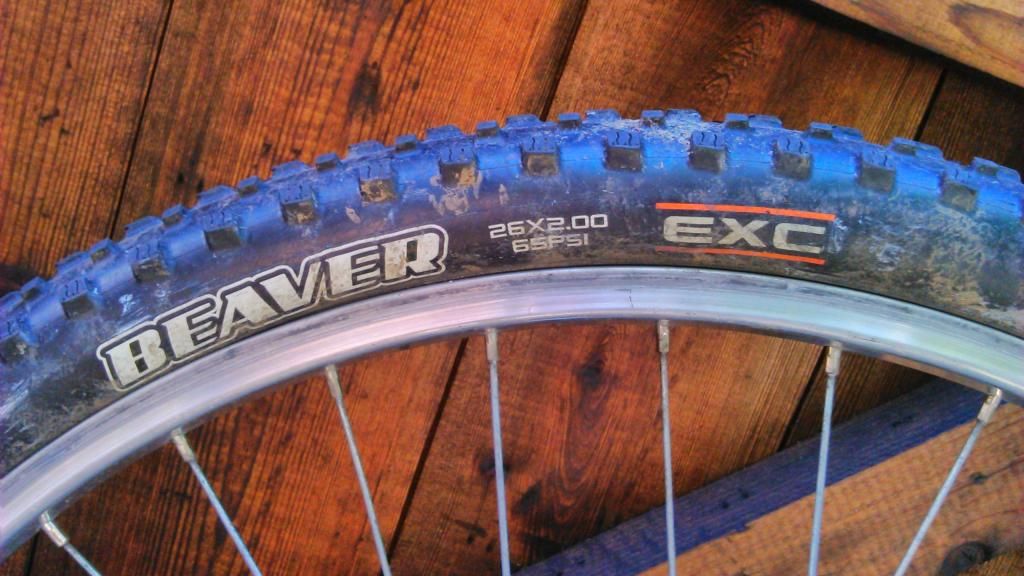
Tyres: 2.00 Maxxis Beavers EXC (folding versions)
Seatpost: BTwin
Seatlamp: GT
Handlebars: On One
Bar grips: Cheap all black lock ons.
Stem: Keirin 75mm
V brakes: Allhonga front, Promax rear
V brake lever: Avid (forgot the model)
Cranks: Polished up Truvativ Isoflows 175mm
Pedals: VP Components - VP500
Cassette: Shimano Hyperglide
Chain: Shimano HG
Rear mech: Shimano Acera
Saddle: GT Supersoft0 -
Good job on the cranks!
For future reference - oven cleaner to remove anodising.0 -
Looks really smart, just ordered the last parts to finish my 1997 Fuji, so should be posting that up soon!Currently riding a Whyte T130C, X0 drivetrain, Magura Trail brakes converted to mixed wheel size (homebuilt wheels) with 140mm Fox 34 Rhythm and RP23 suspension. 12.2Kg.0
-
Really good job on the cranks, almost look like XTRs with the shine
I think raw frames and parts are better, it annoys me when the paint wears and it looks messy0 -
Njee20, thanks, and ill make sure to use that next time i try it out
The Rookie, thanks, looking forward to seeing the finished product
Ej2320, thanks, i was considering rawing my frame a while back, but i chose not to in the end and did it in black. Sort of wish i did it now.0 -
Well i had my first ride on it yesterday, albeit a shorter than usual one. I decided to cut my ride a bit short as i put my water in the fridge to cool and when i stopped for a quick drink i realised that i had left them at home. Total idiot! And i wasnt getting on with the bike if im honest. The front end just feels very poor, i think the stem is too short. I may try flipping the stem to get a negative angle, maybe i can get some more weight on the front. Or i have a longer polished aluminium one i can take off my Raleigh.
I built this bike to tackle the mud, so i dont muck up my Chucker, and it turns out that my Chucker was actually better in the mud than this. I was expecting this to be a beast through the mud. Im sure with a change of the stem i can improve it a bit.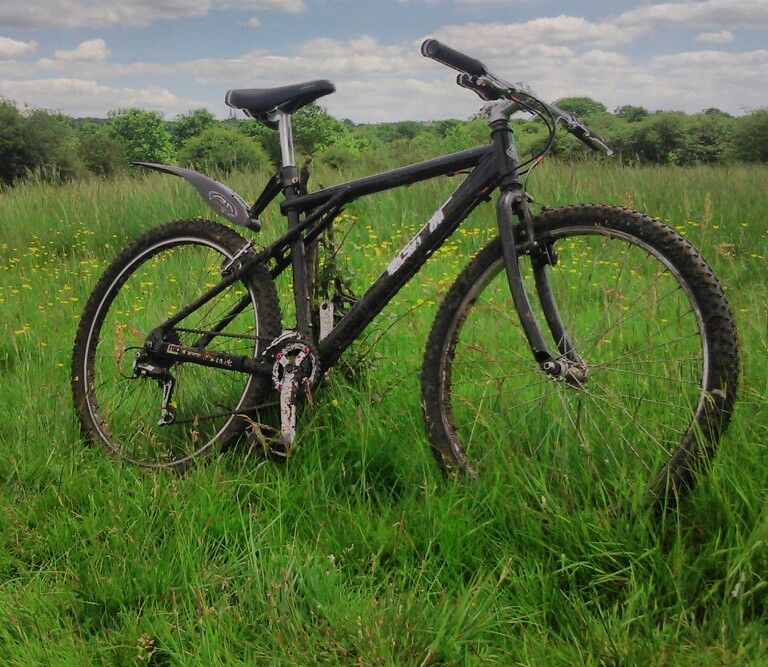 0
0 -
That's a relatively steep head angle so the front will feel twitchy through mud, a longer stem will calm it down and also be the size originally envisaged for the bikeCurrently riding a Whyte T130C, X0 drivetrain, Magura Trail brakes converted to mixed wheel size (homebuilt wheels) with 140mm Fox 34 Rhythm and RP23 suspension. 12.2Kg.0
-
GT-Arrowhead wrote:Frame: GT-Arrowhead
Wheels: Alesa - Single wall
Tyres: 2.00 Maxxis Beavers EXC (folding versions)
Seatpost: BTwin
Seatlamp: GT
Handlebars: On One
Bar grips: Cheap all black lock ons.
Stem: Keirin 75mm
V brakes: Allhonga front, Promax rear
V brake lever: Avid (forgot the model)
Cranks: Polished up Truvativ Isoflows 175mm
Pedals: VP Components - VP500
Cassette: Shimano Hyperglide
Chain: Shimano HG
Rear mech: Shimano Acera
Saddle: GT Supersoft
nice set-up...0 -
My previous stem was far too short. The front felt really poor, so i changed the stem to an old longer Zoom one i had laying about. It handles perfectly now. Really pleased with it.
My gear setup was also pretty crap, so i sorted that out too.
Took the seat and stem off my main bike for the first ride with it today as i buggered the old polished one.
Had a good 3-4 hour ride through a wet and muddy forest, and the bike was absolutely brilliant and great fun. It handled axle deep muddy puddles and the sticky gloopy bits with ease. And doing manuals through mud was excellent. It also climbed really well. I was surprised by the braking too. They also handled the mud well. I have them set up perfectly which also helps.
All in all, probably the most ive ever enjoyed riding this bike. Was a blast. If i had some proper, lightweight-ish wheels i reckon this will be a bullet in the mud. These wheels are single walled and heavy. The drivetrain is a bit worn so it the gears at the back werent 100% perfect, but worked every time. Just not as smooth as say my Chucker. The front end of the drivetrain is excellent though. Feels really nice and stiff, and the improvised front mech chainguide worked perfectly, and im pleased with it.
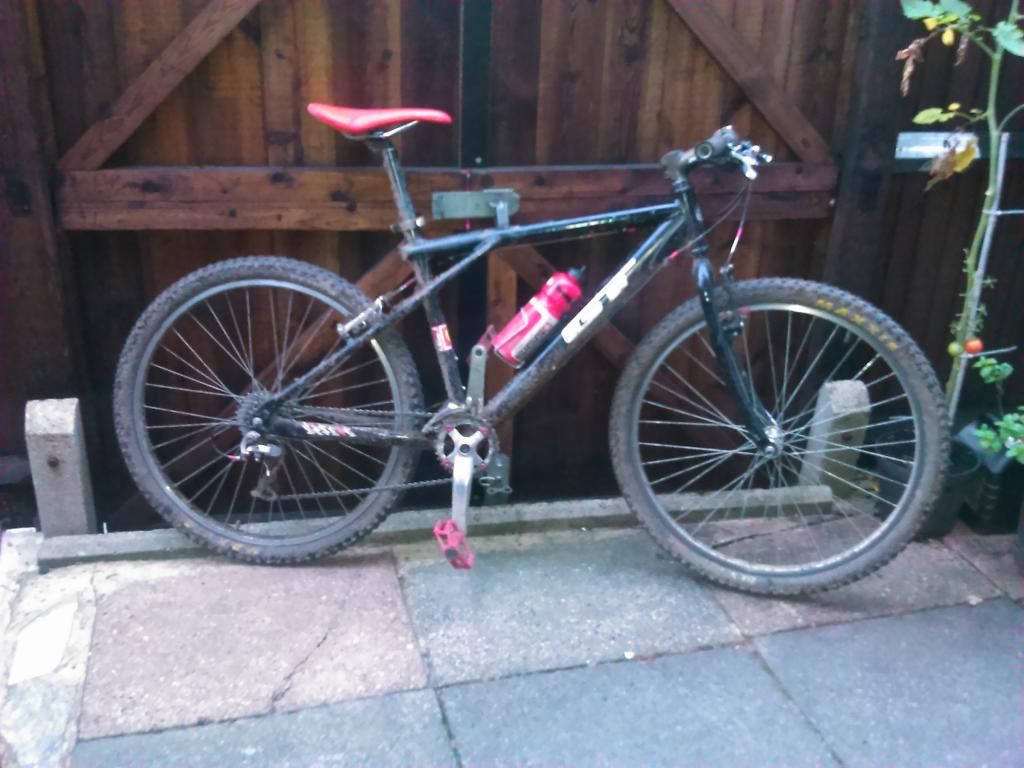
Could do with adjusting the headset. It got shaken loose alot. Just screwed it back up as i went along. Might just get a new cheap one.0 -
Havent got any photos. Other than this one in poor light. So the picture is awful. Even by my standards.
 0
0


