Handbuilt Road Bike - Update 6!
norwichdanny
Posts: 105
Hi,
I thought I would post pictures of a bike I have just started to build. The plan is to replace my ageing work bike. I have built a couple so far but only fixies, as slightly more forgiving with no jig and alignment is by straight edges and a good eye! This will be my first geared bike, and please remember that i am not a professional who does this for a living!
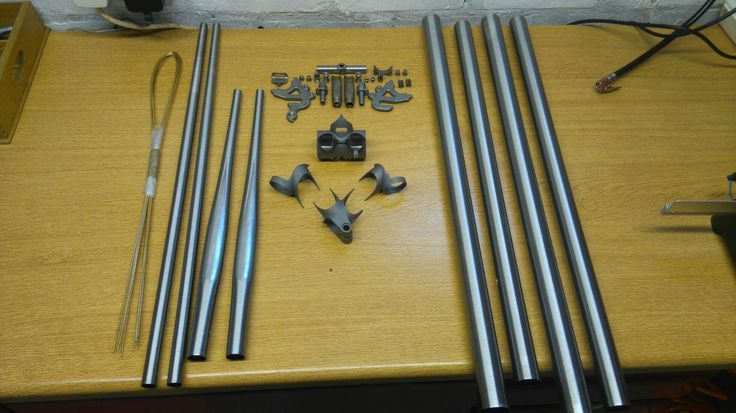
Tubes, Lugs and all the little bits to be brazed on. Bronze brazing rod on the left.
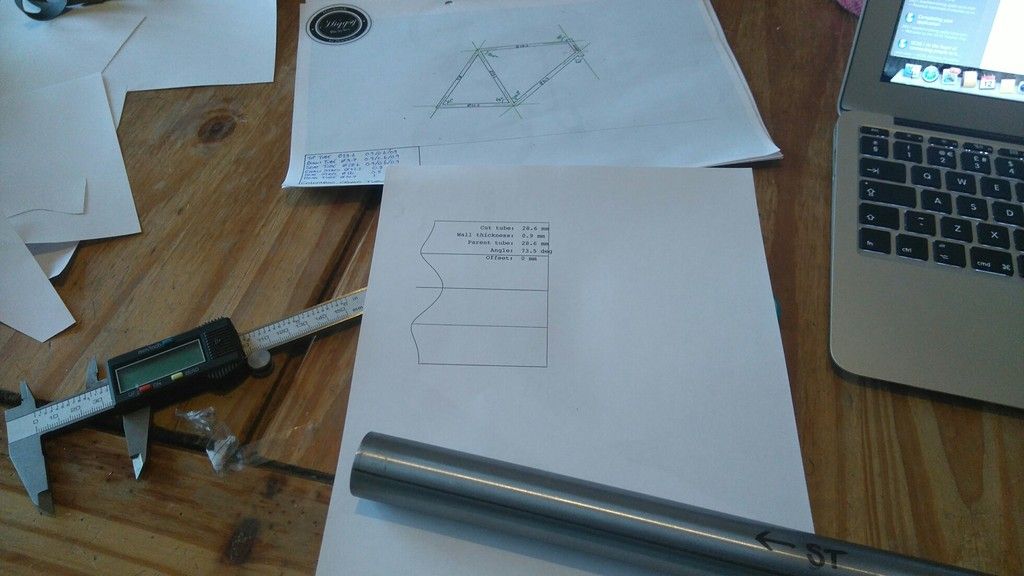
Carefully drawn plans, and tube mitre templates.
I thought I would post pictures of a bike I have just started to build. The plan is to replace my ageing work bike. I have built a couple so far but only fixies, as slightly more forgiving with no jig and alignment is by straight edges and a good eye! This will be my first geared bike, and please remember that i am not a professional who does this for a living!

Tubes, Lugs and all the little bits to be brazed on. Bronze brazing rod on the left.

Carefully drawn plans, and tube mitre templates.
0
Comments
-
What tubing are you using. Id love to have the time to do this.http://www.thecycleclinic.co.uk -wheel building and other stuff.0
-
This takes bike building to a whole new level. Most of us on here think bolting bits together constitutes a build. Please take the time to photo document the build and keep us posted, I'm sure most will be fascinated to see it come to life, I know I will. Good luck.Rose Xeon CDX 3100, Ultegra Di2 disc (nice weather)
Ribble Gran Fondo, Campagnolo Centaur (winter bike)
Van Raam 'O' Pair
Land Rover (really nasty weather )0
)0 -
Nice!left the forum March 20230
-
Who made the lugs?0
-
Hi,
The tubes are a mixture of columbus cromor and generic taiwanese steel. Lugs are investment cast long points by long shen. I spent a few months practice brazing with odd tubes and bits. I was also lucky enough to inherit a huge amount of tools from my grandfather and father who were both engineers. I had hoped that by my 5th frame I would have a rideable bike, but my second one turned out perfectly (a racing porteur!) I'll post a photo of it tomorrow, and keep the thread updated with this build.
Danny.0 -
Ok so todays work......
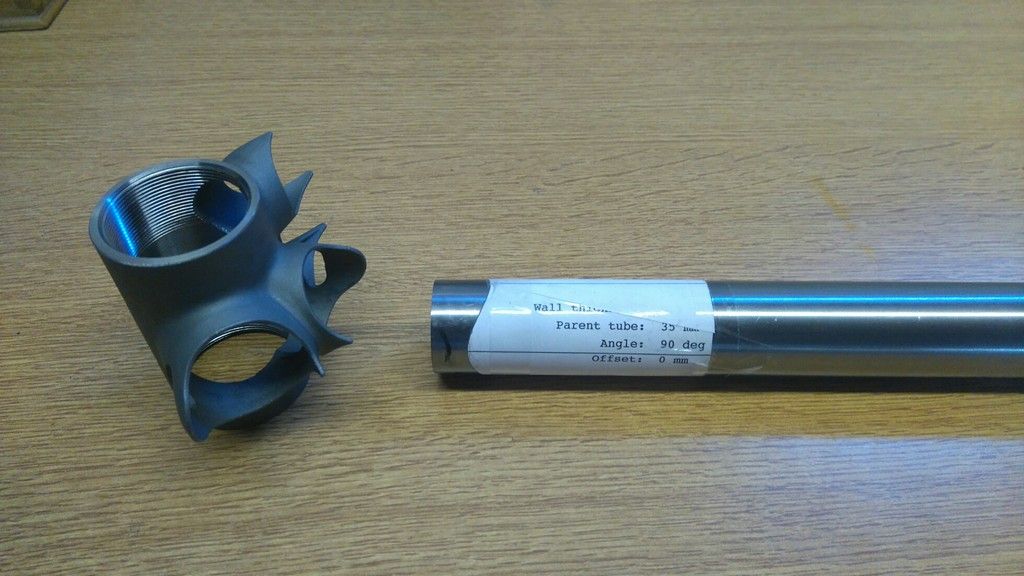
Seat tube/Bottom bracket mitre.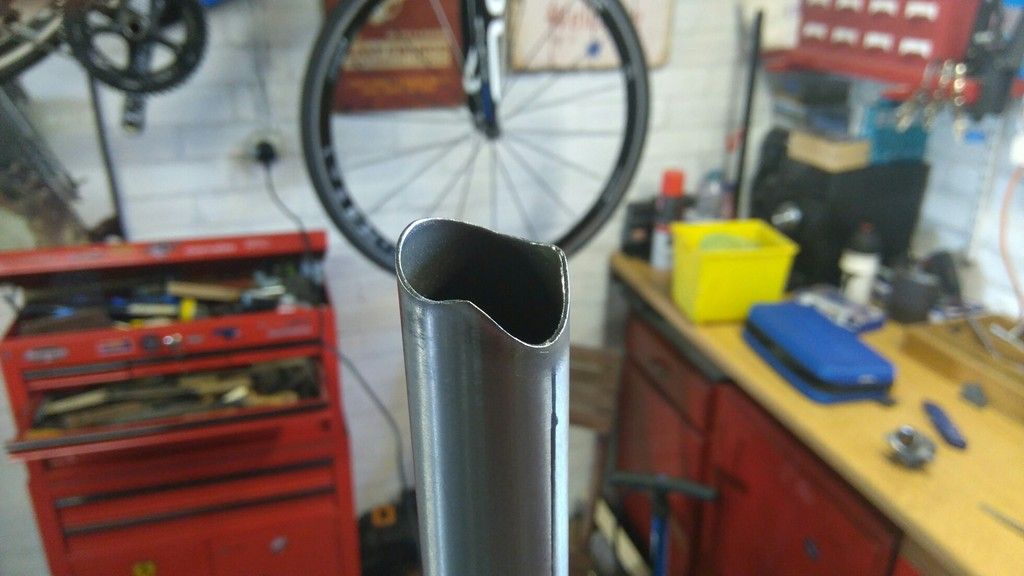
And cut.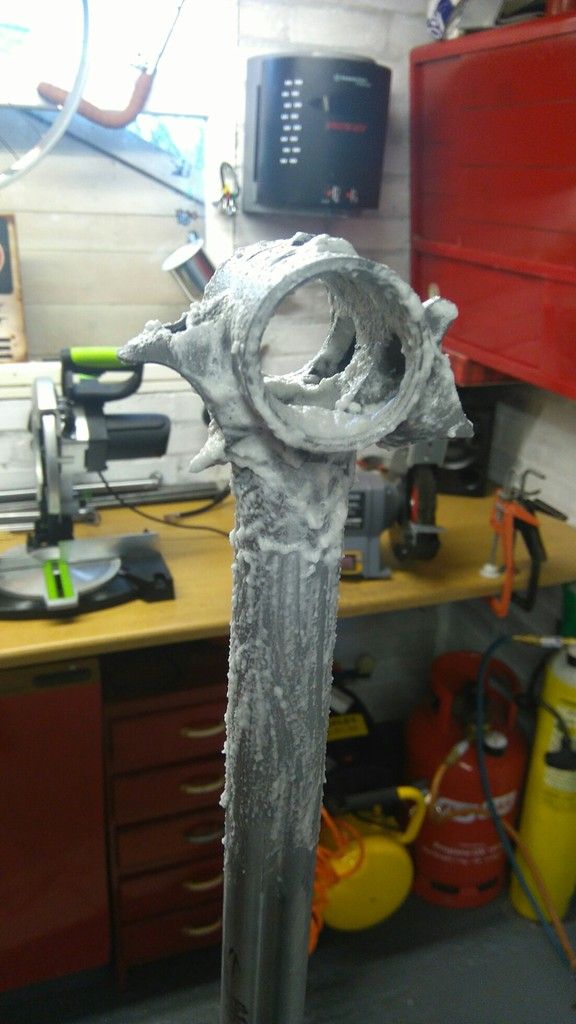
In place and fluxed ready for brazing.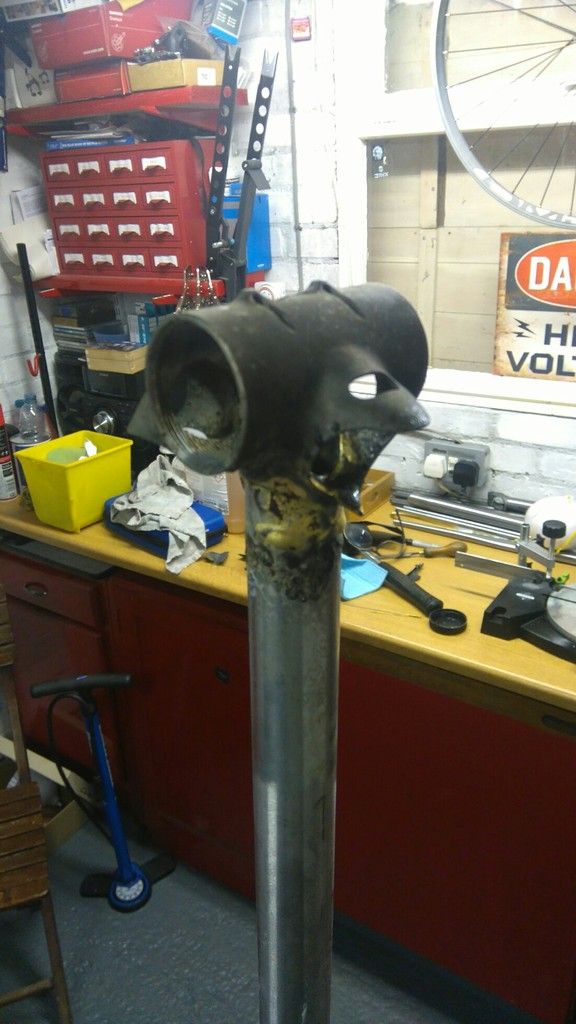
Brazed.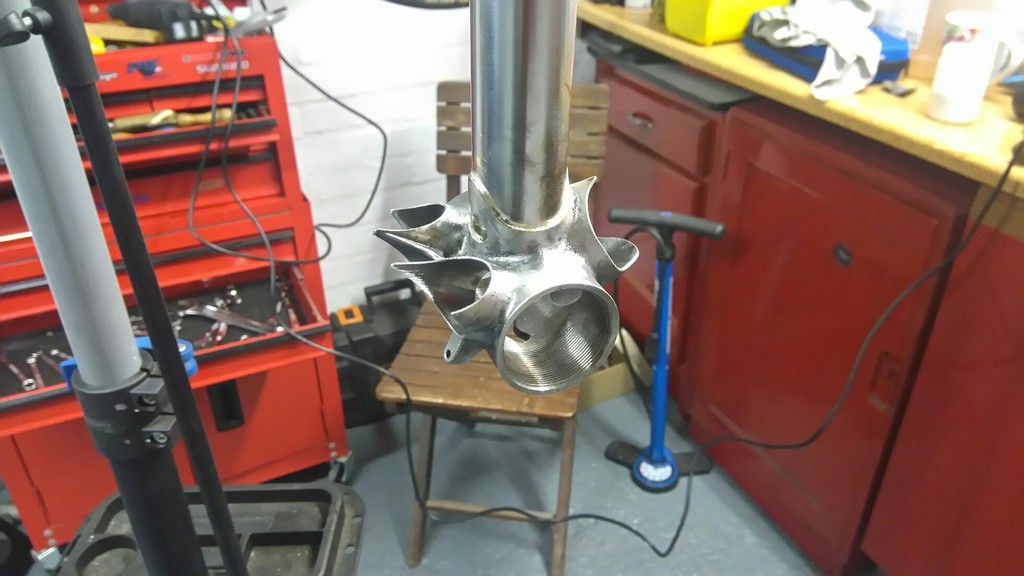
And cleaned. (The really time consuming bit!)0 -
Don't let me near it else you would be clearing the drool off. You sir are a craftsman.Rose Xeon CDX 3100, Ultegra Di2 disc (nice weather)
Ribble Gran Fondo, Campagnolo Centaur (winter bike)
Van Raam 'O' Pair
Land Rover (really nasty weather )0
)0 -
Subscribed!
Looking forward to the finished frame, but more importantly the process!
Well done & respect - thanks for sharing!
Cheers0 -
Why do you clean it after one tube and not at the very end? Surely you save time by cleaning only onceleft the forum March 20230
-
-
This is probably the best build thread ever, only to be surpassed by the guy who digs up iron ore to make the steel first

Subscribed........0 -
This approach is epic, I'm in awe of the skill set and aptitude to attempt this feat whilst feeling chimp like due to my lack of practical skills.
My respect, admiration and best wishes for suitable outcome which is aligned with the aspirations of the OP“Give a man a fish and feed him for a day. Teach a man to fish and feed him for a lifetime. Teach a man to cycle and he will realize fishing is stupid and boring”
Desmond Tutu0 -
Good luck and looking forward to the updates.0
-
Wow, this is the sort of thing I can only dream of being able to do. Can't wait to see the progress!0
-
Thanks everyone for the good comments. To answer a few questions, Ugo - once the joint is brazed the burnt flux speeds up corrosion to the steel and needs to be soaked and cleaned off as soon as possible. It is also extremely time consuming so suits to do a bit at a time! Xdoc - I use straight edges and lots of improvisation such as yours to get the alignment as good as i can, and the rear triangle and dropouts in place. I have found that i can manage without a full jig setup because the angles are already determined by the lugs and a good fit holds them in place. If there is movement pins can be used to hold them. Fillet brazing would definitely need a jig to hold things in place. A jig would also be needed if i were making several of the same size frame.
So on with the updates.....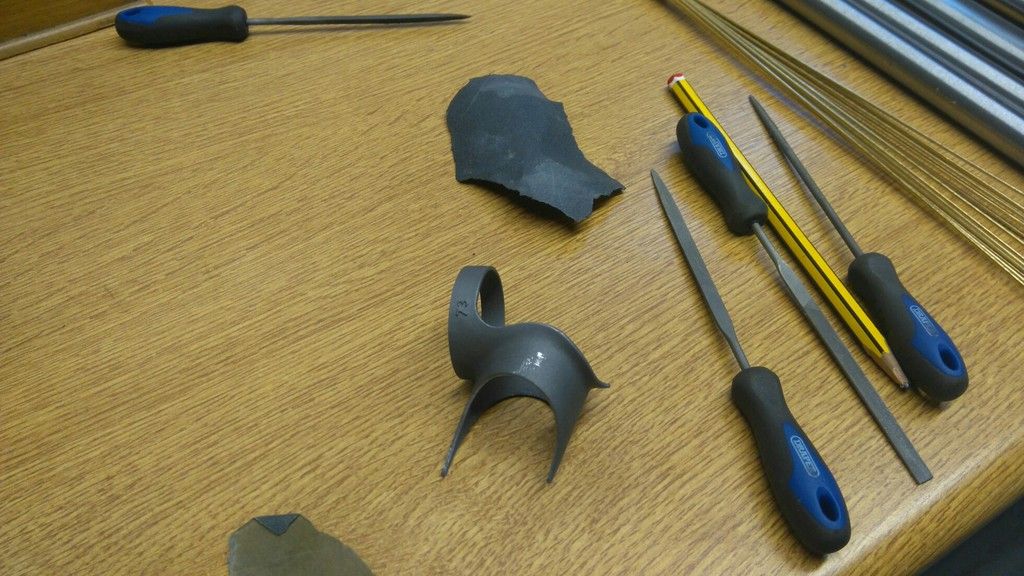
Time to start filing the lugs.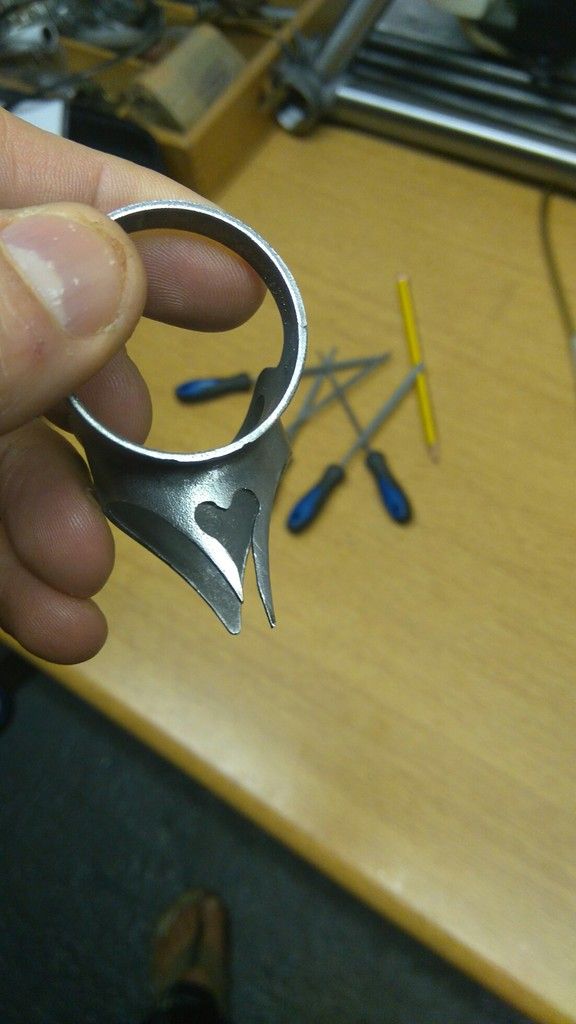
The lug shape. The first time i have shaped any lugs. Apologies to the blatant copying of the lugs designed by llewlelyn!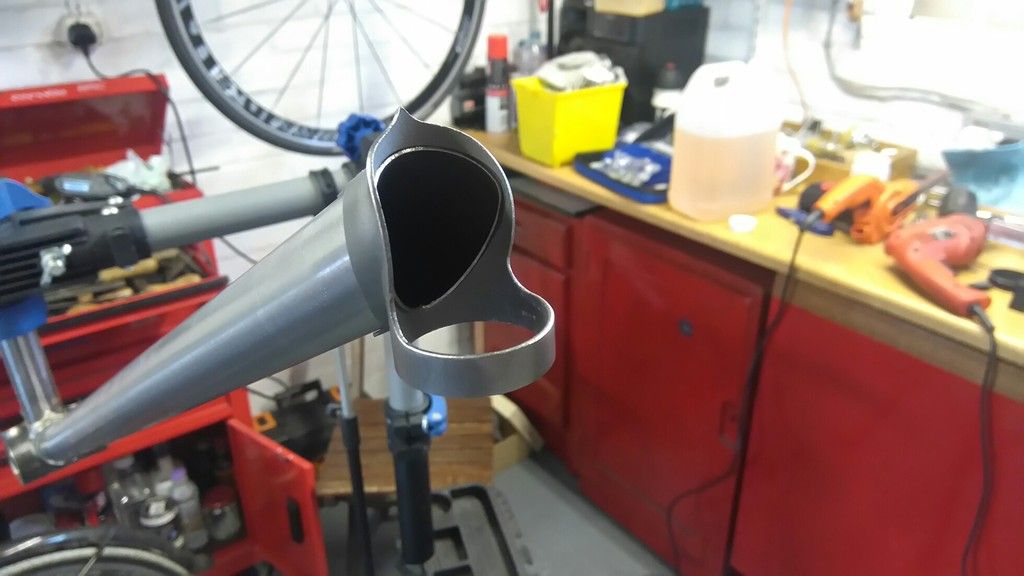
A little bit of filing for a good fit.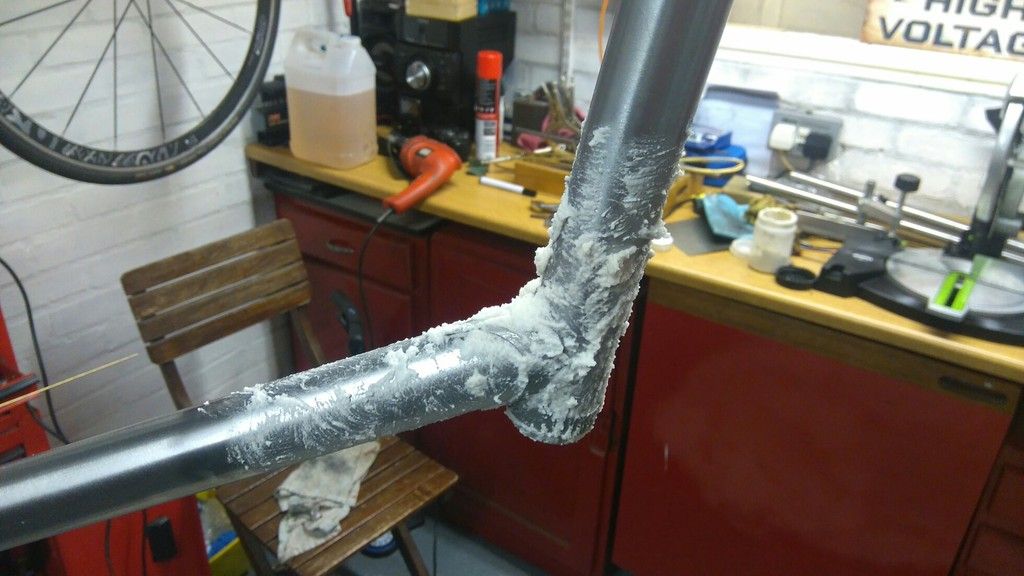
The down tube, head tube joint fluxed and ready for brazing.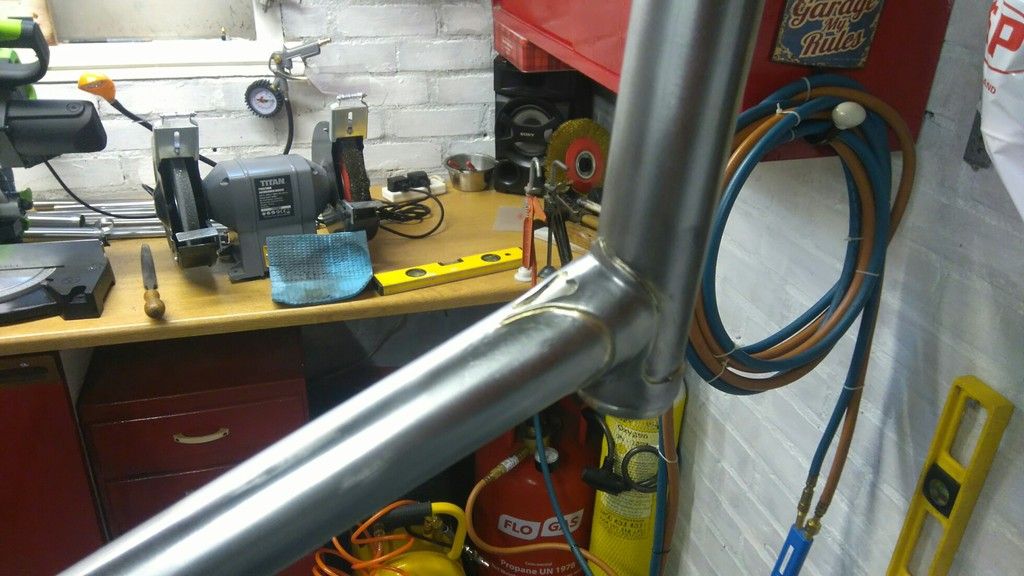
Brazed and cleaned.
So i now have the seat tube joined to the bottom bracket, and the head tube joined to the down tube. These are the two easiest joins as very little alignment is needed. The lugged bottom bracket holds the seat tube at 90 degree, and no alignment is needed for the head/down tube. The next step is to join the down tube to the bottom bracket, ensuring the head tube is in plain with the seat tube.
Danny.0 -
Why so much flux? Surely you only need flux in the area of the brazed joint? Is it serving another purpose?ROAD < Scott Foil HMX Di2, Volagi Liscio Di2, Jamis Renegade Elite Di2, Cube Reaction Race > ROUGH0
-
The whole area needs to be heated to prevent distortion of the tubes which would happen if the heat was concentrated too much in one spot. The flux prevents the oxygen corroding the heated steel, and is also a good guide to temperature as it melts at just below the melting point of the bronze.0
-
norwichdanny wrote:The whole area needs to be heated to prevent distortion of the tubes which would happen if the heat was concentrated too much in one spot. The flux prevents the oxygen corroding the heated steel, and is also a good guide to temperature as it melts at just below the melting point of the bronze.
I thought the point of flux was to "pickle" the steel and improve flow of the braze material. Yes, it changes colour when the temperature is right, but you only need to know that at the braze joint.
Do you not use a slightly "reducing" flame to heat the steel? It's a long long time since I did my EP1 at college.
ETA - found this http://www.harrisproductsgroup.com/~/me ... dering.pdf
There's a section on flames selection and it says avoid an oxidising flame. The key time for an oxidising flame is flame cutting.ROAD < Scott Foil HMX Di2, Volagi Liscio Di2, Jamis Renegade Elite Di2, Cube Reaction Race > ROUGH0 -
Yes I do use a reducing flame, and yes, the flux "wets" the steel and allows the filler metal to bond. Pickle can be used to clean off excess and burnt flux after brazing. I find a good soak in boiling water works. Oxygen is also in the air, and when the steel is heated, oxidisation is hugely increased. The flux on the tubes helps to prevent this.0
-
But the point of a reducing flame is the use up the oxygen in the air. I've just never seen so much flux used. It's a very long time since I've done any brazing but I do a fair bit of welding of car bodywork (doing some next tomorrow) where the same problems of heat on steel occurs (as welding is hotter still) but I don't need to worry about covering everything in something like flux. The arc itself is obviously shielded (as the steel would burn) but the reverse side of the weld isn't. I just think you're making yourself a much harder job using all that flux. Entirely up to you, of course.ROAD < Scott Foil HMX Di2, Volagi Liscio Di2, Jamis Renegade Elite Di2, Cube Reaction Race > ROUGH0
-
All the info i've had has said to do it this way. Flux is fairly cheap and providing it is not burnt just soaks off the tube and outside areas very easily. See photo 3/4 way down this page.
http://rideeatcamp.com/framebuilding-with-dave-bohm-days-8-and-9/
Also please remember I am not a pro builder, just someone tinkering in their garage! Hopefully the more I do this the better my technique and methods will be!
Cheers,
Danny.0 -
Don't get me wrong - I think you're doing a fab job and it looks fun (I'd love to weld myself up a space frame chassis at some point - just need far more time than I have) so I'm just interested because it's different than I've been taught.
I'll be following with interest. Good luck.ROAD < Scott Foil HMX Di2, Volagi Liscio Di2, Jamis Renegade Elite Di2, Cube Reaction Race > ROUGH0 -
The way you are doing it is working. However when I first saw your photos I too thought, " What,the hell, is all that flux for?" I used to do some brazing in the car trade,a long time ago.We used brazing rods that came with flux already in little dents in the rods. We did not use any additional flux.
In no way am I being critical ,just commenting.You are doing a brilliant job so stick with your way.0 -
Sorry, I didn't mean to sound defensive!! As I said I am in no way a pro with this and all comments are appreciated! Looking at the photos it does look like a lot of flux. I was taught to use enough for the entire heating process, not just for the joint but the surrounding area as well to also protect that. In my case, using oxy propane, getting the joint up to temp takes a while, especially the bottom bracket lug. Some of my practice joints where I used hardly any flux the tubes had corroded in a few days! I am probably being over cautious, but hey, as said above, it works and the practice joints I have cut open have been good and solid. Thanks for all the interest, I'll be back in my garage/workshop/man cave in a few days and will post an update! Happy new year all!0
-
A Bit more work done today....
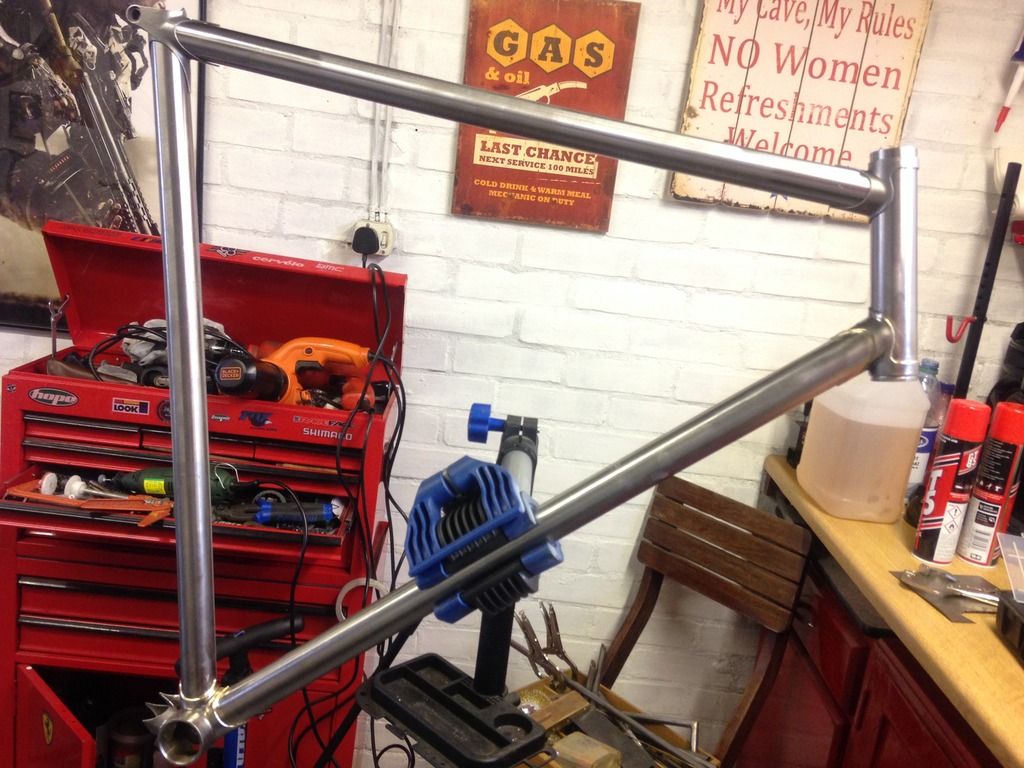
The front triangle is almost complete, with just the seat lug and the top head tube lug left to braze.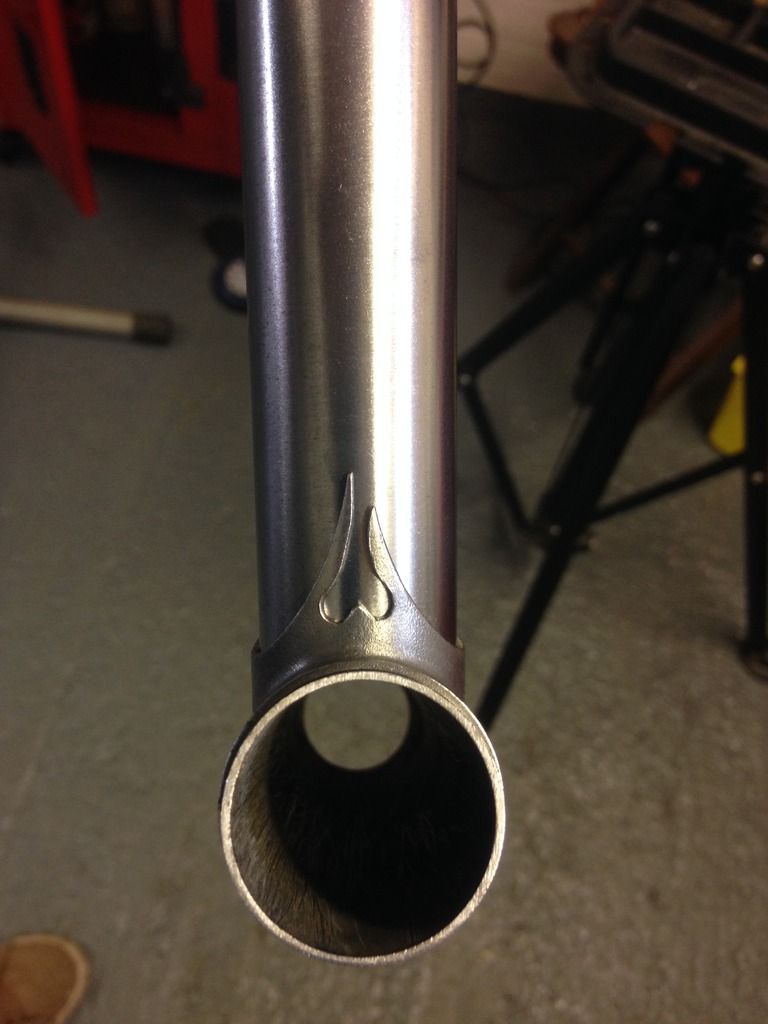
The filed head lug, quite pleased with it!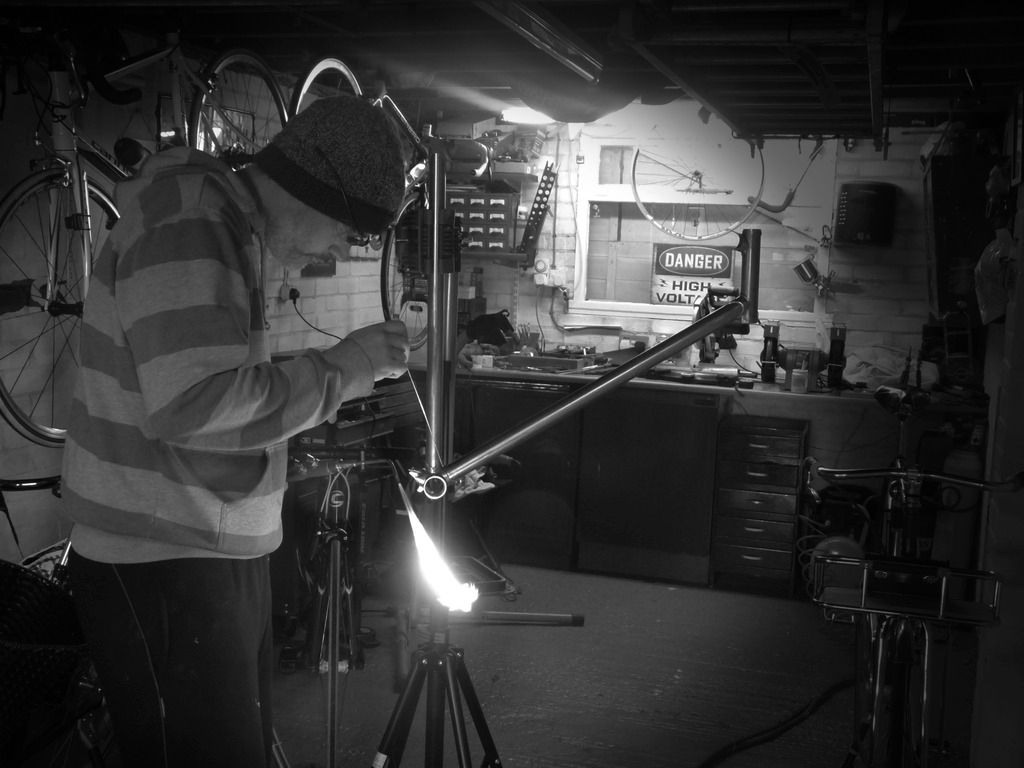
and my wife took this one!!0 -
Props to you man. This is a great thread. Wish I had the skills to do this.0
-
Fantastic. Looking better than my effort. Then I tried using papier mache and loo rolls for mine.
Lugs look superb. Are you going to get them chromed or painted?0 -
Very impressed with this. A truly hand built bike and I too am more than a bit jealous.0
-
Nice - there's something very pleasing about bare steelROAD < Scott Foil HMX Di2, Volagi Liscio Di2, Jamis Renegade Elite Di2, Cube Reaction Race > ROUGH0
-
Lovely work, just a thought, are you making the forks as well?Rose Xeon CDX 3100, Ultegra Di2 disc (nice weather)
Ribble Gran Fondo, Campagnolo Centaur (winter bike)
Van Raam 'O' Pair
Land Rover (really nasty weather )0
)0


