Kinesis Aithein
Comments
-
Thanks for all your feedback guys.
You've made my mind up. Time to start looking for some good deals . 0
. 0 -
All these lovely Aithen builds are making me want to build one! Must hide the bank card! 8)0
-
Absolutely cracking bike. I have raced quite a bit on mine and love the feel and the feedback it gives. I have also done a few weeks in the Welsh mountains with it and it climbs remarkably well. I have got it set up for TT'ing at the moment (did my first 100 today on it in 4 hours). A great 'all rounder' and I would buy one again tomorrow.
Pic from a 10 on Saturday in its current setup: 0
0 -
What's the tyre clearance like on the Aithein framset? Enough room for 25mm tyres?0
-


 0
0 -
You'll find most people, including myself, will be using 23mm tyres on this bike but i'm sure you'll be fine with 25mm.MiddleRinger wrote:What's the tyre clearance like on the Aithein framset? Enough room for 25mm tyres?
One of the early posters looks like he's using specialized turbo 25mm.0 -
25mm fit easily, 28mm would probably fit but it would be pretty tight.0
-
I have the black anodised version bought just before Christmas but have not ridden it much probably only 200 miles -due to illness and problems with the graphics on the frame going blotchy , looking like they were wearing through.
I took the bike back to Ken Foster Cycle Logic in Manchester who have been really brilliant sorting a new frame from the distributor at no cost. Despite the graphics issues I have gone for another black anodised....I still think it is a great bike even with the limited ride time.I have Zonda wheels with Continental 25mm tyes and the ride is smooth and comfortable.0 -
Pulled the trigger. A sleek looking Anodised black frameset is mine, all mine!
 0
0 -
What spec you going for Middleringer? Dont forget to post some photos when its done.0
-
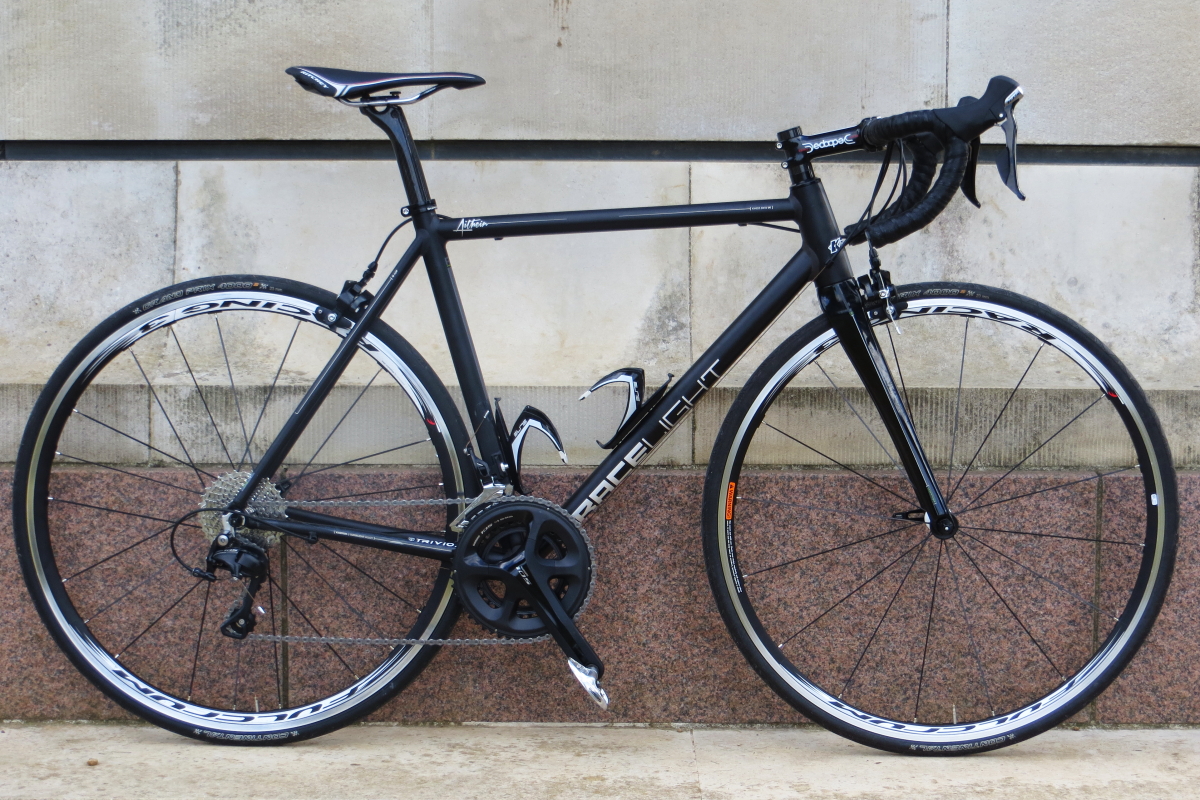
Done!

Frameset: Kinesis Aithein 53cm / Full carbon Aithein fork
Bars: ZIPP Service Course Alloy 40cm
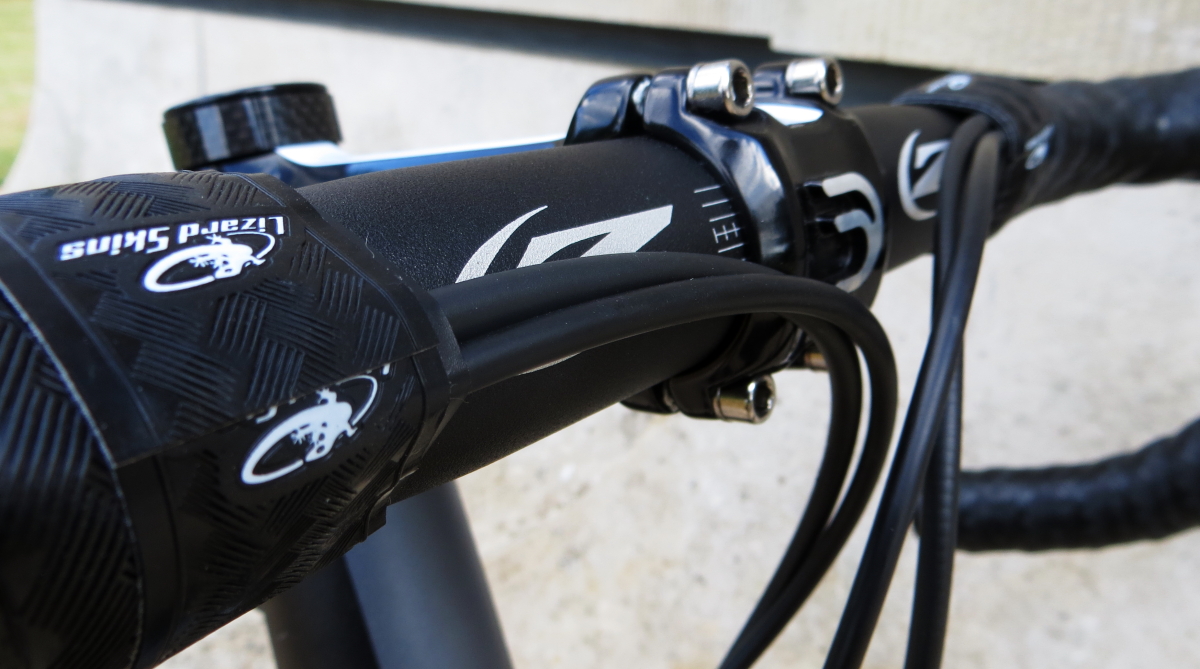
Stem: Deda Zero 1 Alloy 110mm
Headset: FSA Integrated
Bar Tape: Lizard Skins DSP Bar Tape 3.2mm
Groupset: Shimano 5800 105 11-speed
Saddle: Ritchey Pro Streem V2
Seatpost & Clamp: Unbranded carbon post / Superleggera clamp
Wheels: 2015 Fulcrum Racing 3
Tyres: Continental GP 4000S 23mm
Weight: 8.0kg / 17.6lbs (including bottle cages and pedals)


Managed to build it all at home without totally messing anything up! Didn't take quite as long to finish as I'd expected. I gave it a 70 mile test ride out into the Chilterns on the weekend and it felt sweet, although still got some final tweaks to get it perfect. Pretty smooth riding for not being carbon, nice and responsive.
Just makes you want to attack, attack, attack!
If anyone wants to know, my 53cm frame weighed in at 1145g on my digital kitchen scales.0 -
Love the look of this...
Would you class this as a full on race frame? I'm looking for something a little less racy than my Felt F1. As comfortable as it is, I just want something more relaxed to ride...0 -
Nice build, some good choice of components down to the last details, looks great.0
-
Love the look of this...
Would you class this as a full on race frame? I'm looking for something a little less racy than my Felt F1. As comfortable as it is, I just want something more relaxed to ride...
I wouldn't say it was relaxing to ride, I would look elsewhere if you wanted a more relaxed ride. Top bike though.0 -
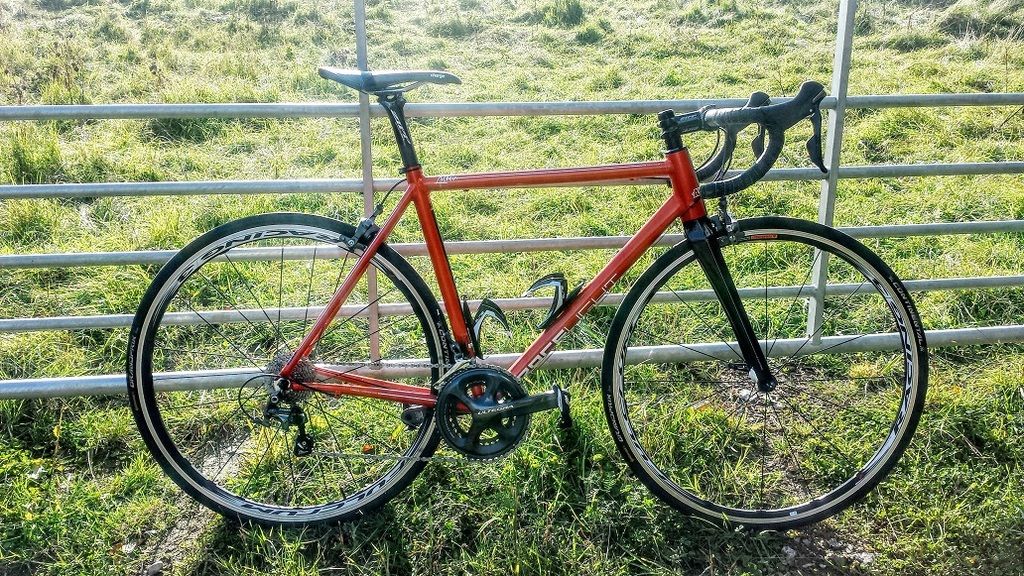
Just thought I would share mine on this thread
Mainly Shimano Ultegra groupset with Ultegra Wheelset0 -
Thanks, I'm slowly narrowing the field downLove the look of this...
Would you class this as a full on race frame? I'm looking for something a little less racy than my Felt F1. As comfortable as it is, I just want something more relaxed to ride...
I wouldn't say it was relaxing to ride, I would look elsewhere if you wanted a more relaxed ride. Top bike though. 0
0 -
Nice build, some good choice of components down to the last details, looks great.
Thanks. First time building up a road bike and it went pretty smoothly. I've still got a few small tweaks to make just to finish it off and fine tune, but extremely happy with the initial result!0 -
Nice build, some good choice of components down to the last details, looks great.
Thanks. First time building up a road bike and it went pretty smoothly. I've still got a few small tweaks to make just to finish it off and fine tune, but extremely happy with the initial result!
My Aithein was also my first build and no issues for me either.
I still need to get the steerer cut further really but there's no going back once its done.
Shifters have been adjusted up a bit and new Ritchey WCS bar tape since the photo was taken.0 -
I still need to get the steerer cut further really but there's no going back once its done.
I cut my steerer at home (very, very carefully!) with a new hacksaw, wrapping the carbon with masking tape to stop possibly fraying and using a pipe clamp as a guide. It was by far the most nerve inducing part of the build but relatively straight forward.0 -
I still need to get the steerer cut further really but there's no going back once its done.
I cut my steerer at home (very, very carefully!) with a new hacksaw, wrapping the carbon with masking tape to stop possibly fraying and using a pipe clamp as a guide. It was by far the most nerve inducing part of the build but relatively straight forward.
I use one of these - http://www.planetx.co.uk/i/q/TOJWSTSG/jobsworth-fork-steerer-tube-saw-guide0 -
Considering selling my Boardman Carbon frameset and swapping to this...they do look lovely and it would be nice to have a change (for no real discernable reason)
Well I've now bought one and have a question. Mine is second hand (albeit barely used) and has a strange cable routing. The shifter cables come from under the bar tape, cross each other in front of the headtube (as usual) then the outers go into the cable stops (again, as normal). The odd part is now the inners cross over each other before meeting the cable guide under the BB and heading off to the mechs. This doesn't look like you guys have done the same.
For details - its this bike here: viewtopic.php?f=40090&t=13037991
The detail is in the 4th pic down. You can JUST see as the cables come up from the BB they are crossing over, but the cables coming out the bars look fine.
Any tips on how to route it and some close up photos of under the BB/front mech would be great.0 -
EDIT: looks like the cables aren't supposed to cross in front of the headtube - can someone please confirm?
Ta0 -
looks to me as though it's been routed that way to avoid such a tight turn in the cable ie the rear mech cable having to turn tightly to go through the right hand headtube guide. It then has to switch on the downtube so routes to the rear mech. Seems an odd way to run them, but does it work okay? Also any rubbing/additional wear on cable were they crossover? Otherwise can either leave or reroute and see if the performance is any better/worse.0
-
Considering selling my Boardman Carbon frameset and swapping to this...they do look lovely and it would be nice to have a change (for no real discernable reason)
Well I've now bought one and have a question. Mine is second hand (albeit barely used) and has a strange cable routing. The shifter cables come from under the bar tape, cross each other in front of the headtube (as usual) then the outers go into the cable stops (again, as normal). The odd part is now the inners cross over each other before meeting the cable guide under the BB and heading off to the mechs. This doesn't look like you guys have done the same.
For details - its this bike here: viewtopic.php?f=40090&t=13037991
The detail is in the 4th pic down. You can JUST see as the cables come up from the BB they are crossing over, but the cables coming out the bars look fine.
Any tips on how to route it and some close up photos of under the BB/front mech would be great.
It's called criss-cross cable routing and arguably it's better than regular routing as it reduces friction. I use it when I build up bikes. Here's Sheldon Brown on the subject -
http://www.sheldonbrown.com/cables.htmlMost bicycles with handlebar-mounted shifters run the rear cable on the right, the front on the left. This causes some awkwardness in routing the length of housing from the shift lever to the frame stops. Due to the need to allow these housings to be long enough to permit the bars to be turned all the way back and forth, the housings often wind up making a reverse bend--for instance, the rear will go from the shifter, which is on the right, swing forward and cross over past the centerline of the bicycle, then back over to the right side of the top tube, before heading down the down tube. These extra bends increase friction, and the fairly forcible contact between the housing and the side of the top tube can damage the finish.
A neat solution to this is to run the cables "criss-cross" style: The rear runs from the lever, (on the right) around the top tube, and to the cable stop on the left side of the downtube! The front cable crosses over similarly from the left side of the handlebar to the right side of the down tube.
The bare cables then cross one another under the middle of the downtube, making an "X". The cables may touch where they cross, but they will do so very lightly, since they are both straight...the tiny bit of friction at this crossing is more than offset by the reduction in friction in the smoother-flowing cable housings.0 -
[quote=It's called criss-cross cable routing and arguably it's better than regular routing as it reduces friction. I use it when I build up bikes. Here's Sheldon Brown on the subject -
http://www.sheldonbrown.com/cables.html
[/quote]Most bicycles with handlebar-mounted shifters run the rear cable on the right, the front on the left. This causes some awkwardness in routing the length of housing from the shift lever to the frame stops. Due to the need to allow these housings to be long enough to permit the bars to be turned all the way back and forth, the housings often wind up making a reverse bend--for instance, the rear will go from the shifter, which is on the right, swing forward and cross over past the centerline of the bicycle, then back over to the right side of the top tube, before heading down the down tube. These extra bends increase friction, and the fairly forcible contact between the housing and the side of the top tube can damage the finish.
A neat solution to this is to run the cables "criss-cross" style: The rear runs from the lever, (on the right) around the top tube, and to the cable stop on the left side of the downtube! The front cable crosses over similarly from the left side of the handlebar to the right side of the down tube.
The bare cables then cross one another under the middle of the downtube, making an "X". The cables may touch where they cross, but they will do so very lightly, since they are both straight...the tiny bit of friction at this crossing is more than offset by the reduction in friction in the smoother-flowing cable housings.
I was planning to cable my Racelight Tk this way, but the location of the cable stops and the massive drainpipe of a downtube would mean that the cables would be making significant contact with quite a stretch of the paintwork on their way to the BB cable guide. The alu is paper thin there so I don't want to be rubbing the paint off and tempting corrosion. As it is I'm considering adding some cable donuts to stop them rattling against the tube when in the small chainring or smallest sprocket and under no tension.0 -
-
Well I am happy to live with it if that's what Sheldon says, even if I am not sure I like the look of it. Fortunately I can't see it while riding!
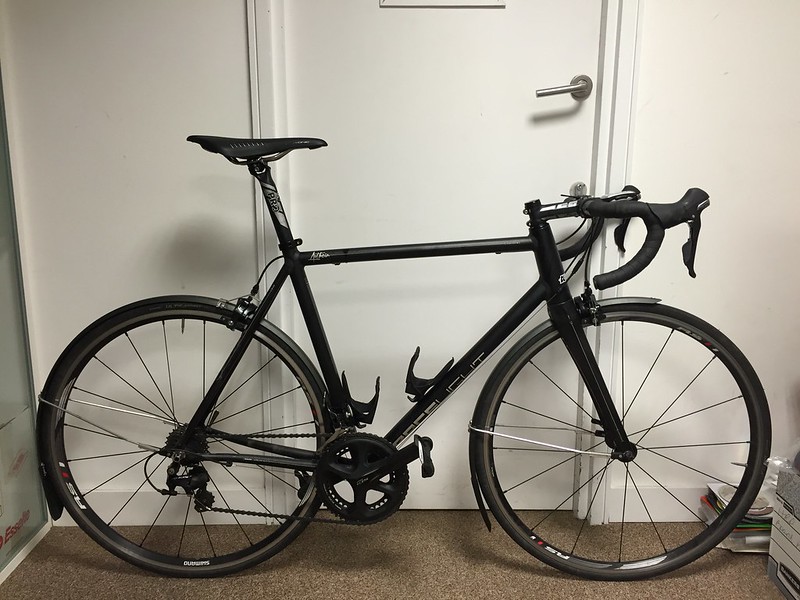
Here's a pic of mine now it's set up.
Frame: Kinesis Aithein size large
Groupset: Shimano 5800 throughout incl pedals. 53/39, 11-25.
Finishing kit - PRO PLT. 110mm stem, 44cm bars (would prefer 42s and a rounder curve tbh)
Wheels as pictured: Shimano RS21
Mudguards: Portland design works
I also have some Zondas and 50mm carbon clinchers and will load some pics of those when the guards come off!0 -
-
-
You have to use the PDW (or SKS?) guards as there are no mounts and you should note that they don't take 25mm tyres (at least definitely not my Michelin pro4 SCs) so am running 23mm contis with no issues.
They are pretty easy to assemble, just Allen keys and pliers required (to do some bending). The only thing I would stress is:
Make sure you take extra care fixing the rear brake bridge mount so its central - mine is a few mm off centre which is really annoying.
There isn't enough space on the seat tube for the guard bracket to attached normally. I drilled it out (2 soft rivets so can be done with pliers to bend the rivet and force to knock it out) and drilled 2 holes in the guard to pass a cable tie through (and have electrical taped the frame) and just tied it to the frame. I'll send a pic later.
Otherwise performs flawlessly and the PDWs are excellent guards. Am taking it out this weekend for a proper ride so will see how it all goes!0


