My build - GT Chucker project. Finished!
Danr
Posts: 196
After selling my SX Trail I decided to build up a Chucker frame I got for a good price. My nephew wants a street/dj bike so this is for him if he wants it but we'll see.
Thid is copied from another forum so excuse the the unusual posts.
Ok here it goes.
First of all set up the "work area" in my garage -
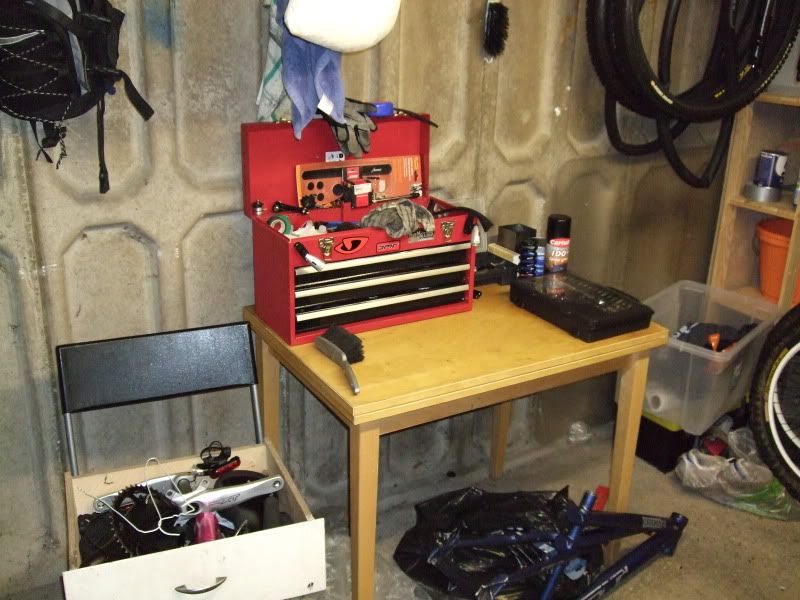
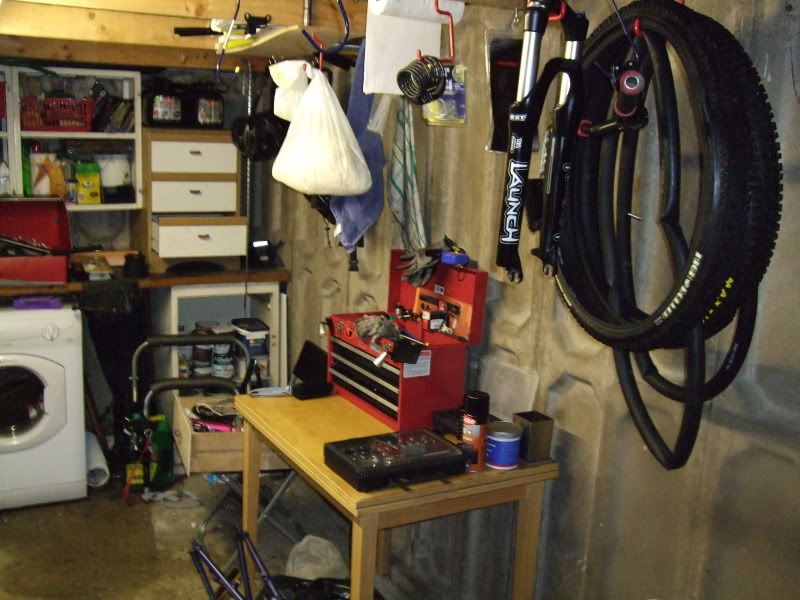
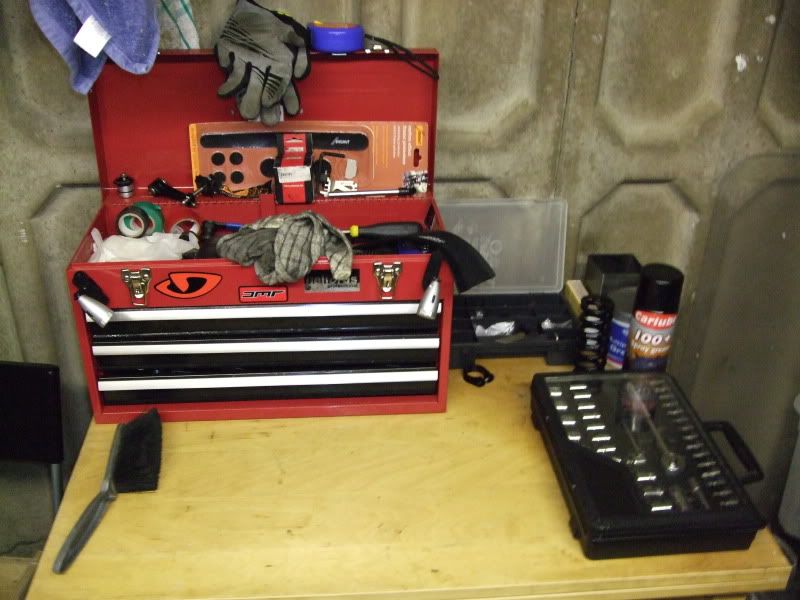
Ok then the parts are assembled -
Firstly the frame. GT Chucker 3.0 medium
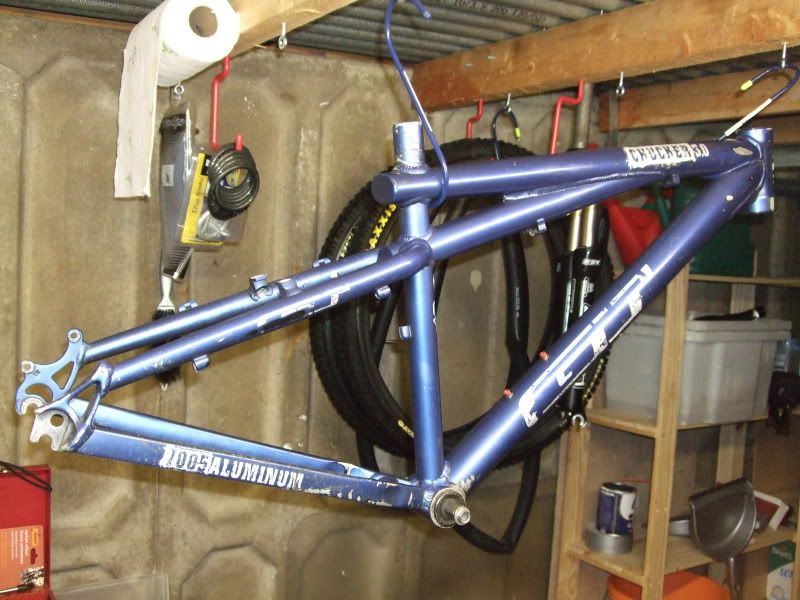
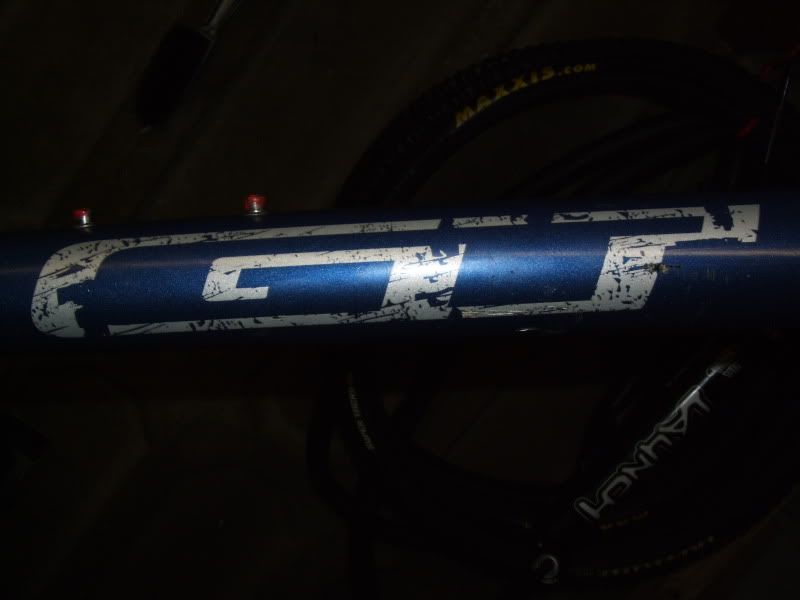
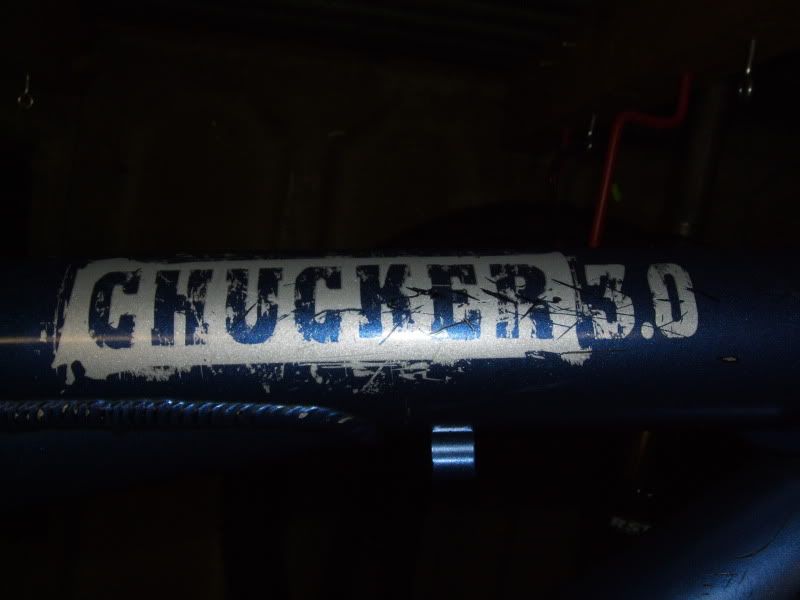
Forks - Marzocchi Bombers (currently missing the 20mm bolt :x )
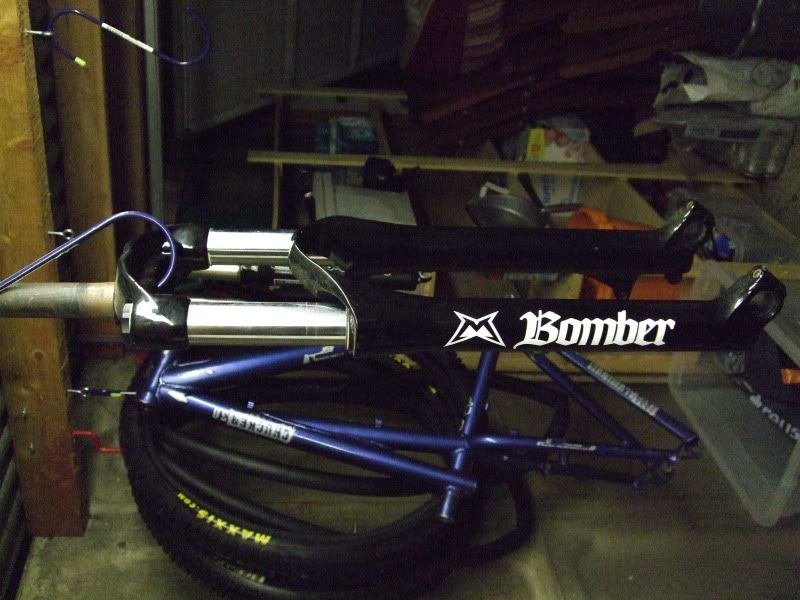
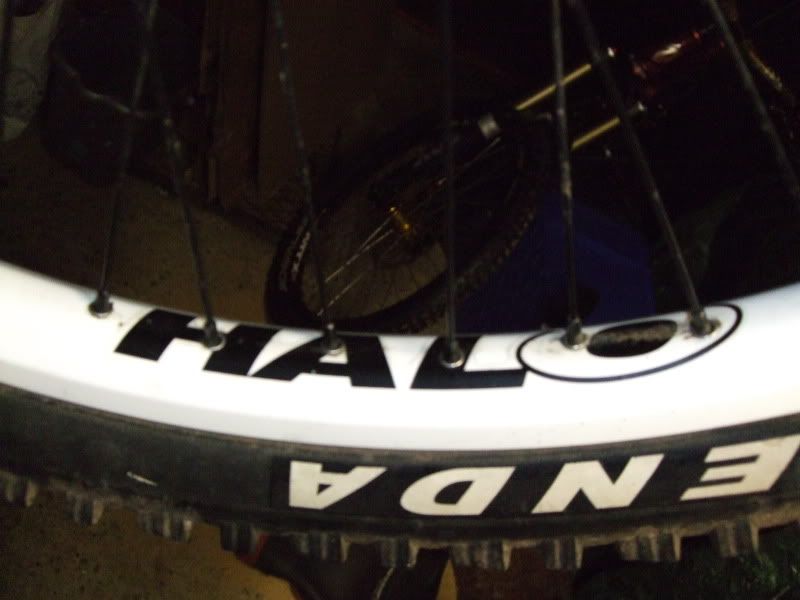
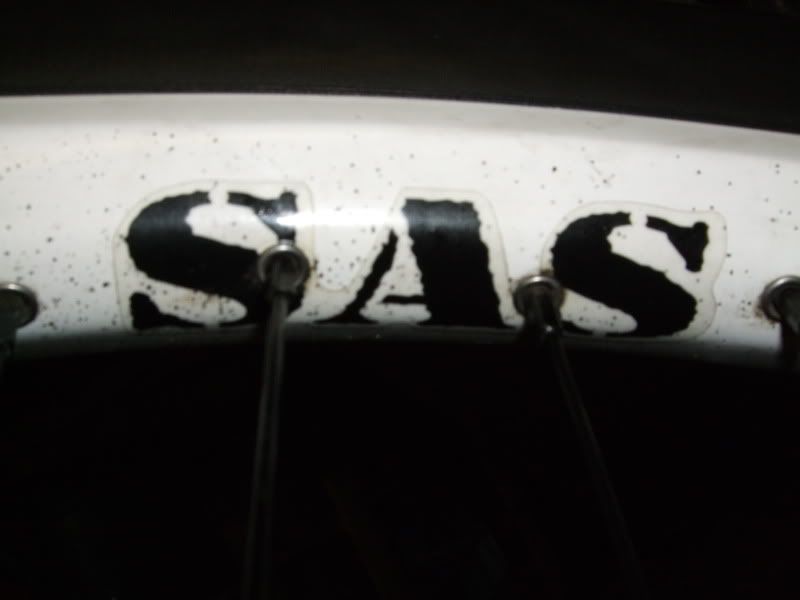
Wheels -Halo SAS
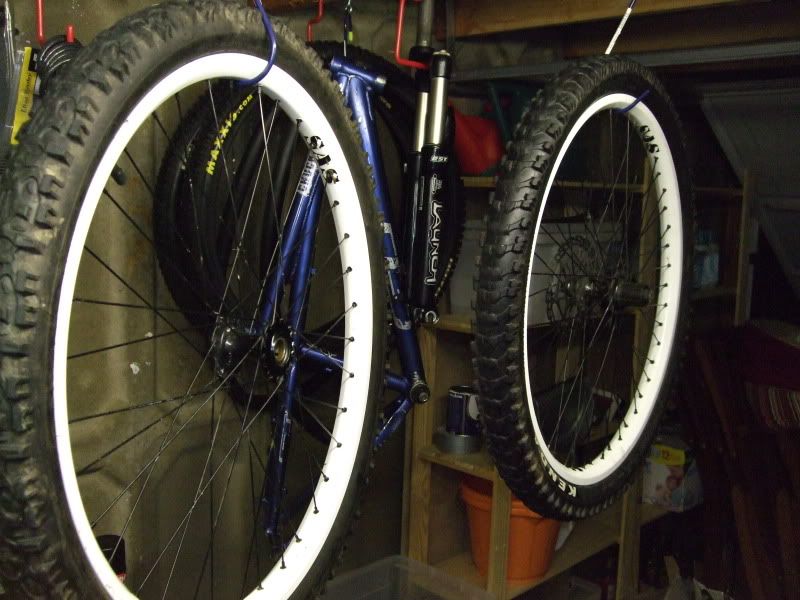
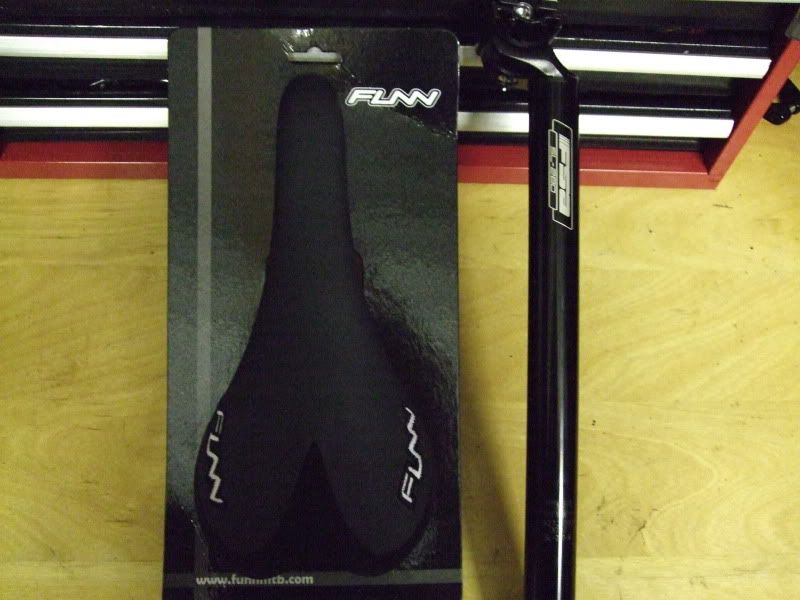
Brand new Funn seat and FSA seat post -
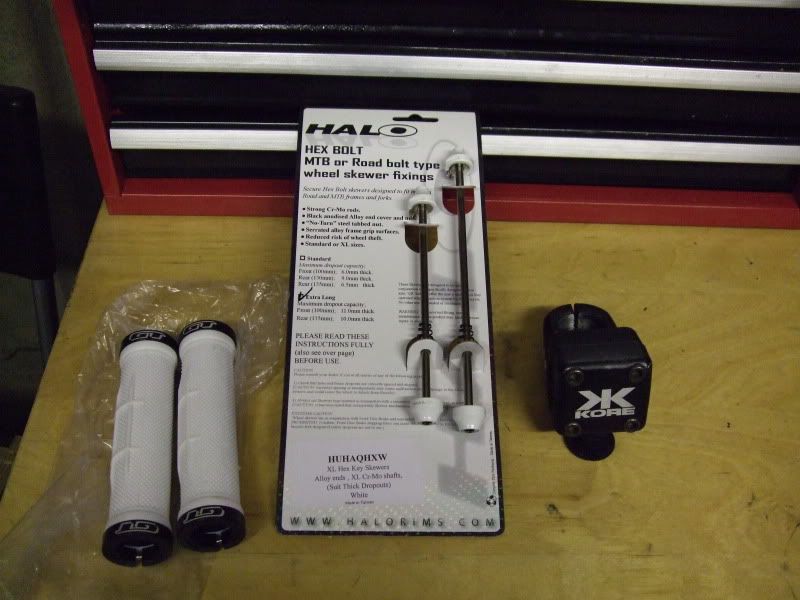
White bits - GT grips, Halo Hex QR and Kore stem (awaiting replacement as this is not for OS bars)
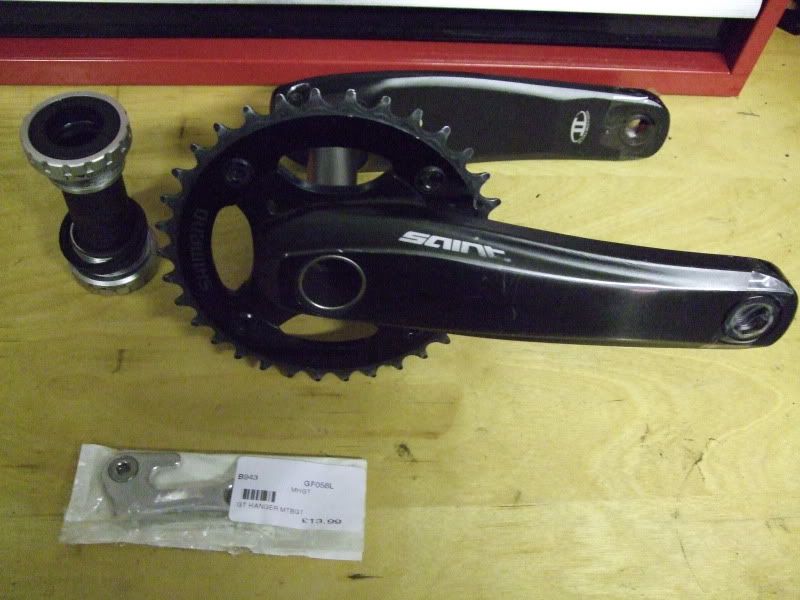
Saint Crank and BB with my new rear hanger (got the last one from Evans)
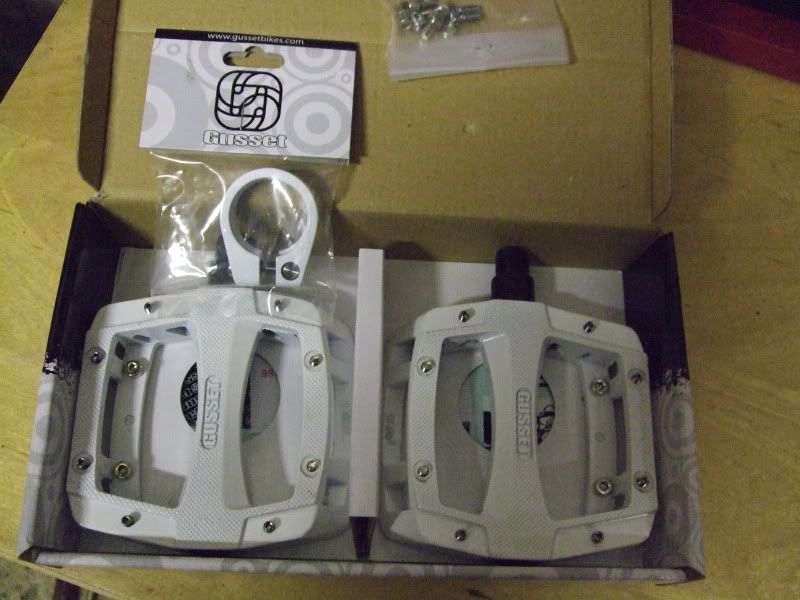
More white bits - Gusset pedals and seat clamp (too small as not the 31.8 it claims to be)
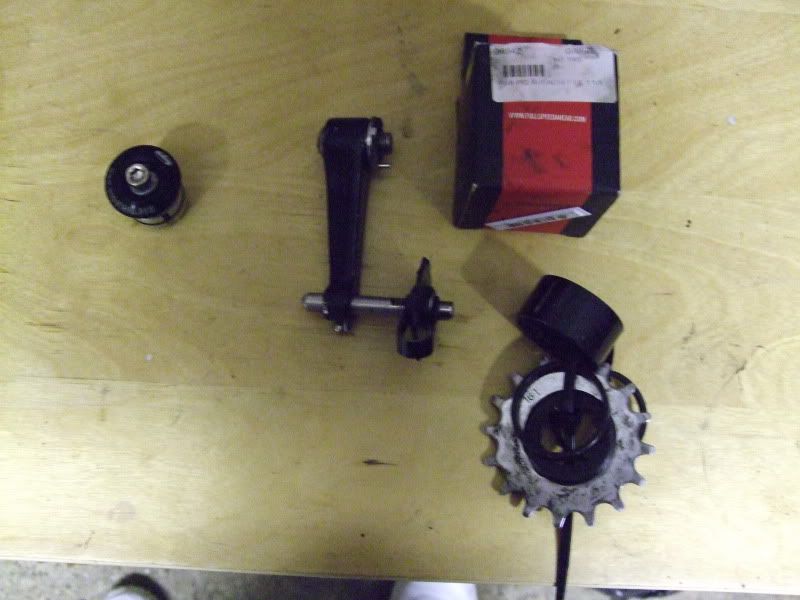
Single speed kit and tensioner with head set and head doctor
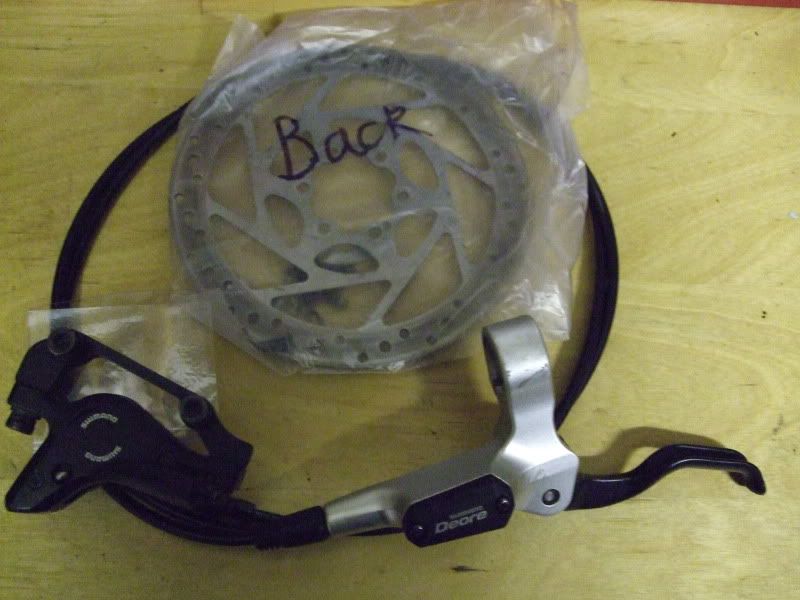
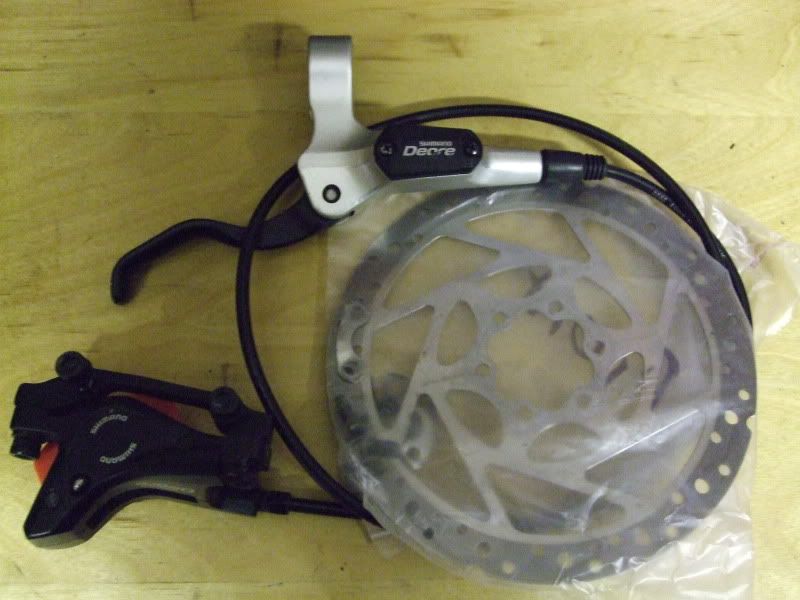
Deore hydrolic brakes
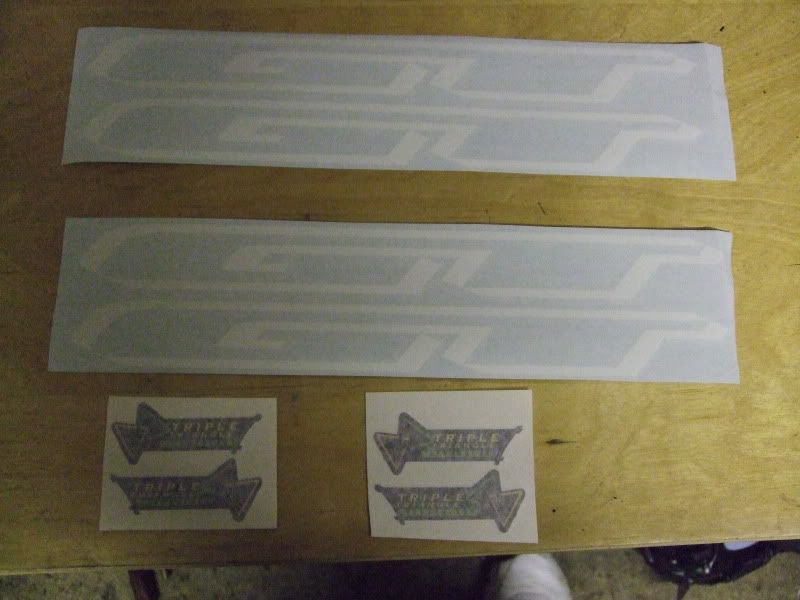
New decals
Thid is copied from another forum so excuse the the unusual posts.
Ok here it goes.
First of all set up the "work area" in my garage -


Ok then the parts are assembled -
Firstly the frame. GT Chucker 3.0 medium


Forks - Marzocchi Bombers (currently missing the 20mm bolt :x )

Wheels -Halo SAS


Brand new Funn seat and FSA seat post -

White bits - GT grips, Halo Hex QR and Kore stem (awaiting replacement as this is not for OS bars)

Saint Crank and BB with my new rear hanger (got the last one from Evans)

More white bits - Gusset pedals and seat clamp (too small as not the 31.8 it claims to be)

Single speed kit and tensioner with head set and head doctor

Deore hydrolic brakes


New decals

0
Comments
-
Ok work has started.
The spray kit. Going Matt black frame with white details!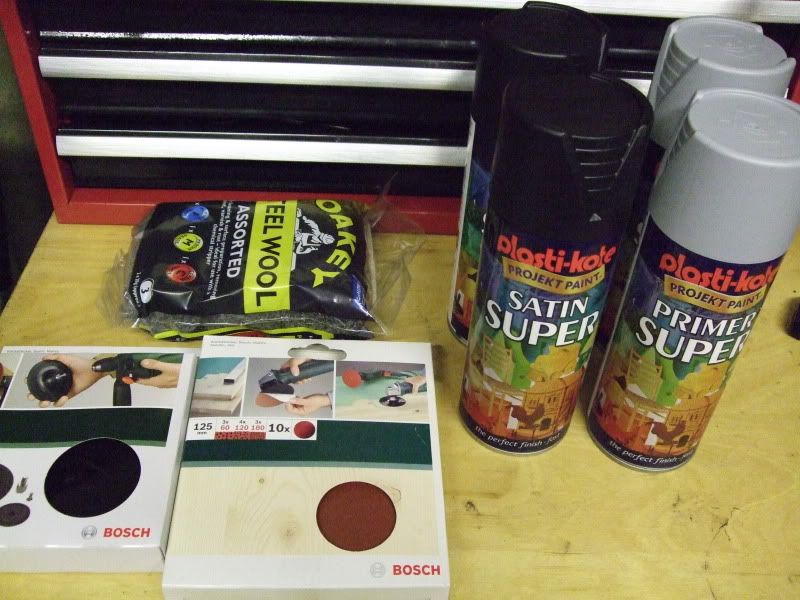
Need to buy lacquer from halfrauds
Started sanding the old decals off -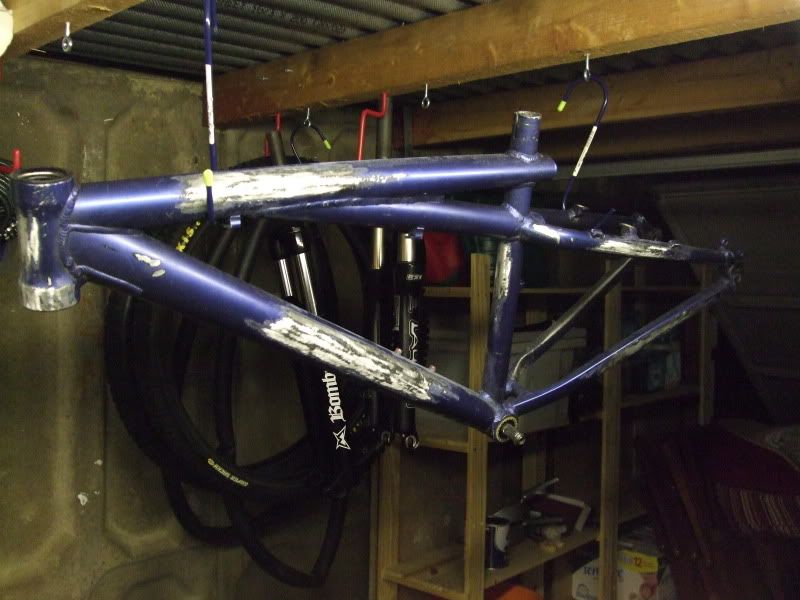
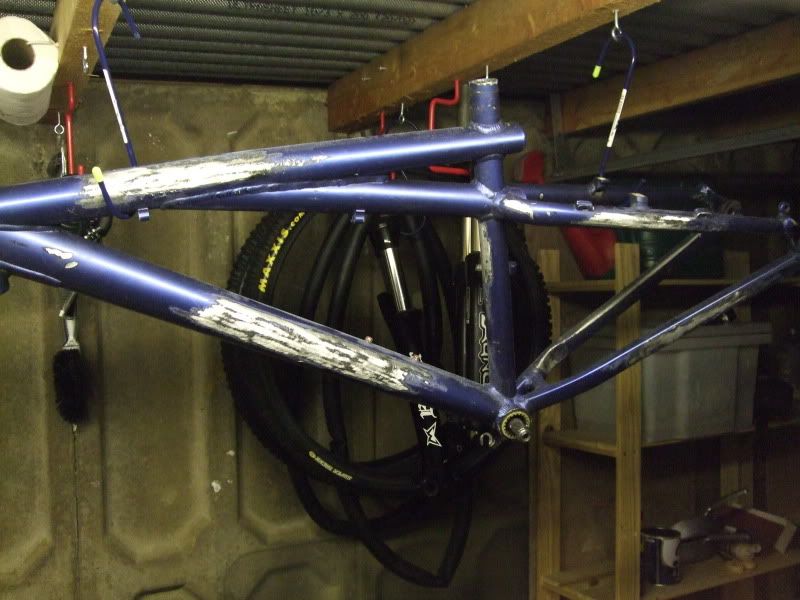
Finally, last shot of my SX Trail as I have packed her up ready for the courier tomorrow.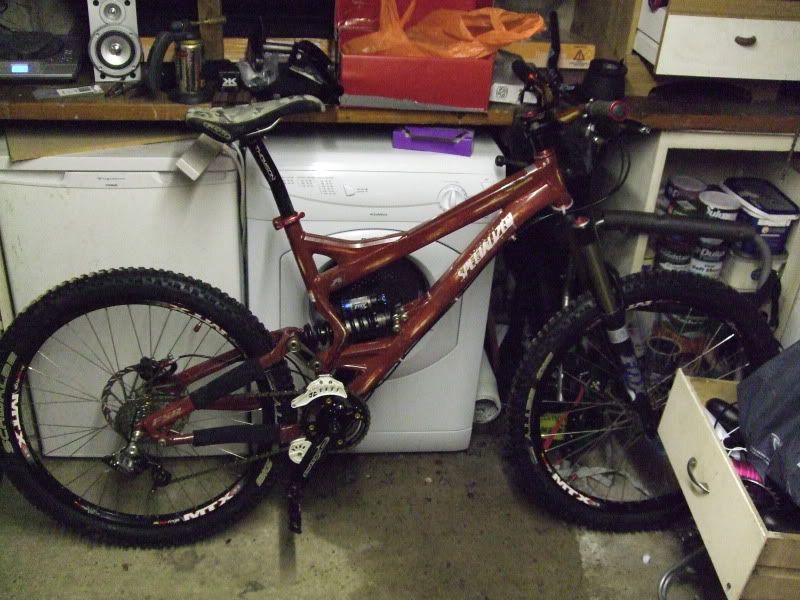

 0
0 -
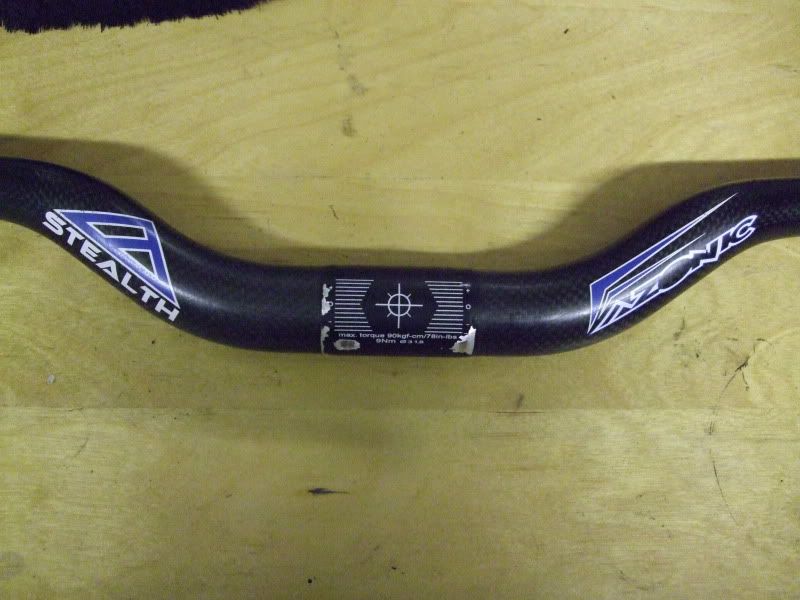
Forgot to add my bars. Now I know these arn't the best option for a street bike but this bike is potentially being built for my nephew (test run for my own build) and he likes bling etc. If he doesn't want it i'll keep it and potentially change the bars.
Azonic Stealth carbon bars -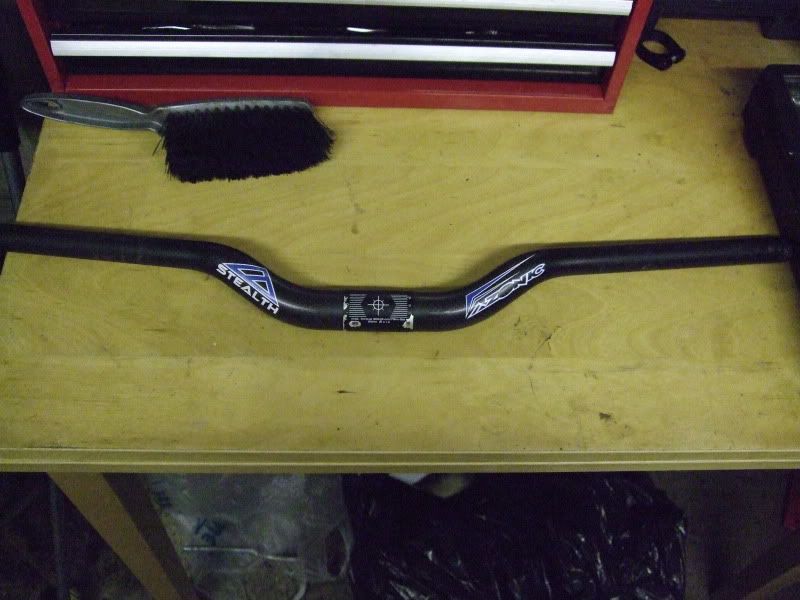
 0
0 -
Nice one, I take it you're doing a respray (after seeing the decals?)
 0
0 -
continued -
Some more goodies arrived today - White chain and new Kore stem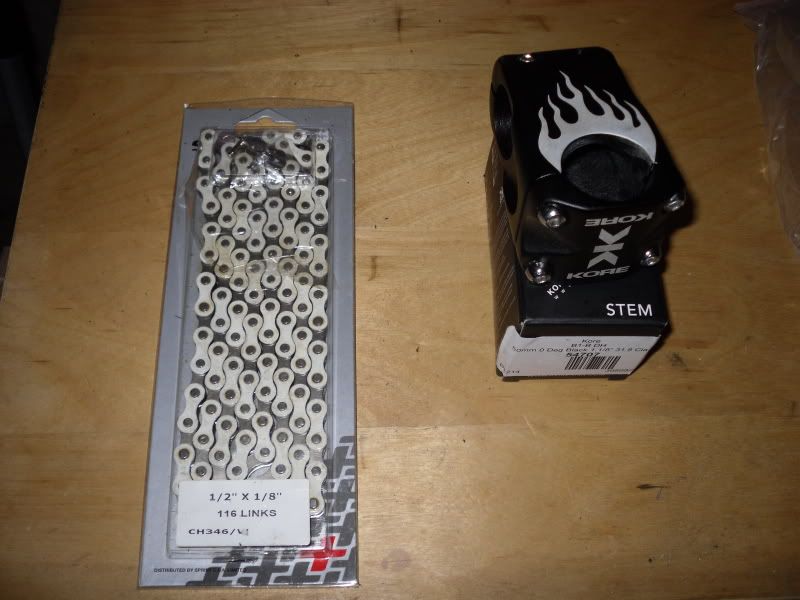
This is how I started the evening -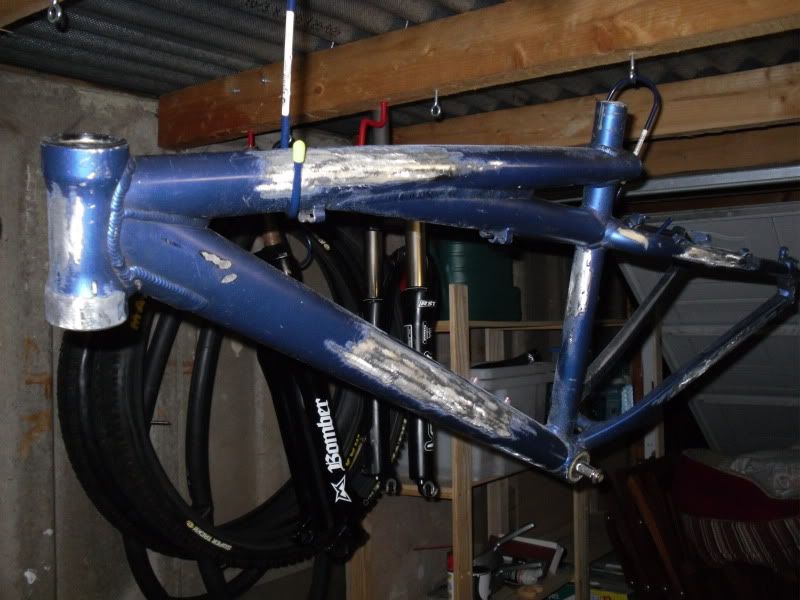
Sanded the frame, not back to metal but more of a conditioning of the frame to help the paint bond.
Frame sanded and tools of my trade -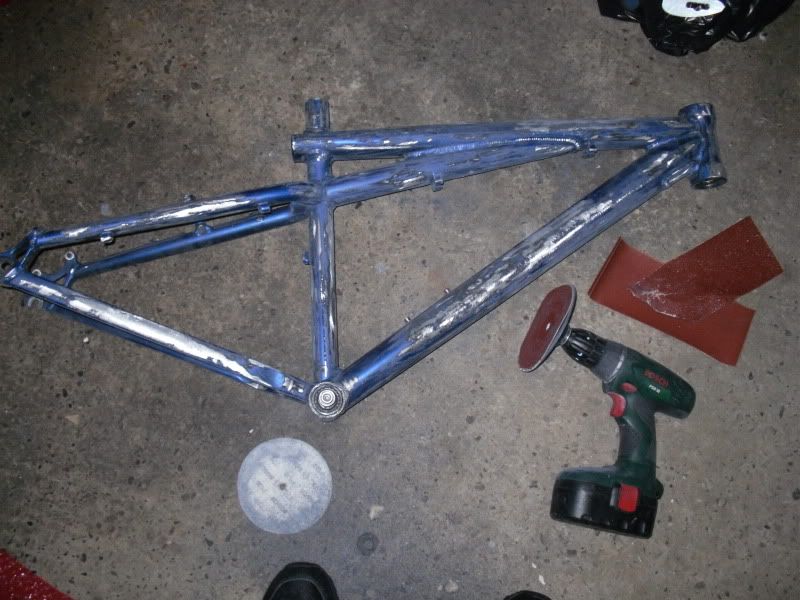
Then wash -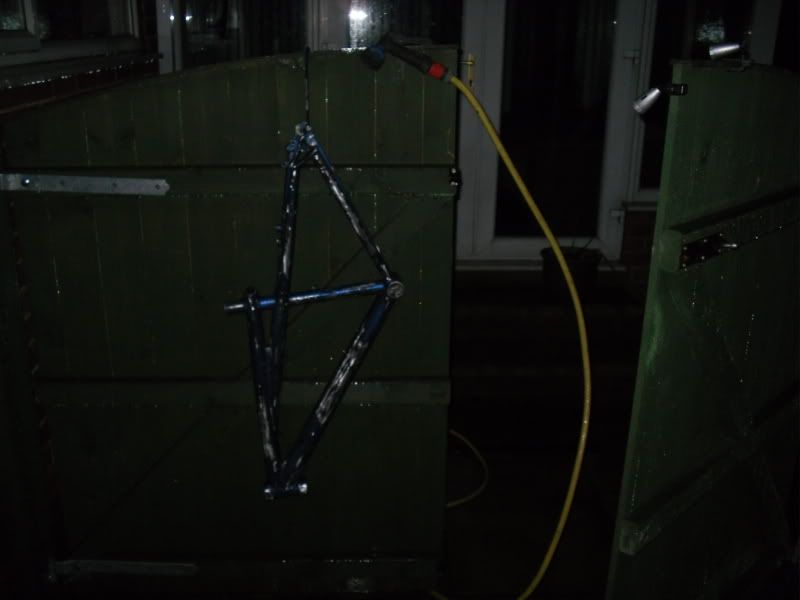
Removed the old BB as going for hollowtech and saint crank-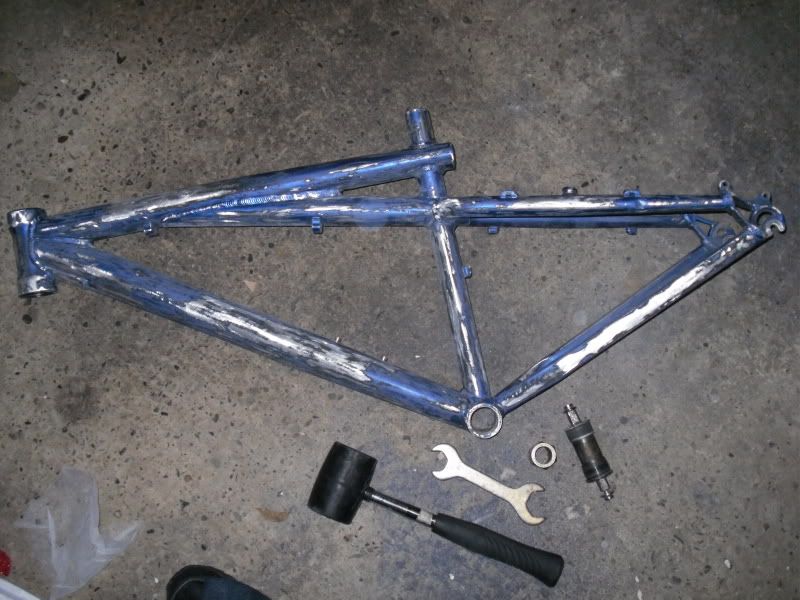
Going to start spraying the frame at the weekend all being well. Will mock up a booth of some sort in the garage and put an air heater in there as too cold at the moment. Not to cook just to get a room temp going.
After washing and drying the frame I decided to mock up the frame and parts to make sure everything fits and is ok to go -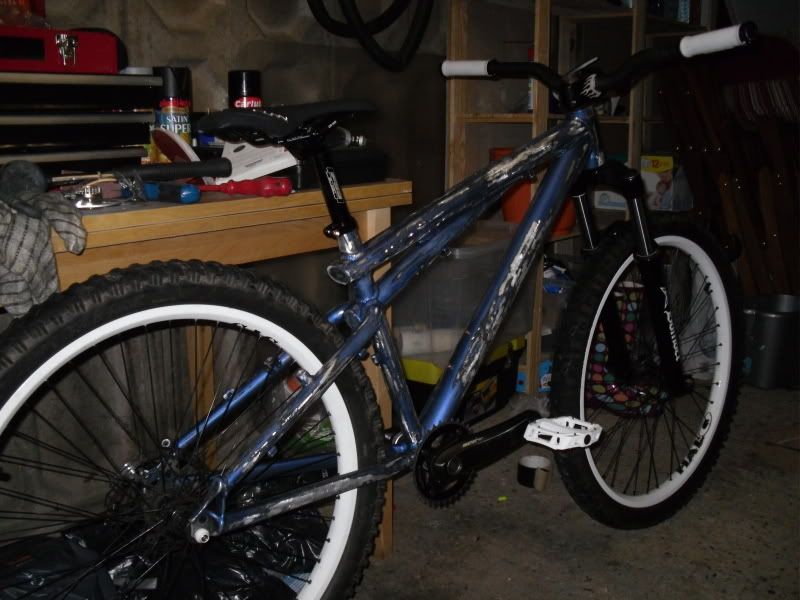
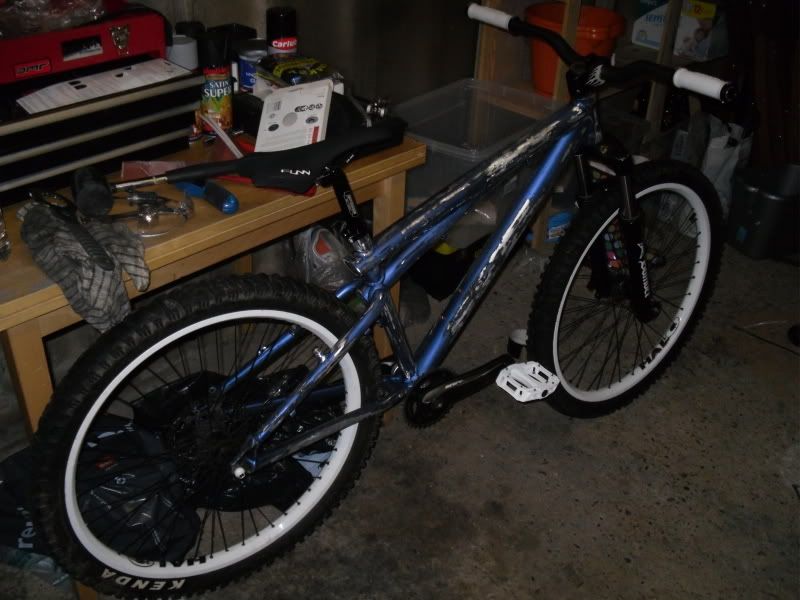
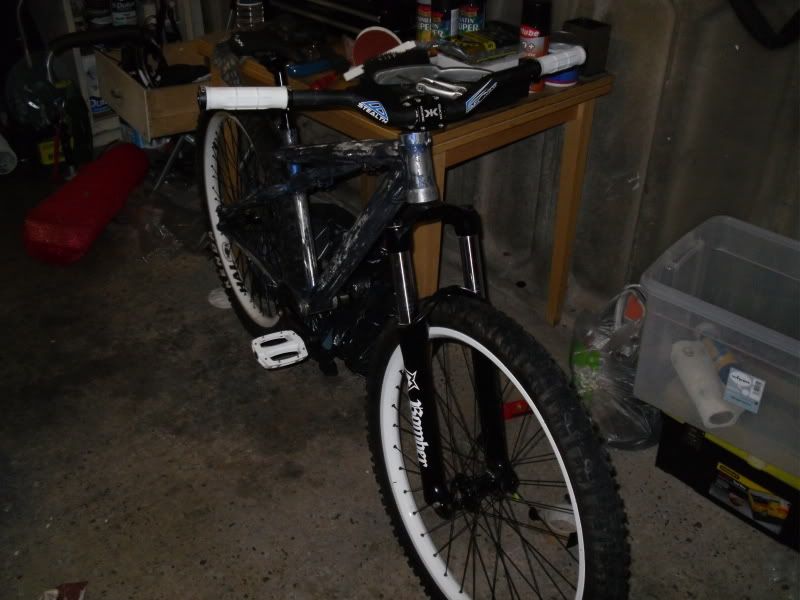
Striped the frame again and thats where I left it for the night. More to come at the weekend
I'm interested to know peoples thoughts? Do's and Dont's and any objections to the spec and recomendations?0 -
Continued -
Final prep for paint
First of all wire wooled the frame to get in all the nooks and crannys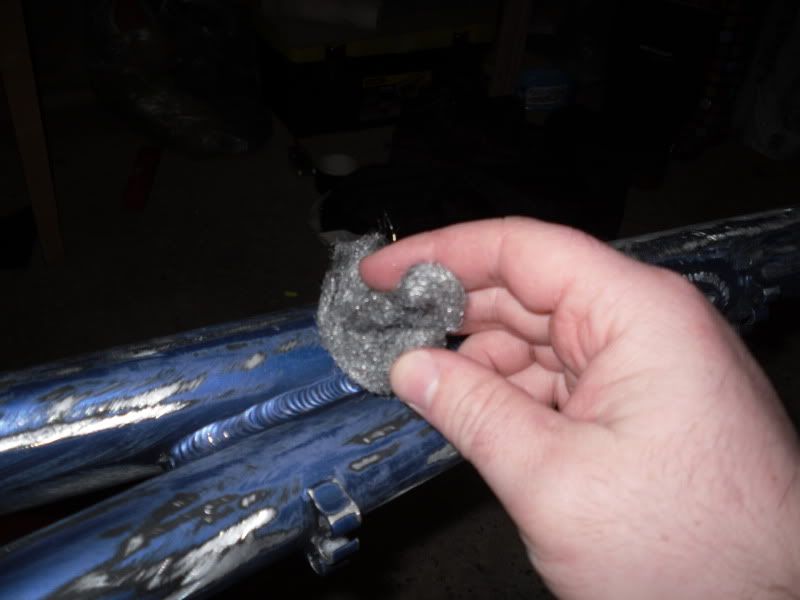
Then washed the frame to get rid of old dust, grease and dirt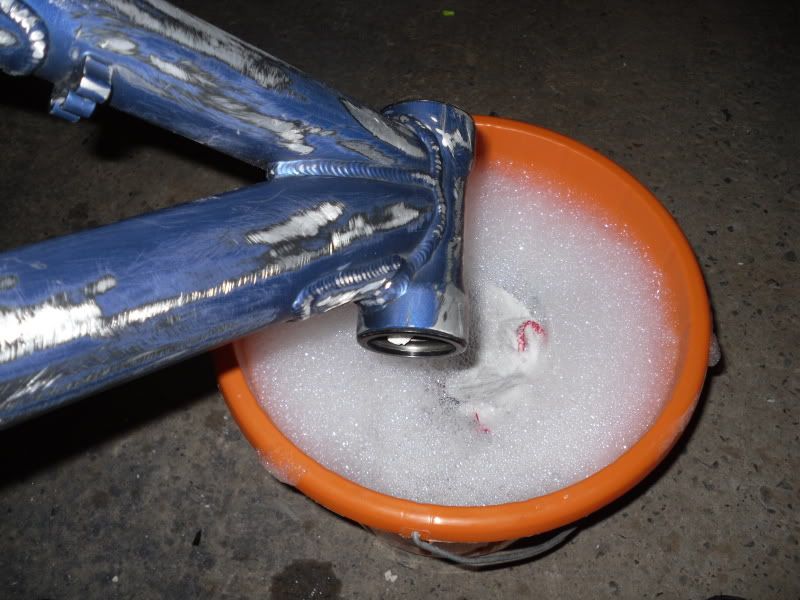
Then dried and started filling the wholes I don't want spray to get into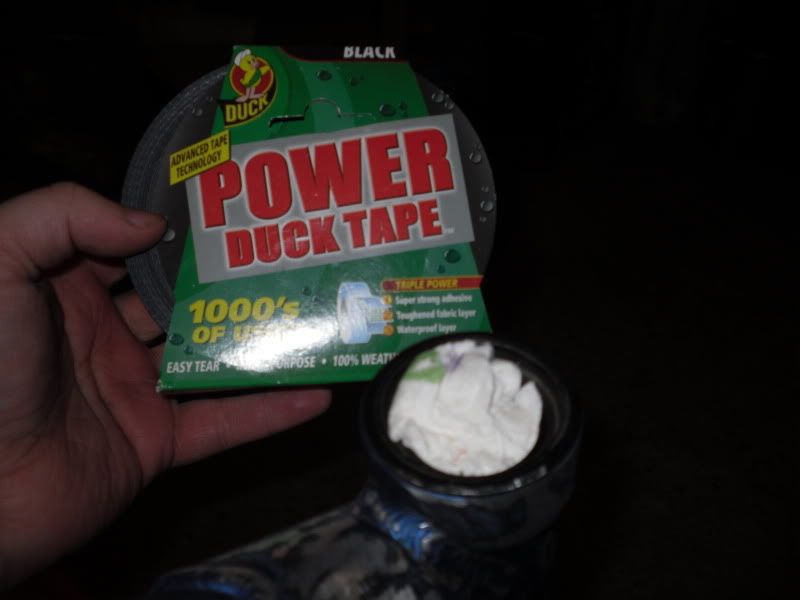
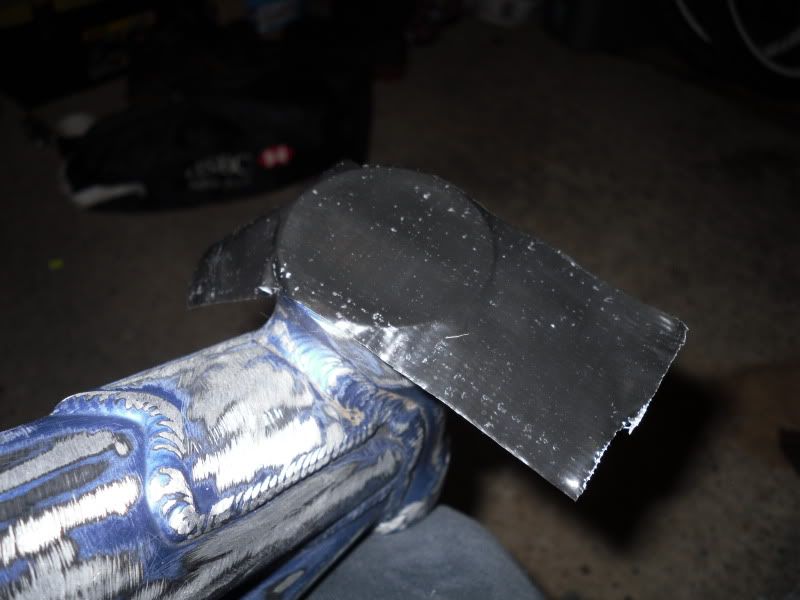
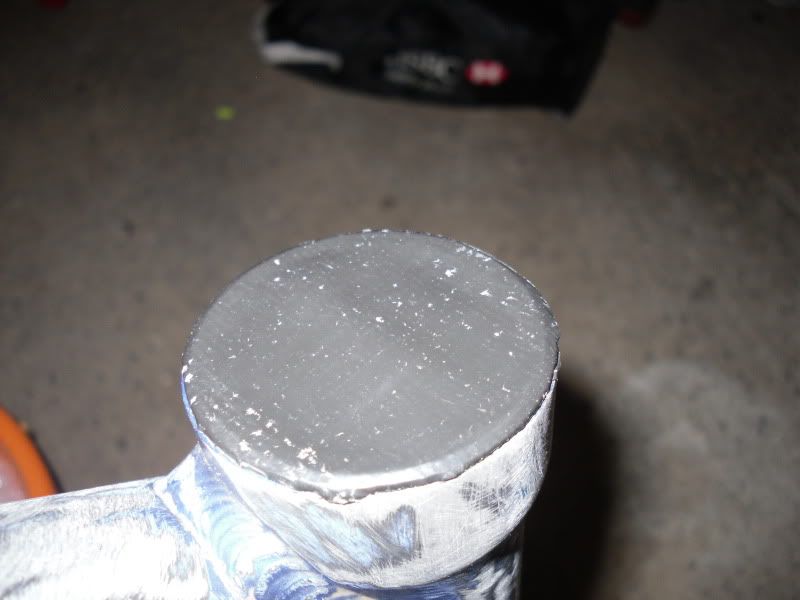
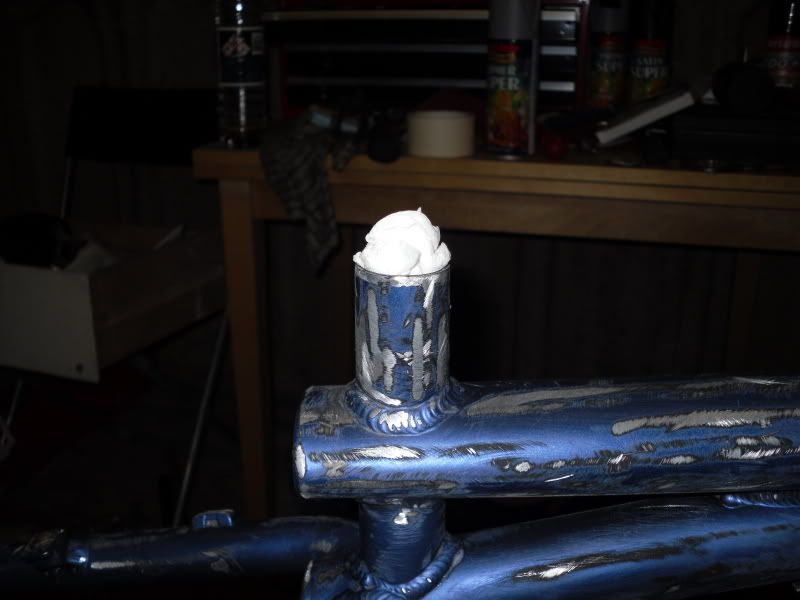
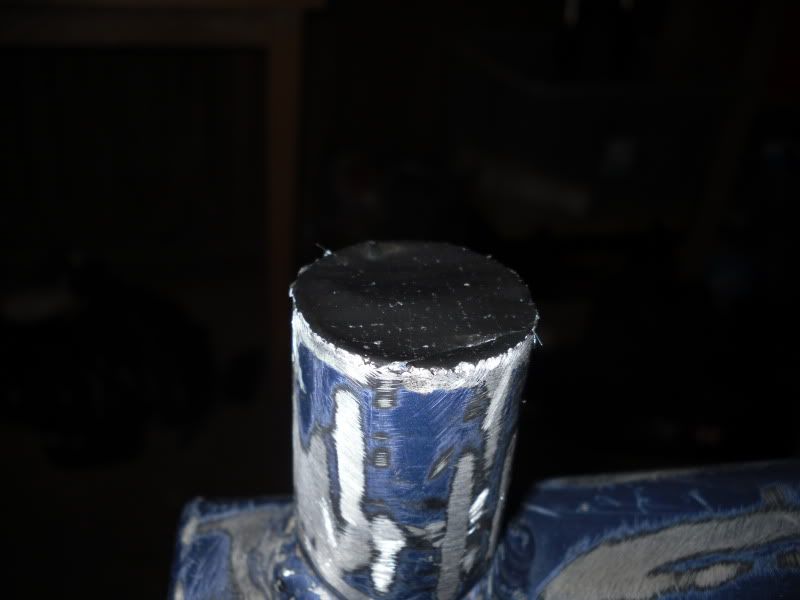
I had some old abused Shimano BB cups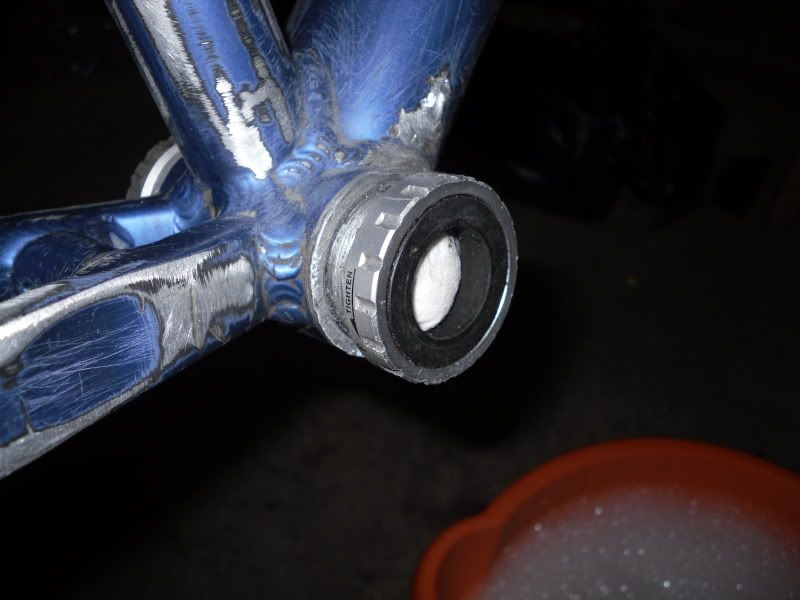
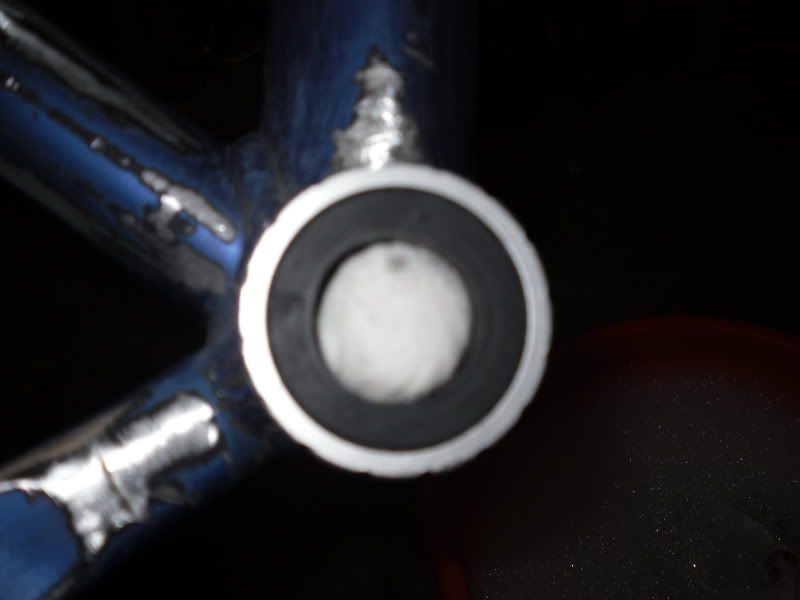
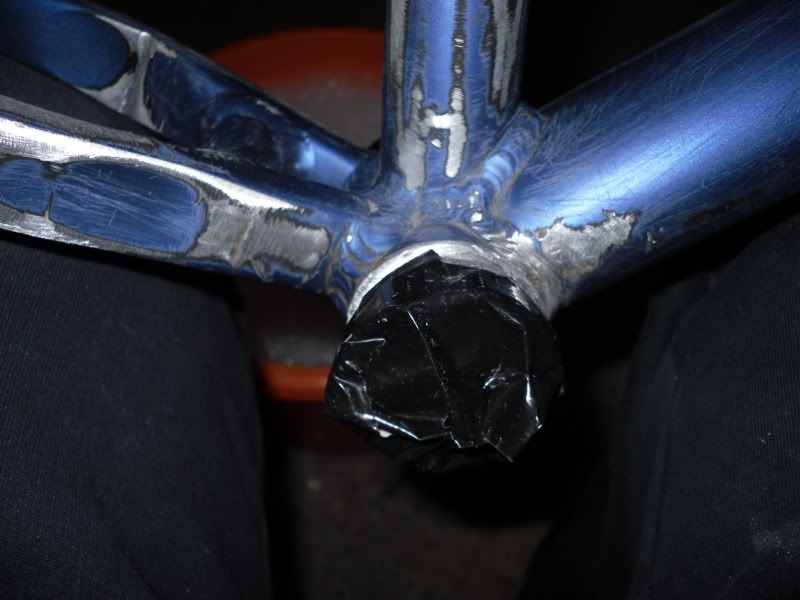
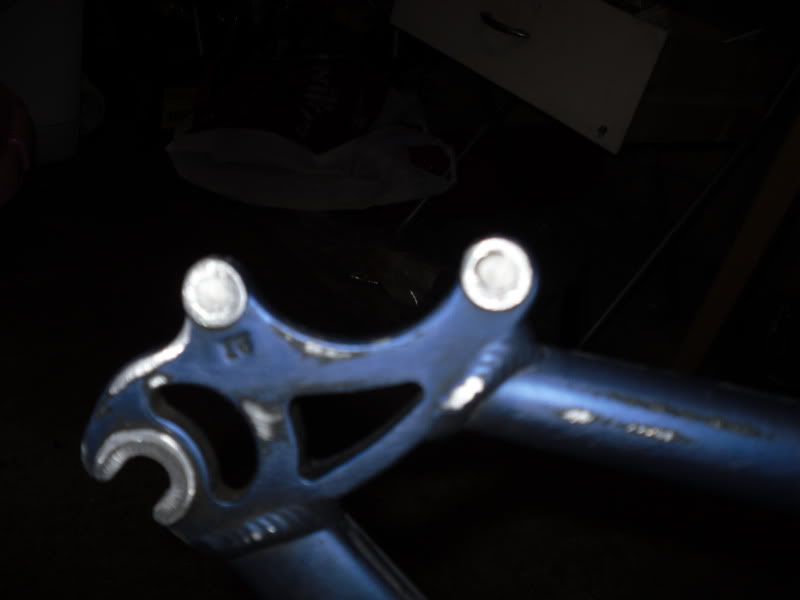
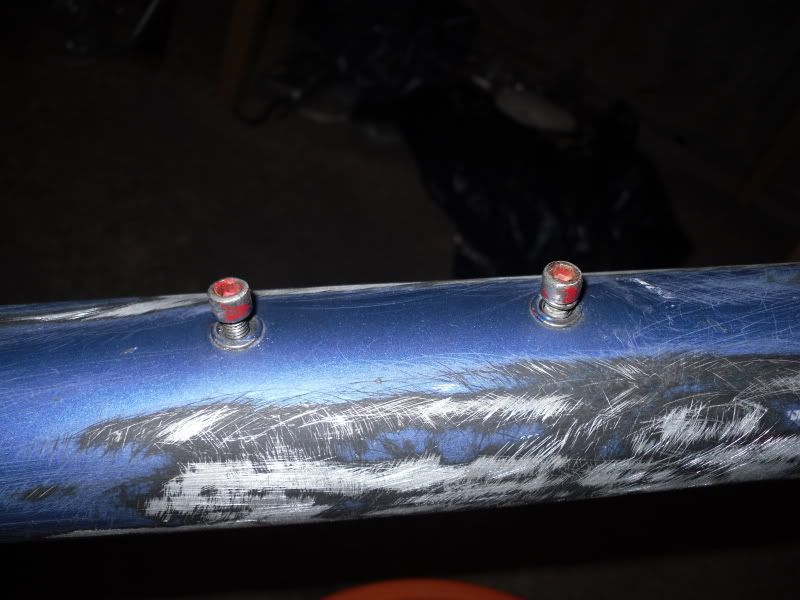
Then I errected the "spray booth" lol.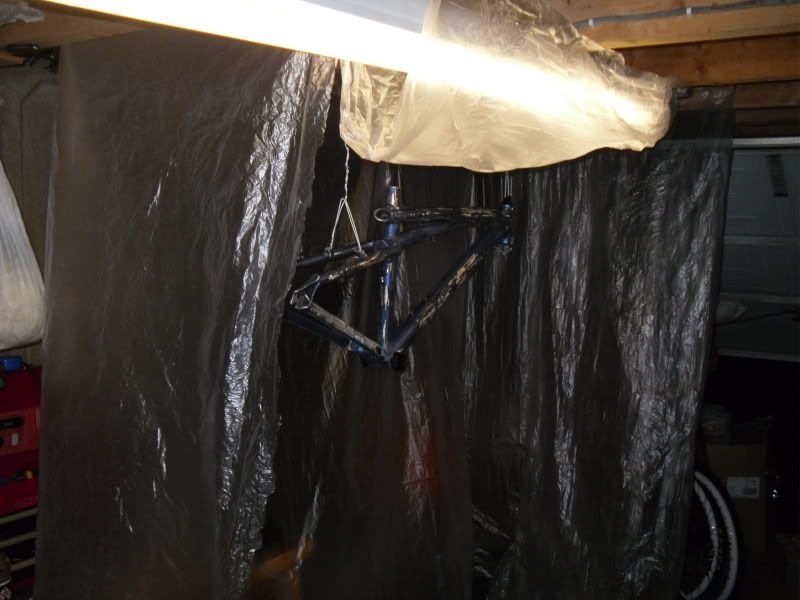
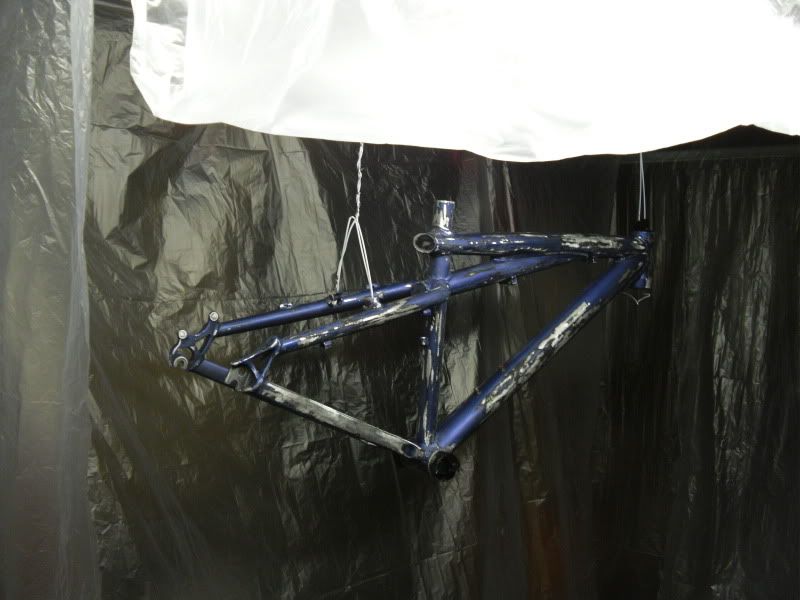
Used some old wire coat hangers bent to hooks ect to hang the frame so there is little interference when I spray. Also means I can just lift and turn the frame whilst spraying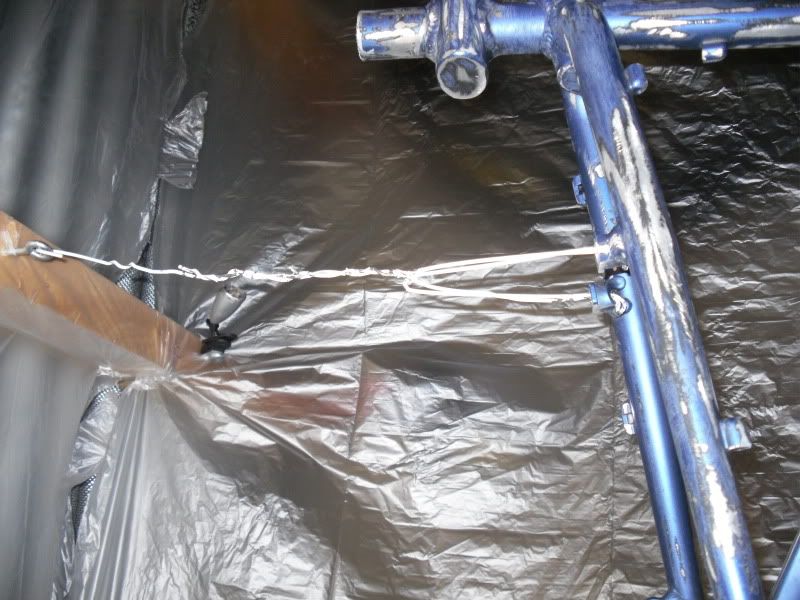
Not much feedback coming through guys. Good/Bad? :?: :?
I have been told to drop the spray cans in some warm water before spraying as this helps the paint come out of the nozel better?
Gonna start the primer coats tomorrow!0 -
EDIT - I posted too soon

Cannot wait to see how this turns out
Looks great! 0
0 -
Boring update.
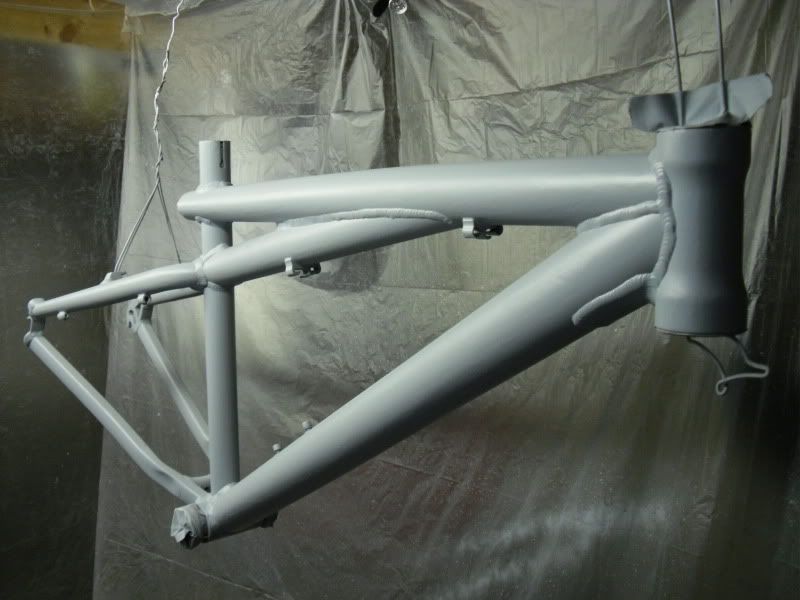
Primer 1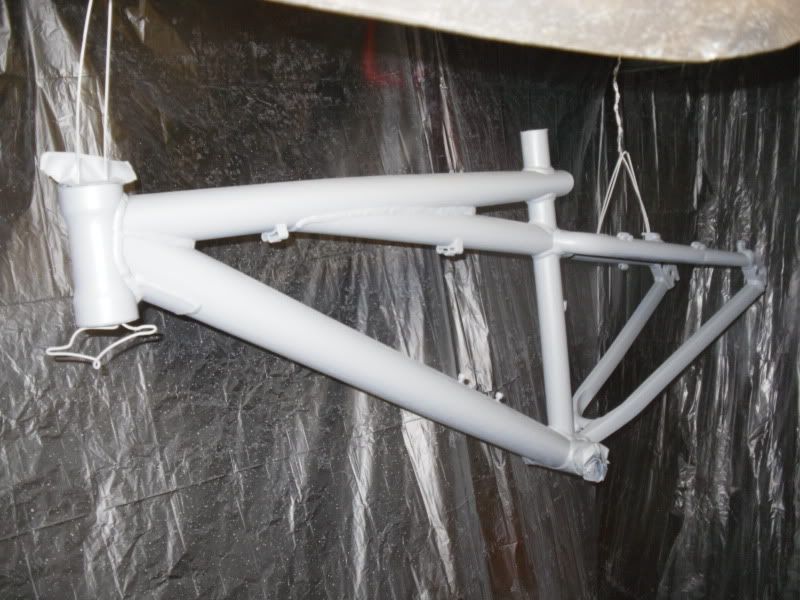
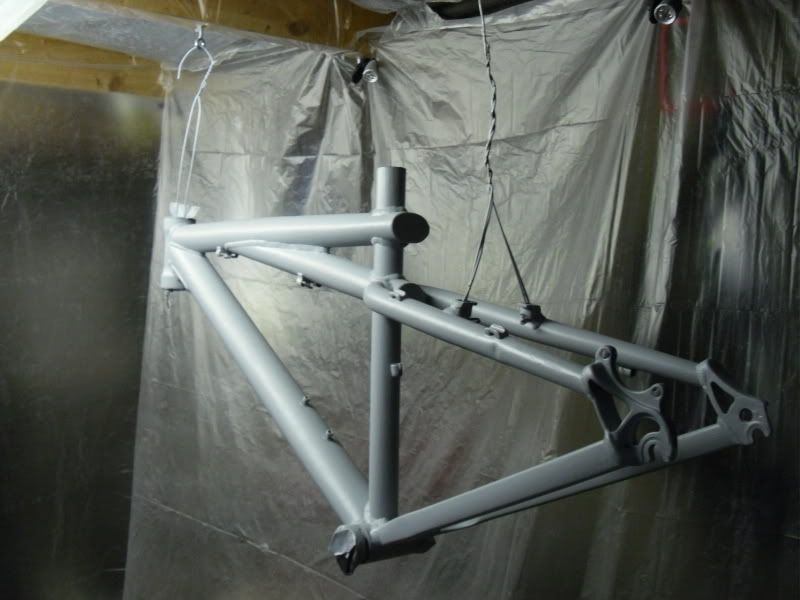
Primer 2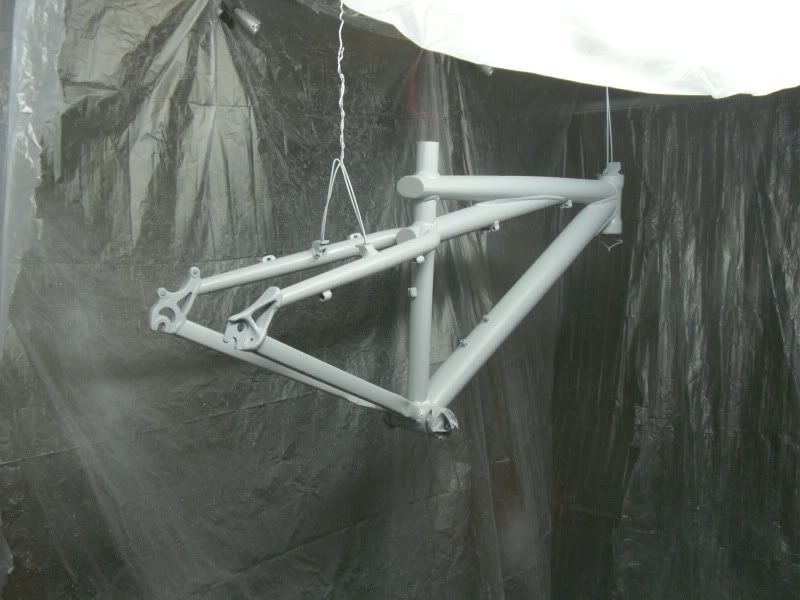
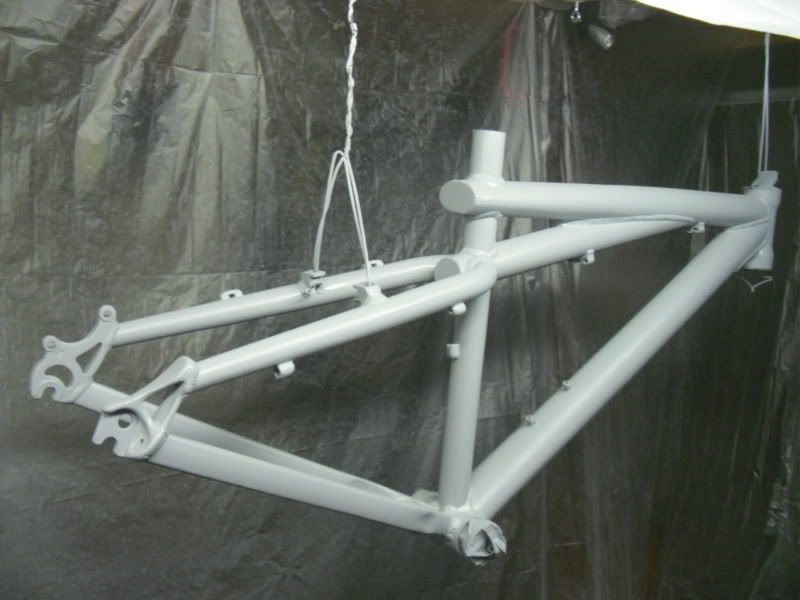
Going to apply primer 3 and see how it sits then. Probably colour in the morning!
Anyone have any thoughts on colour sanding or is this only on American Hotrods? lol0 -
:arrow:
The start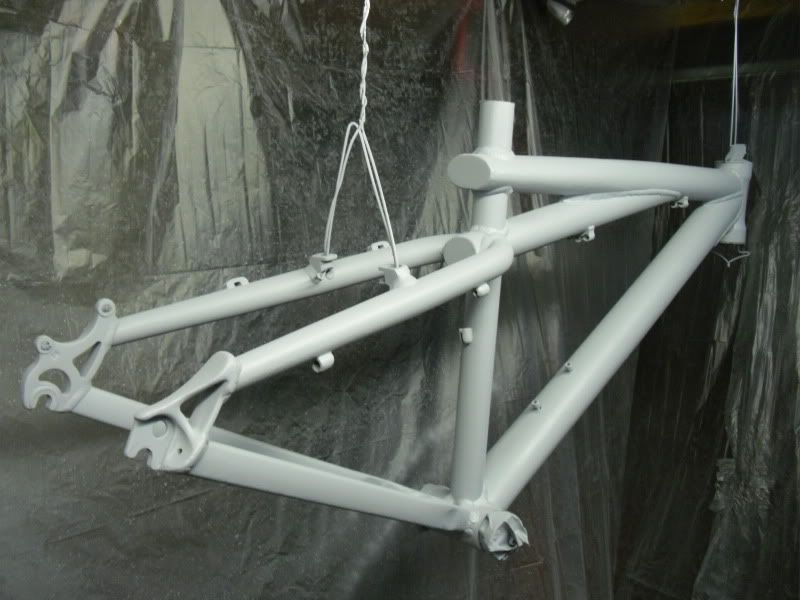
The tools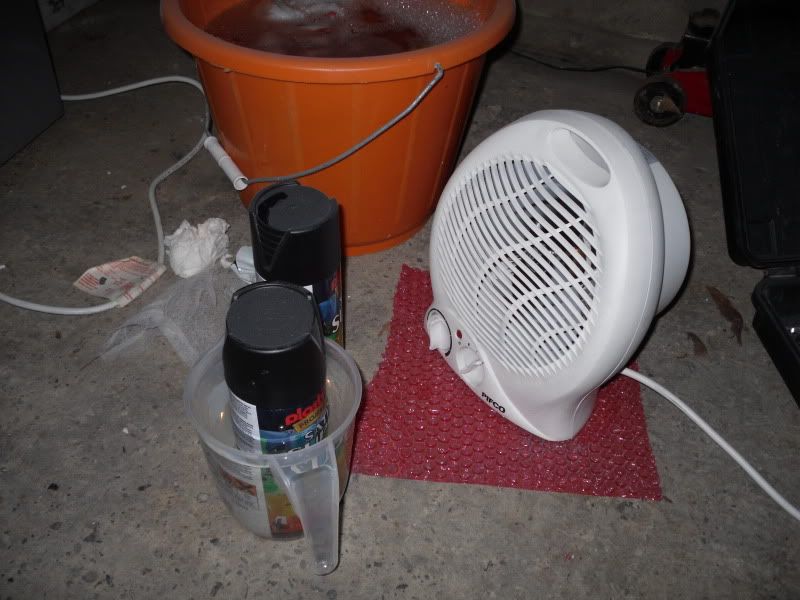
The precautions (was high as a kite yesterday!) :roll:
May go on the rob later
The first coat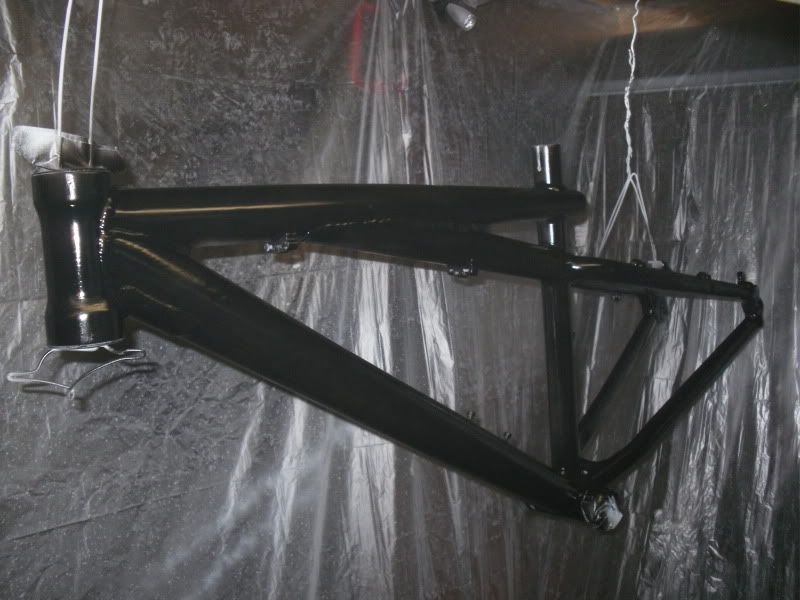
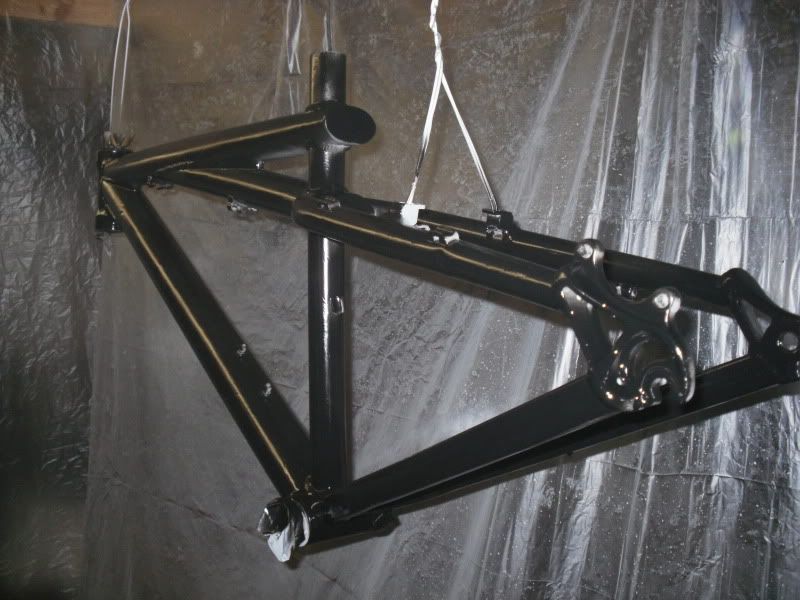
The second coat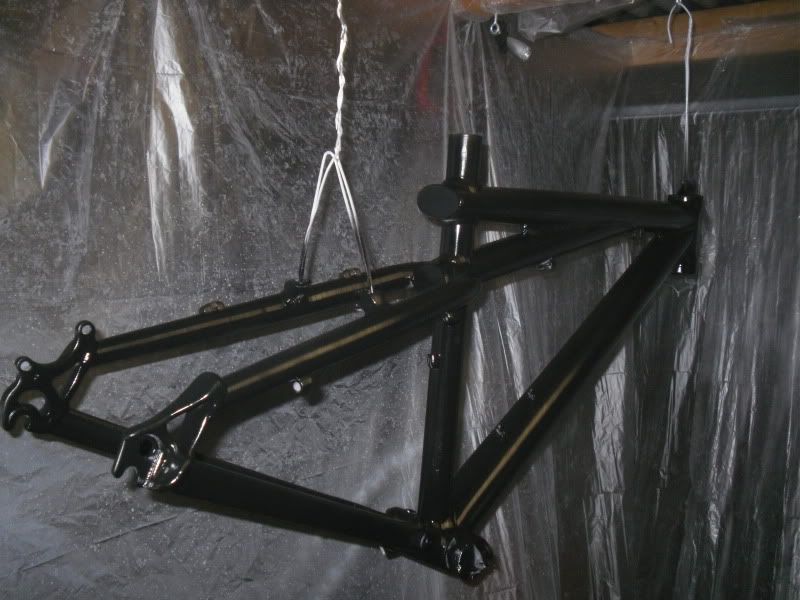
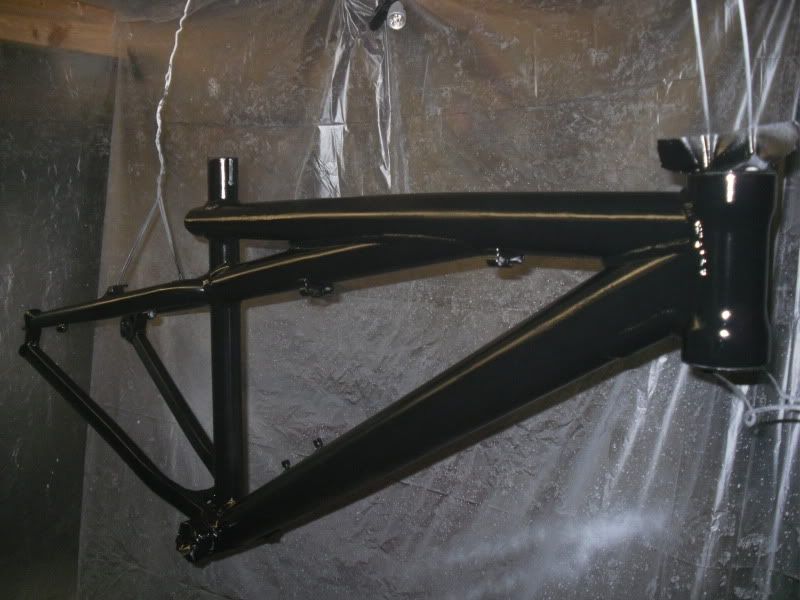
Toast and juice then 2 more to go 0
0 -
:arrow:
Final spray done and allowed to dry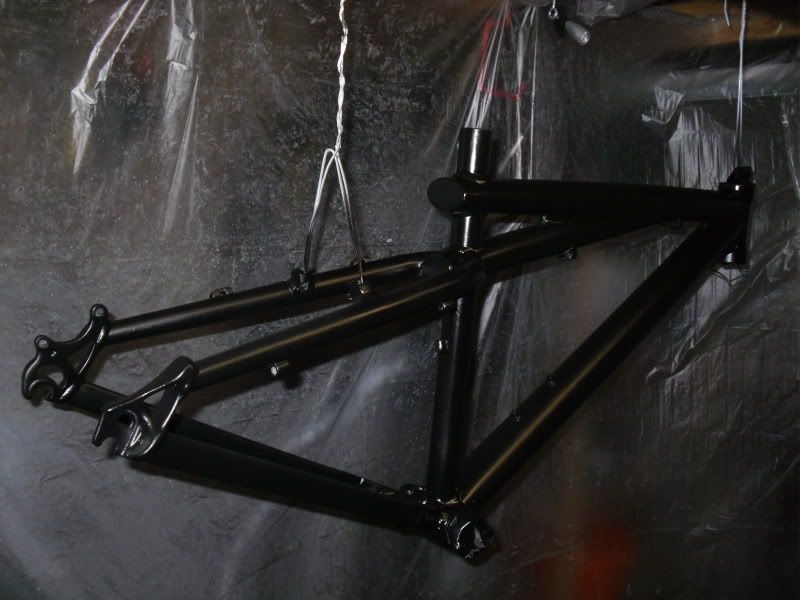
Then new decals added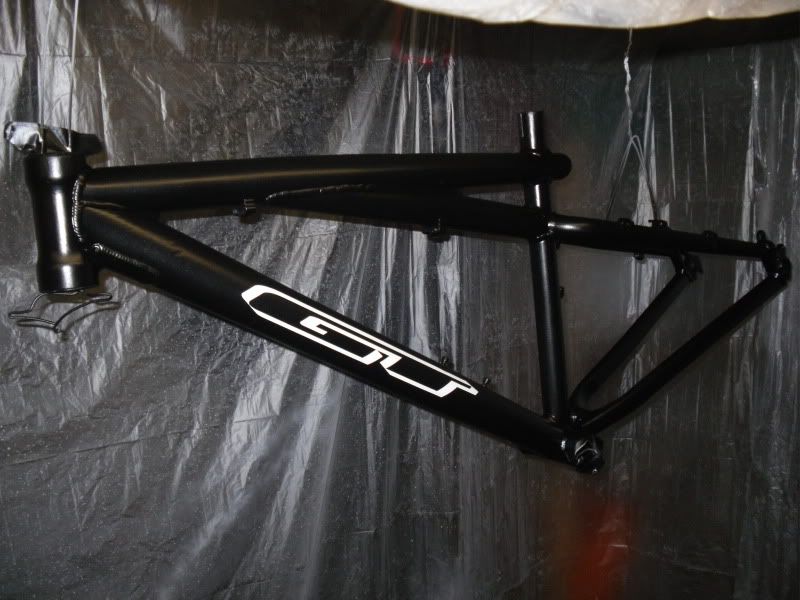
This is all i'm having on it.
Will hopefully be lacquering tomorrow night all being well. Yes the decals will be under the laqcuer. If I didn't they would just fall off.
As always. All comments welcome. 0
0 -
:arrow:
Quick update. Started lacquer tonight.
Before -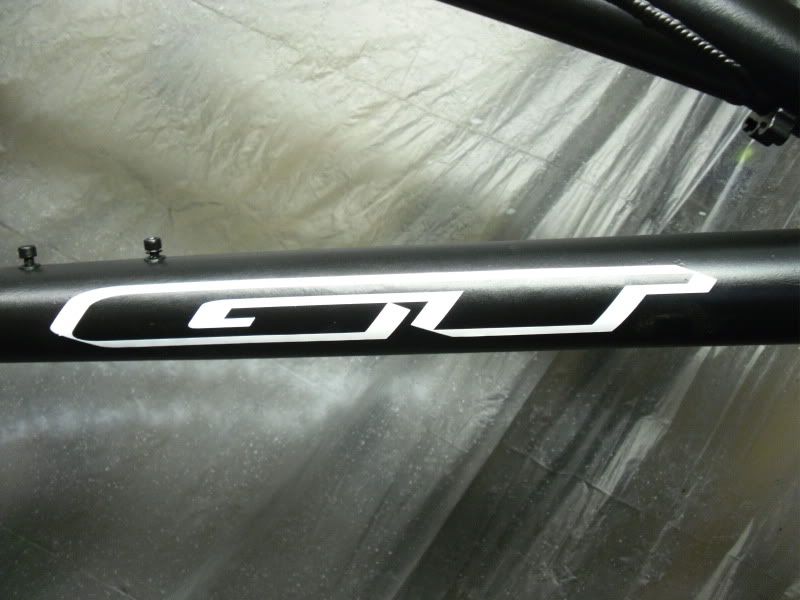
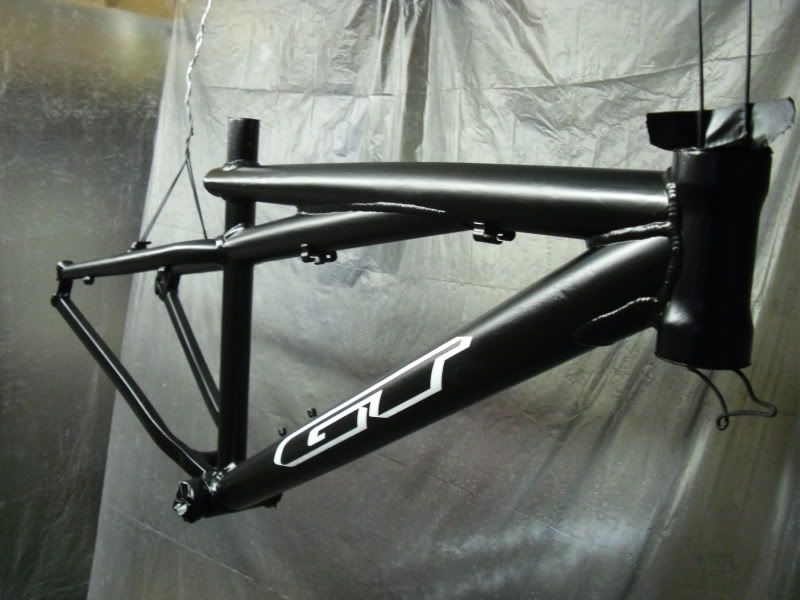
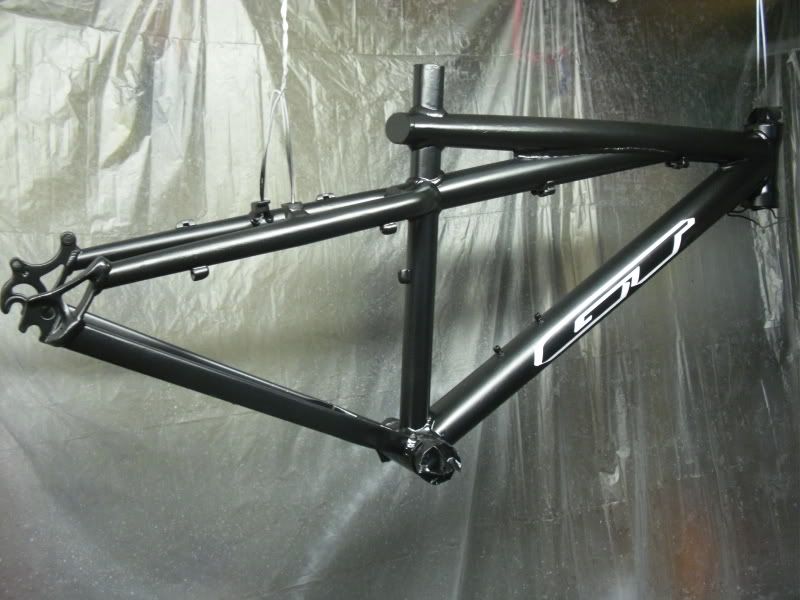
The tools -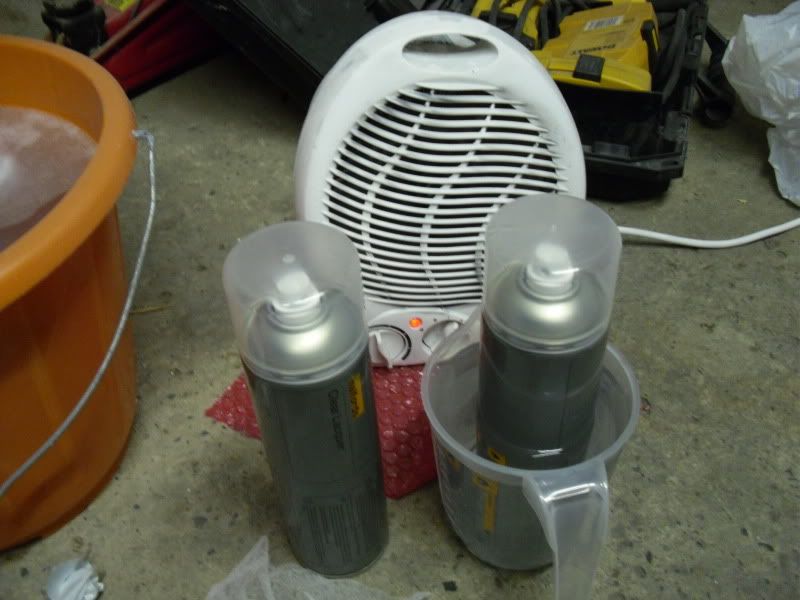
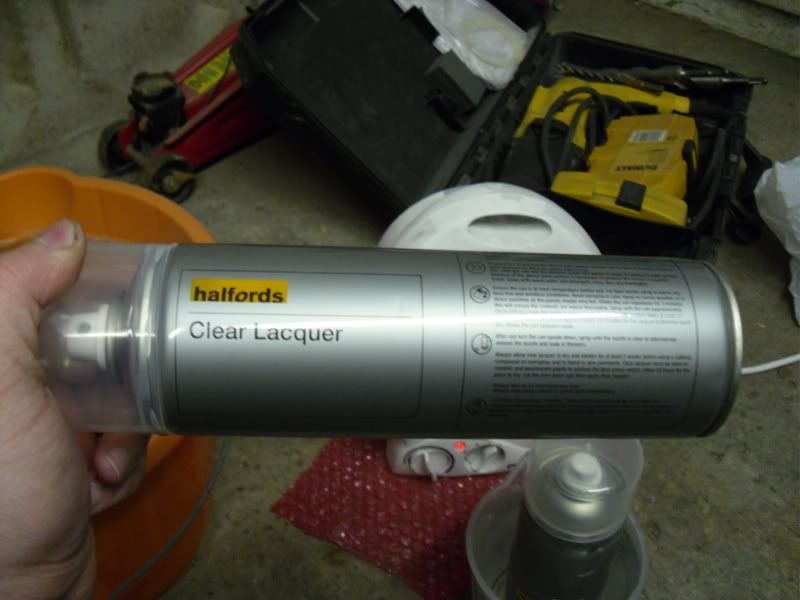
First coat of Lacquer. Obviously it's clear so not much change
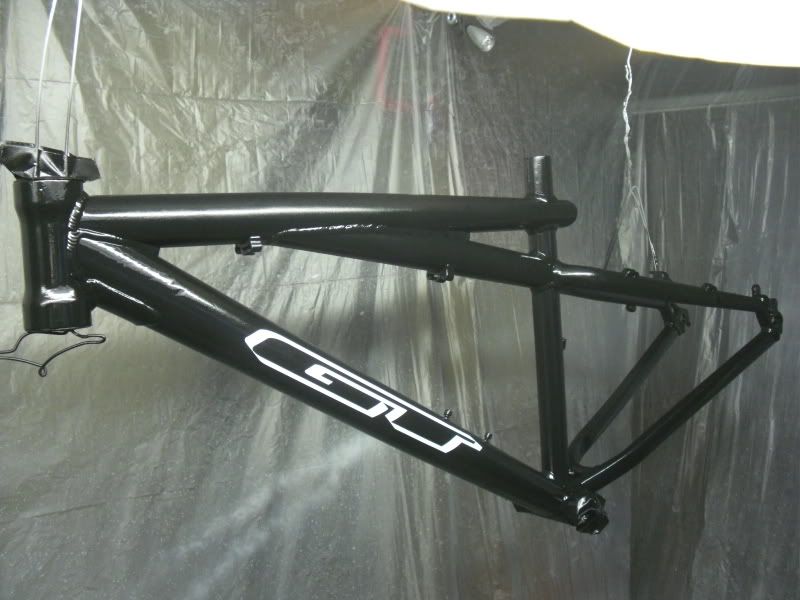
3 more have followed. Added a little extra in the harder wearing areas.
Does anyone know where I can get a new frame badge for the front? This is the old one but want a new one - 0
0 -
First of all the clean up!
The amount of dust in my garage from the spraying was unreal! Glad I put the "booth" up. Even so it was everywhere.
Cleaned everything and swept the floor and then sorted my work area!
Old work area, small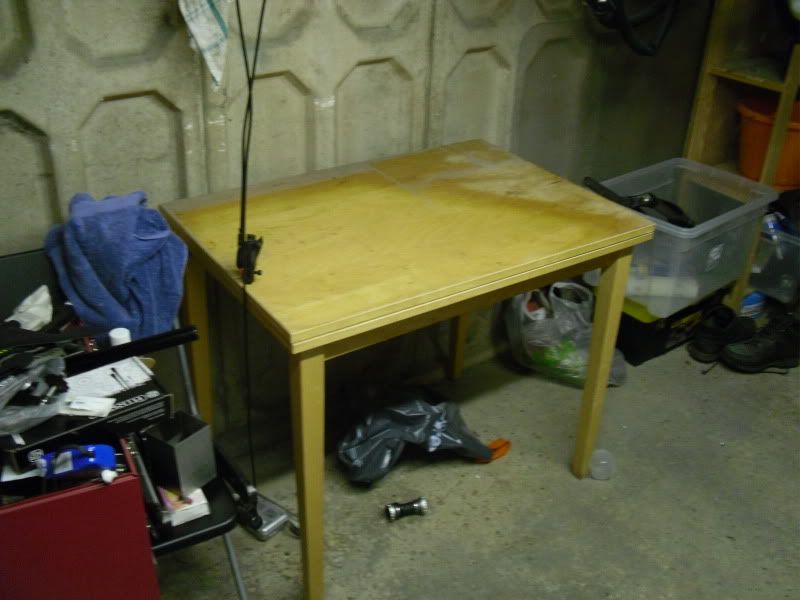
New work area, Large!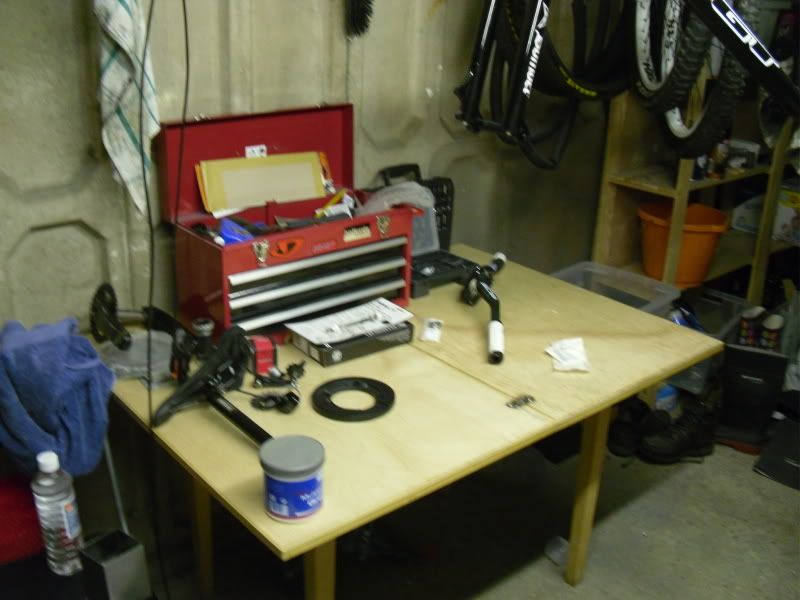
Dusty frame after all plastic sheets removed.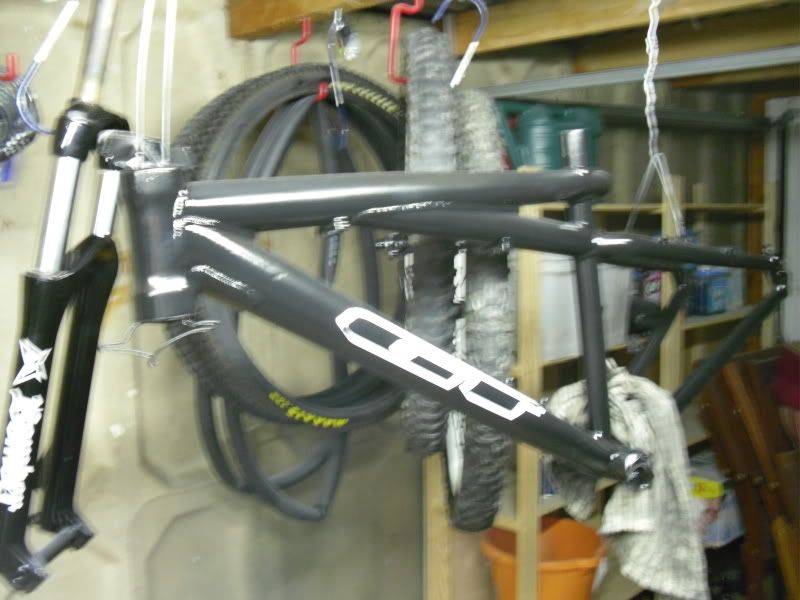
Cleaned, all tape removed and hangers removed. Inspected and 1 small run on the back but nothing major so really happy with the result.
On the work area with all the bits ready to go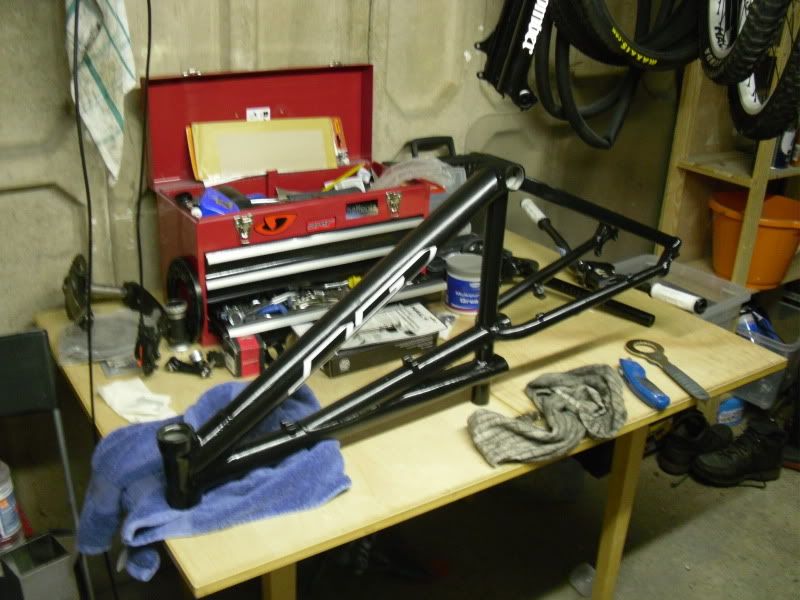
The build begins!
Started with BB. First I cleaned the threads with a rag and wd40 to clear out all the build up of dirt and grease. Then smeared copper grease inside and on the BB threads.
Tools -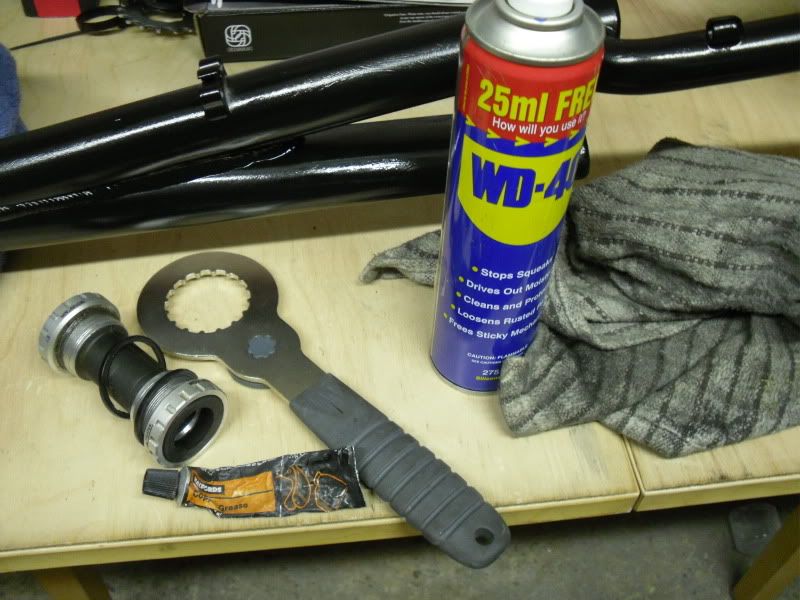
BB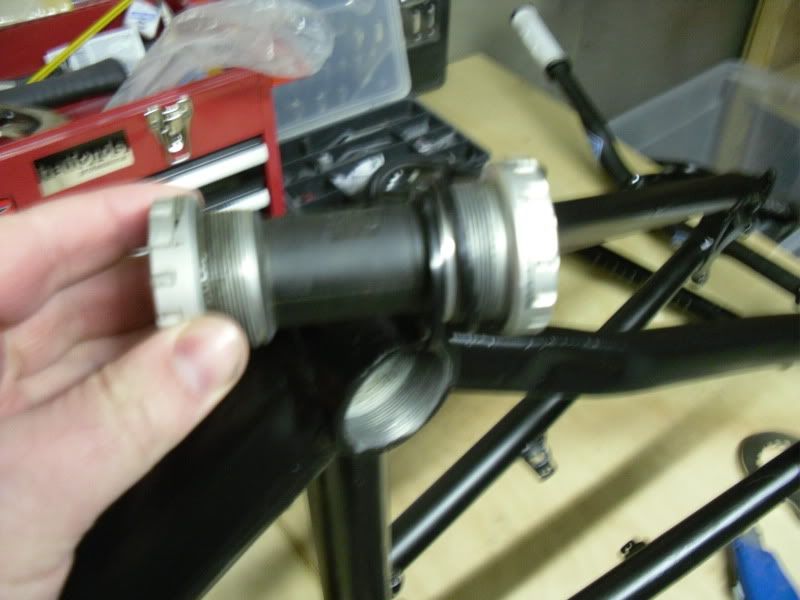
Cleaned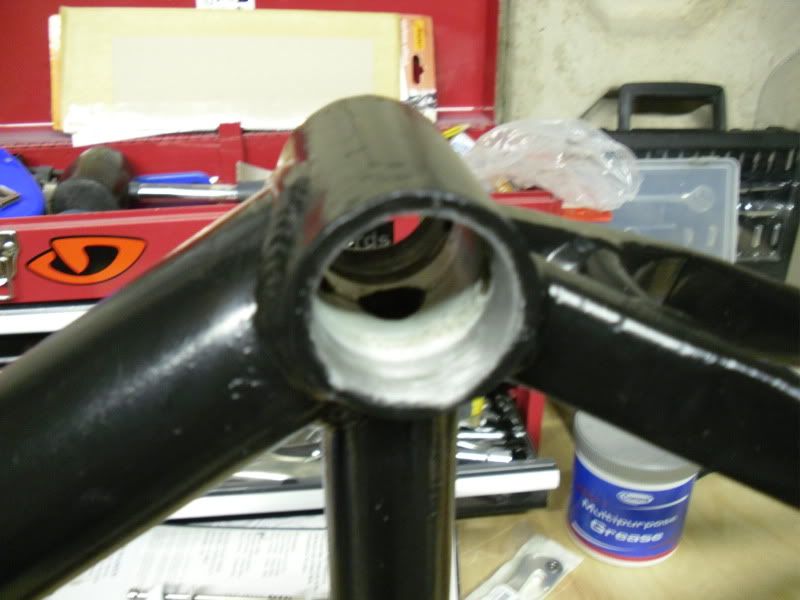
Copper greased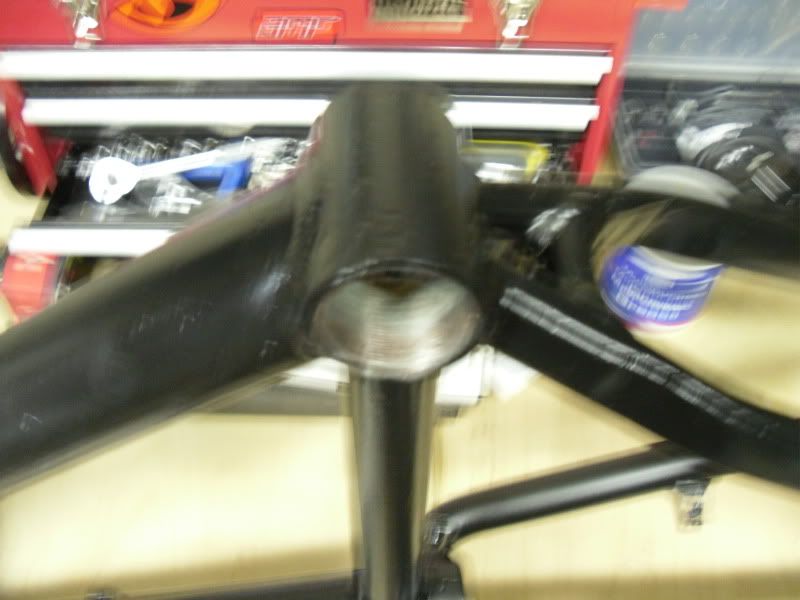
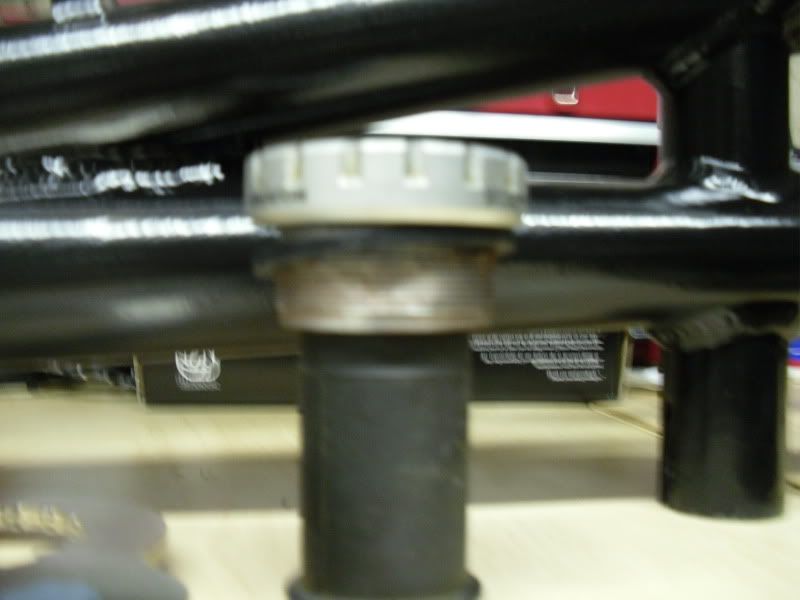
Fitted -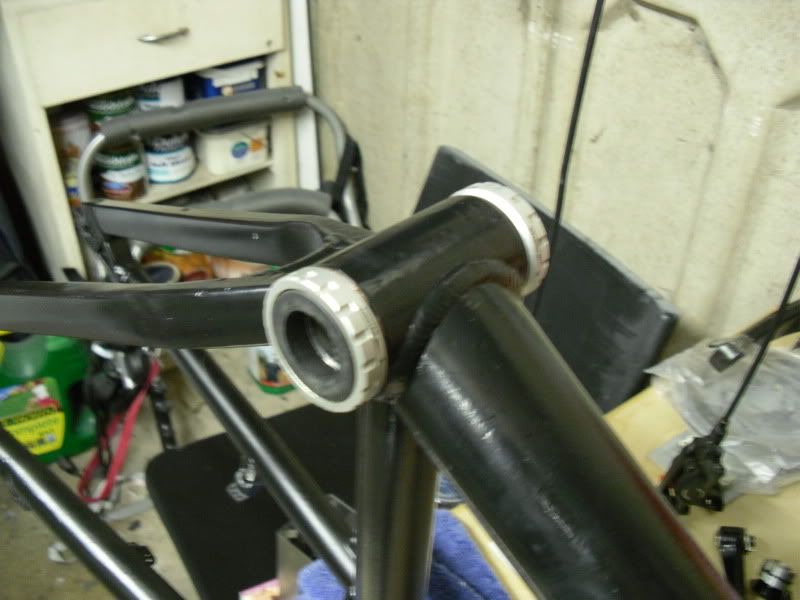
Then fitted new rear hanger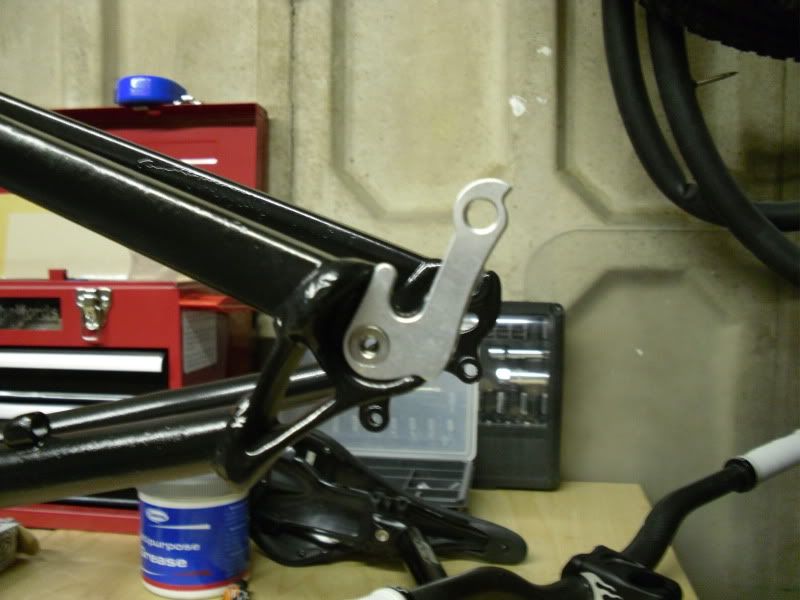
Was going to fit the headset but the one I received with the frame is fubbered! Called Halfrauds and for once they have some in stock so gonna go get one tomorrow and get as much as possible done! Want a first ride for the weekend!
Thanks for all the kind word. All welcome, even criticism. :twisted:
  0
0 -
Oh yeah. New purchase, Shimano Bash
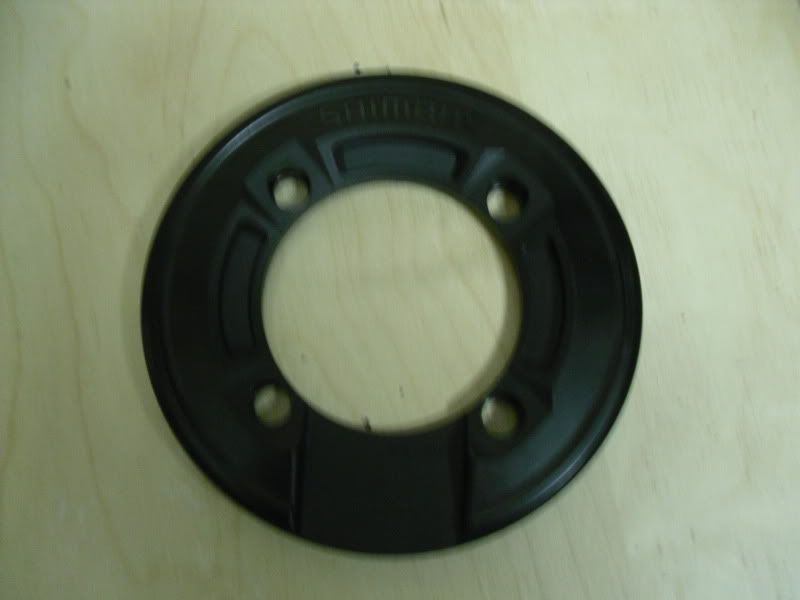
Also got my new axle for the forks but thats just a bar. 0
0 -
Got the new headset. Fitted -
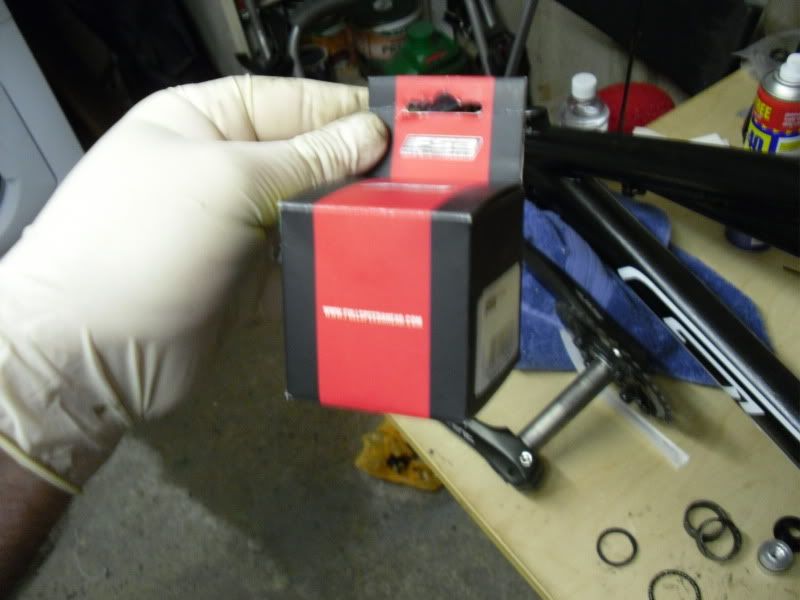
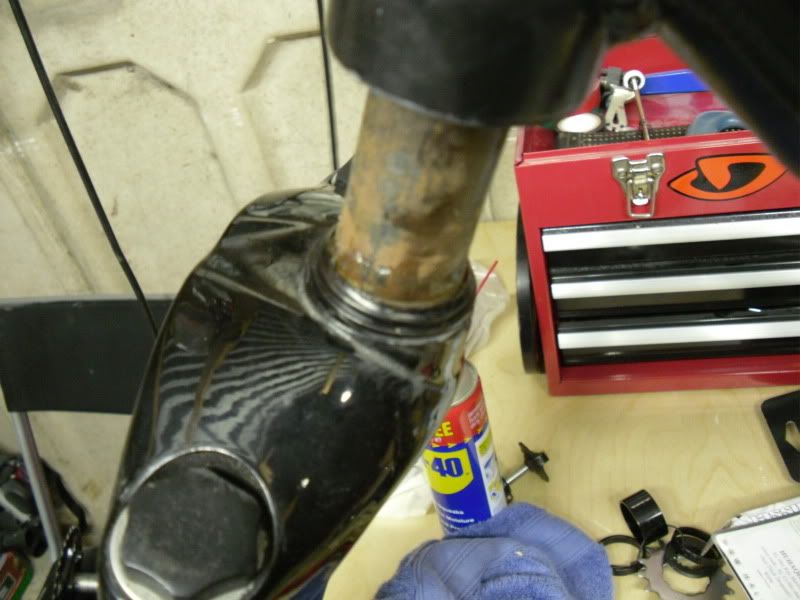
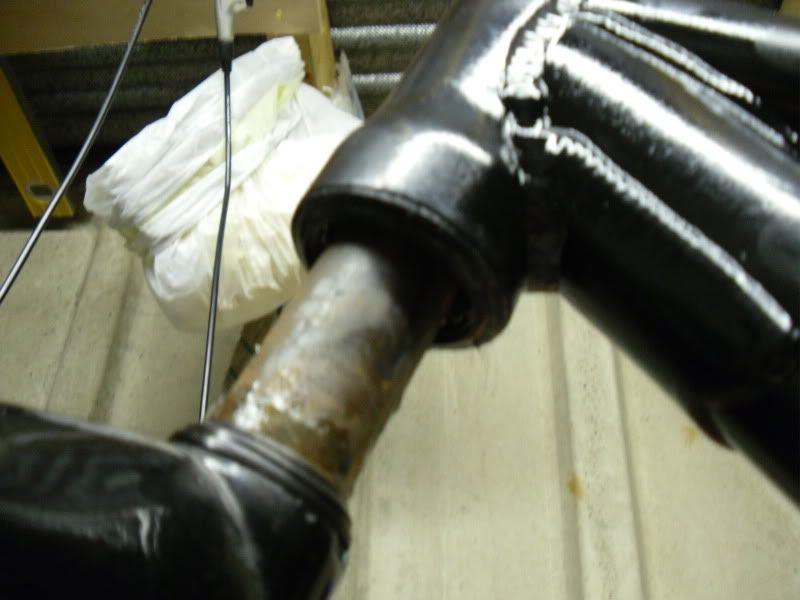
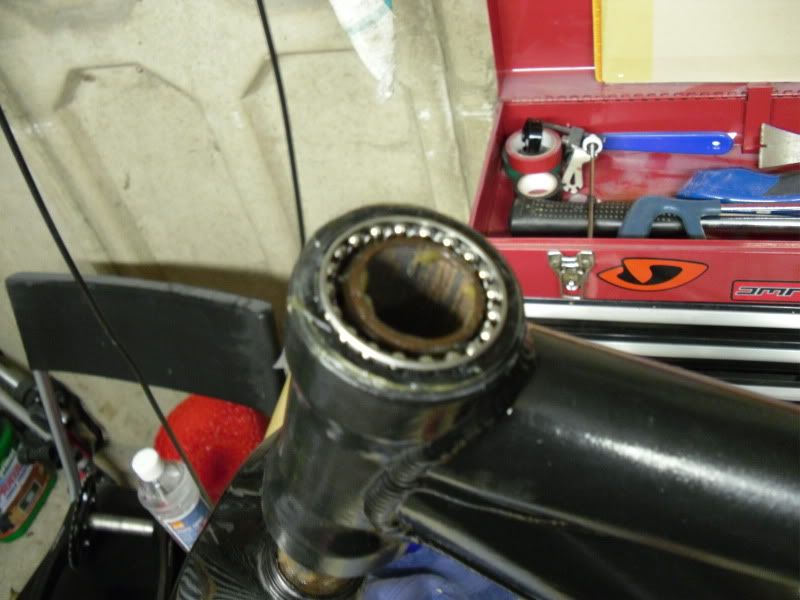
Put top on wrong way round :oops: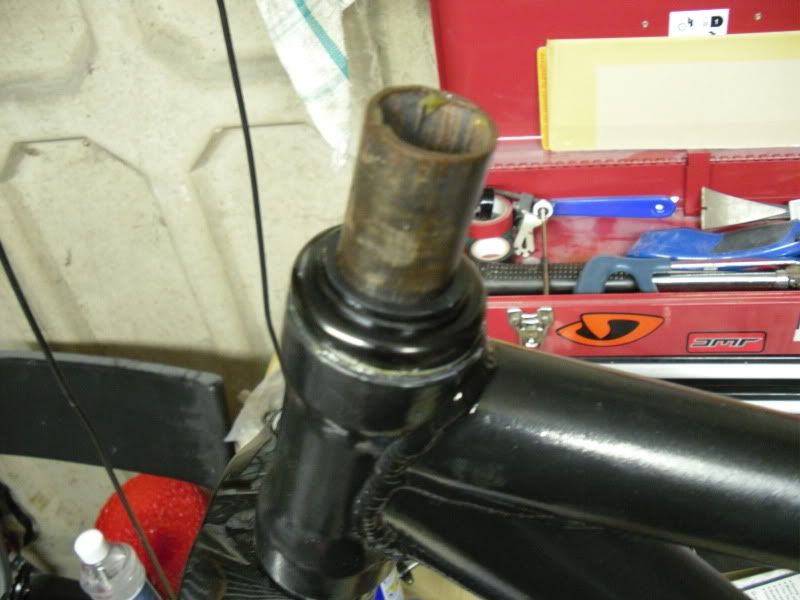
Changed
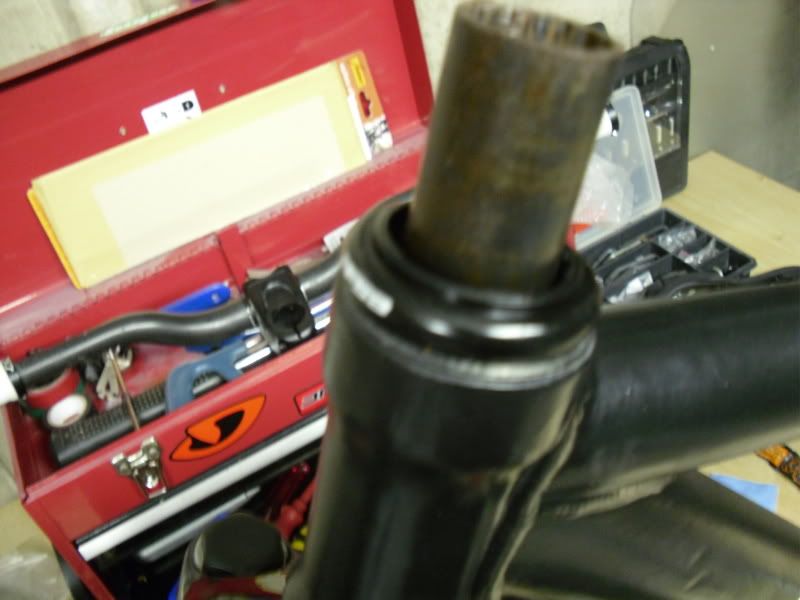
Forks fitted with bars and stem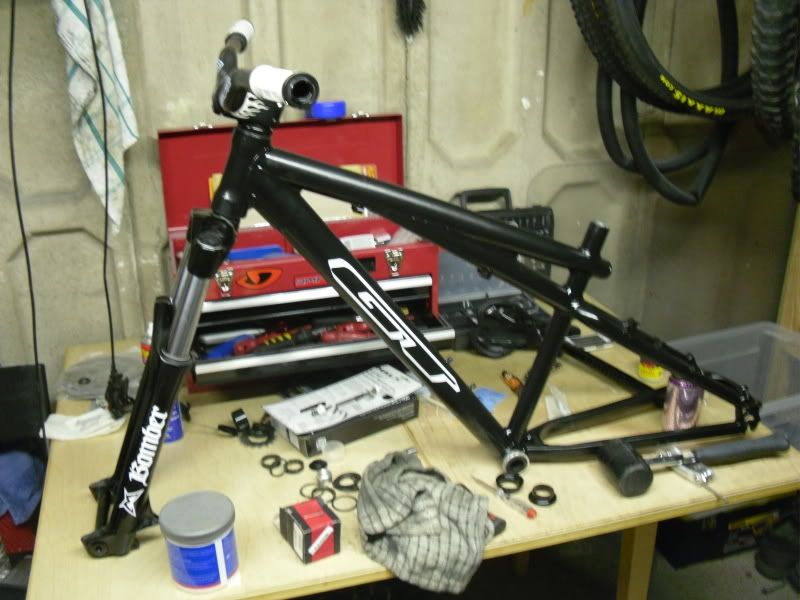
Seat and post fitted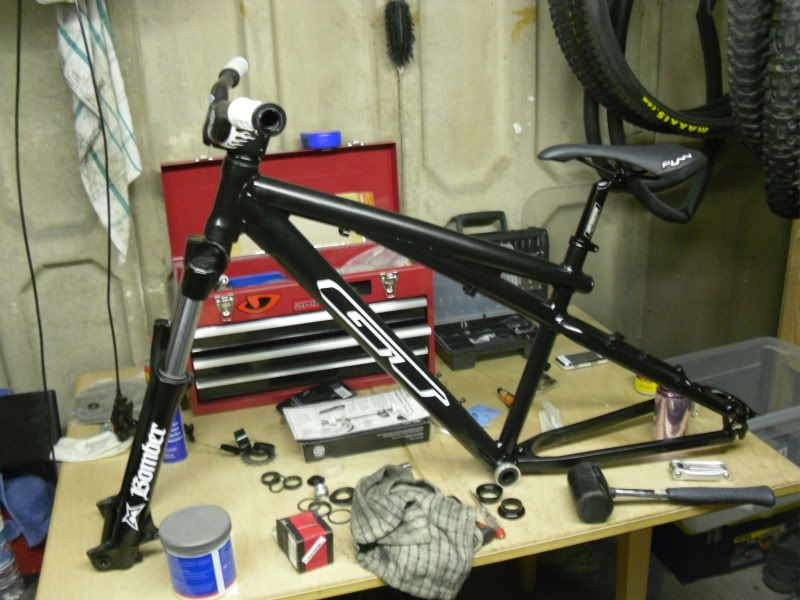
Rear brake fitted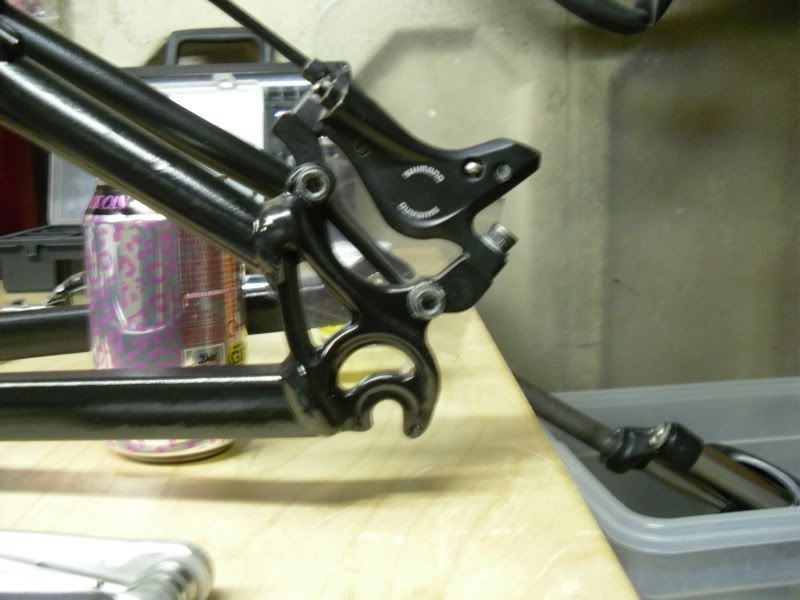
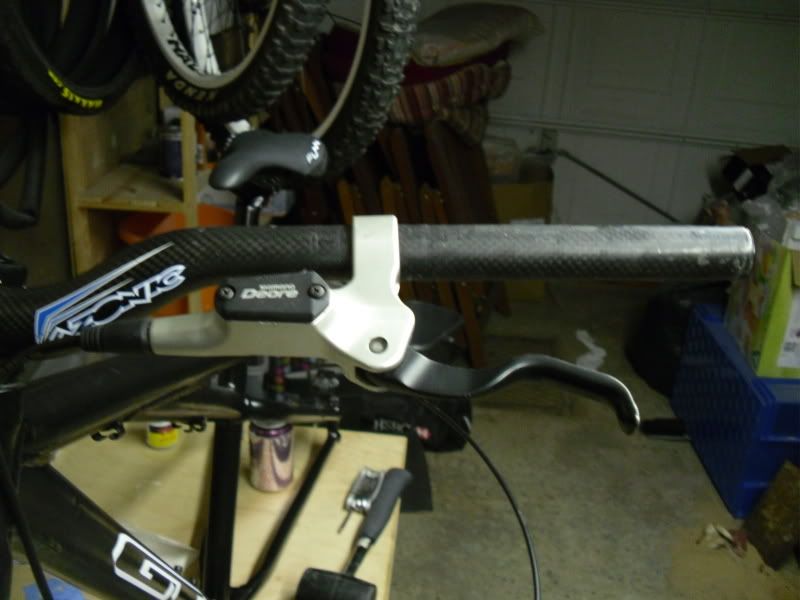
Bike hung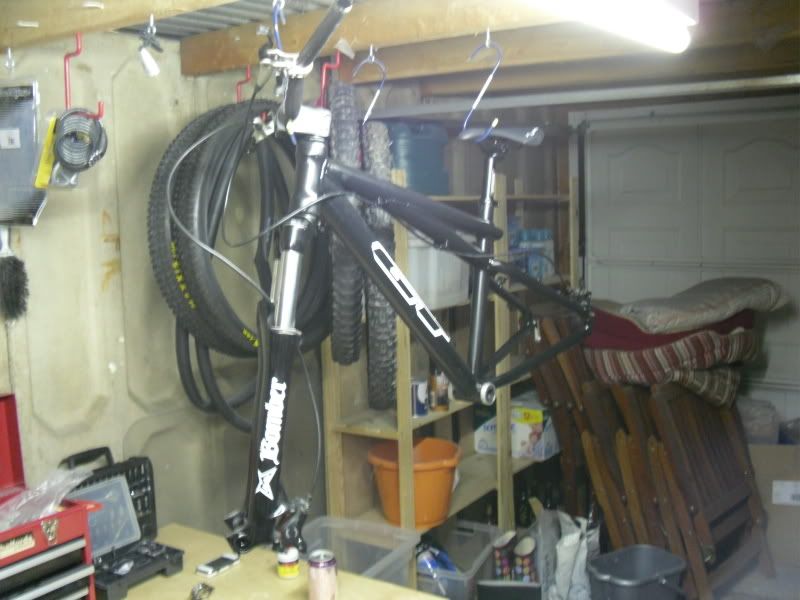
Front brake fitted -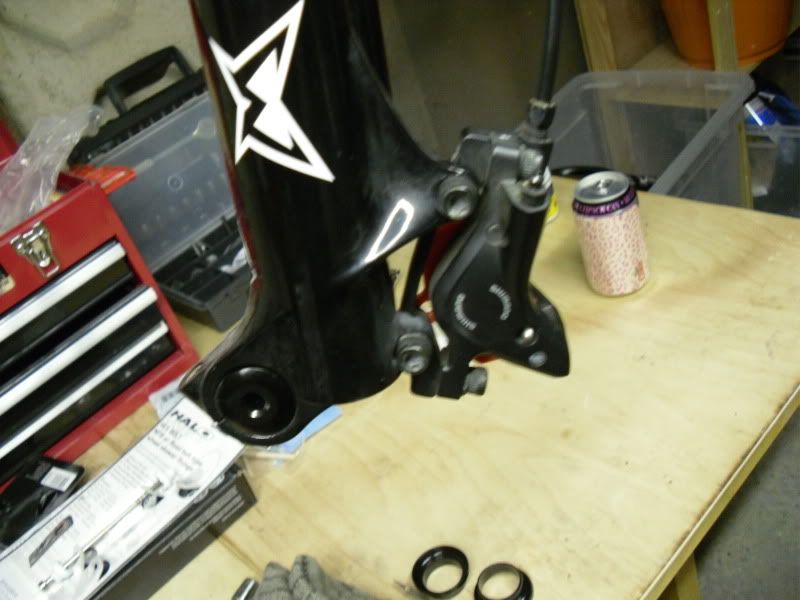
Rear disc fitted with new bolts and DMR single speed kit -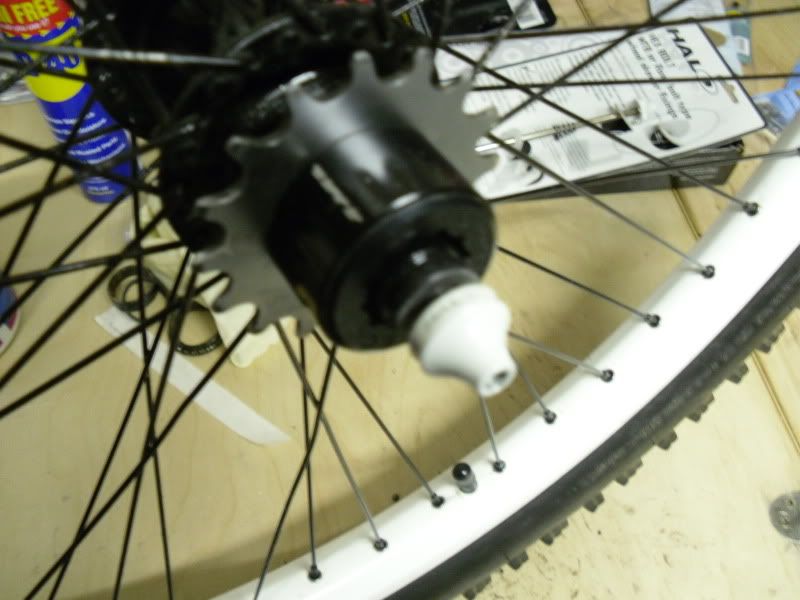
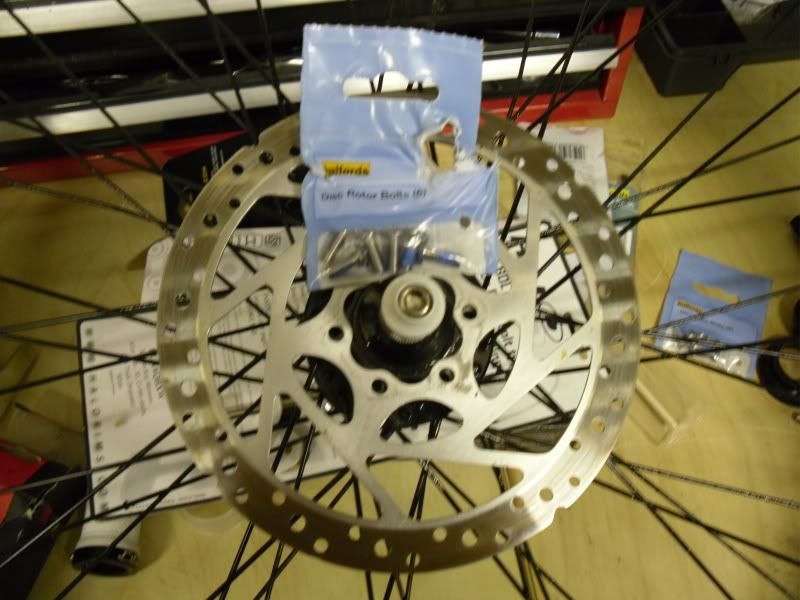
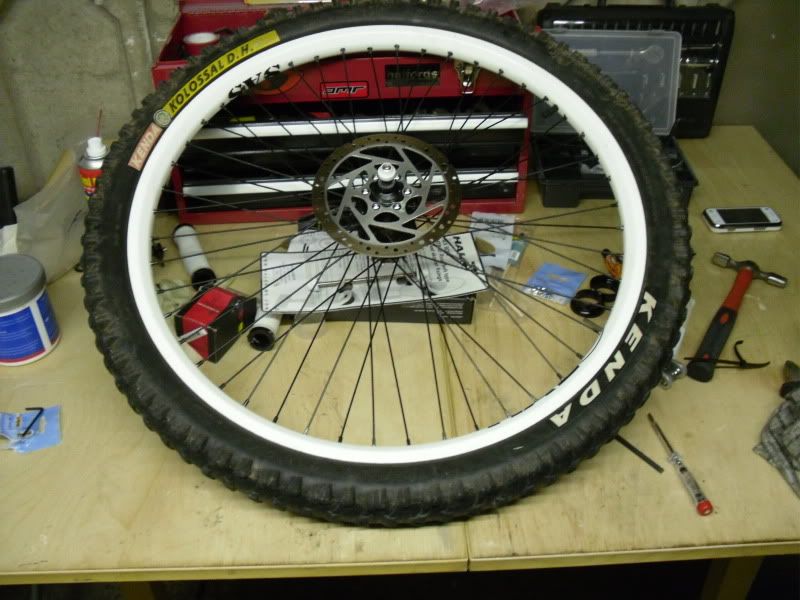
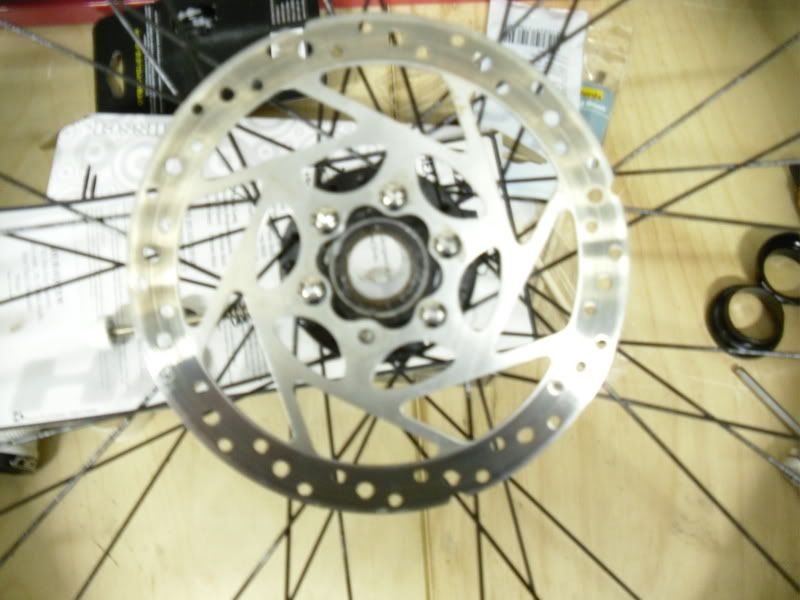
Front disc fitted. When I bought the wheels it came with a Hope rotor which I later discovered was because the kid I bought it off had rounded the bolt. Managed to get it off but damaged the rotor. Discovered now that he's snaped a bolt in the thread :x Gonna get it drilled and retaped.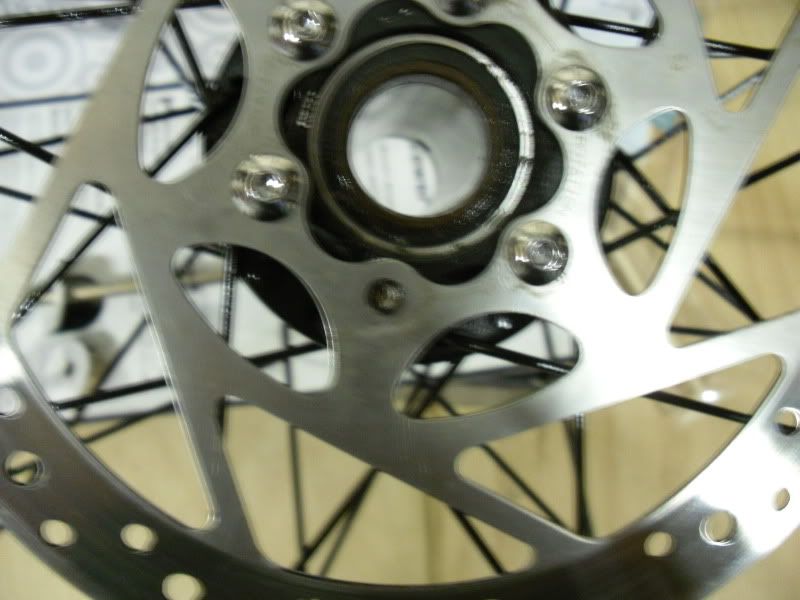
Wheels fitted, awful tyres will be removed tomorrow for new Holy Rollers -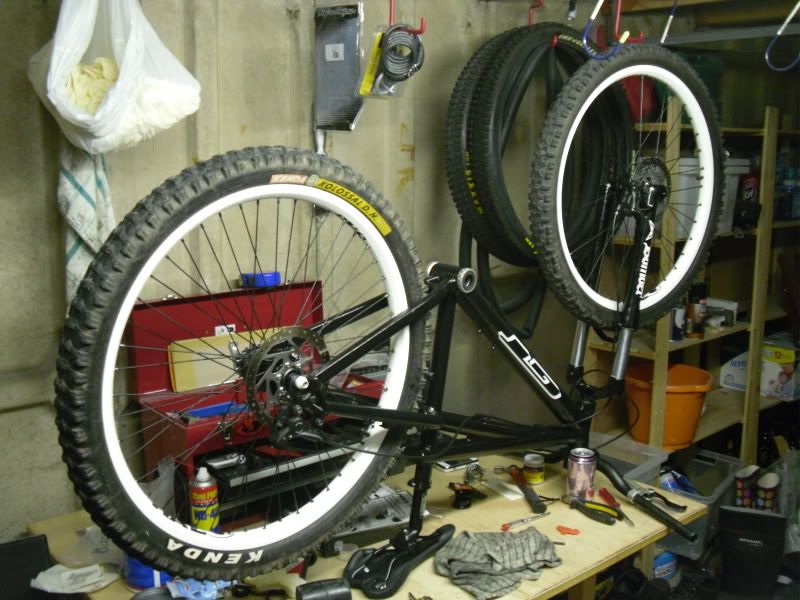
Then fitted crank, found that it needed a new spacer though as gap between bb and crank arm was about 1cm!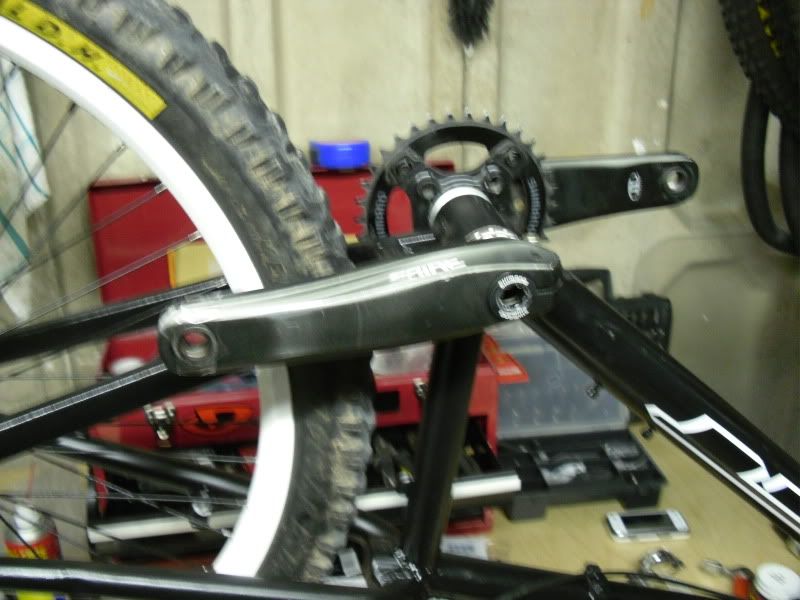
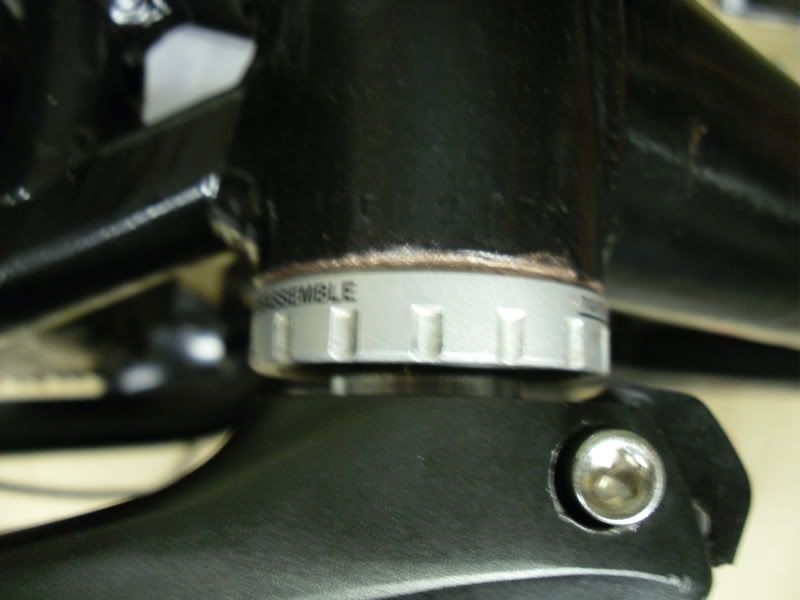
Removed and refitted with another spacer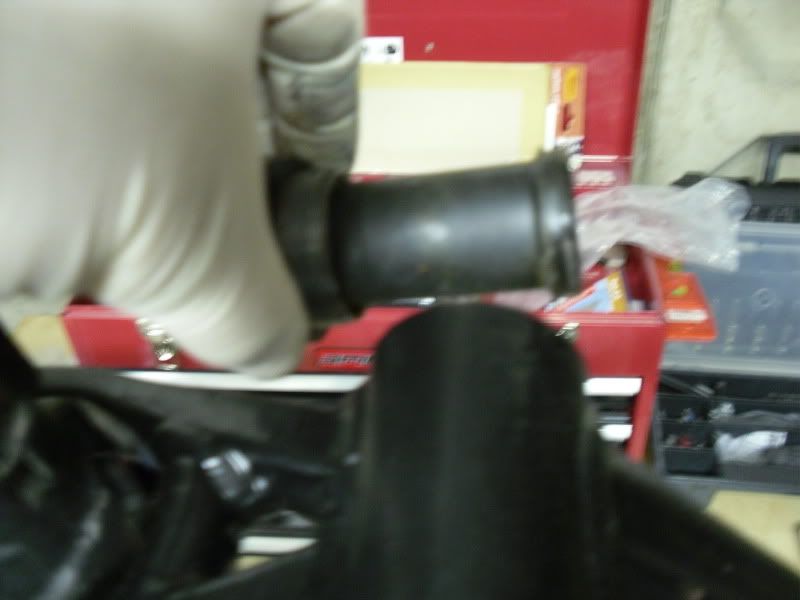
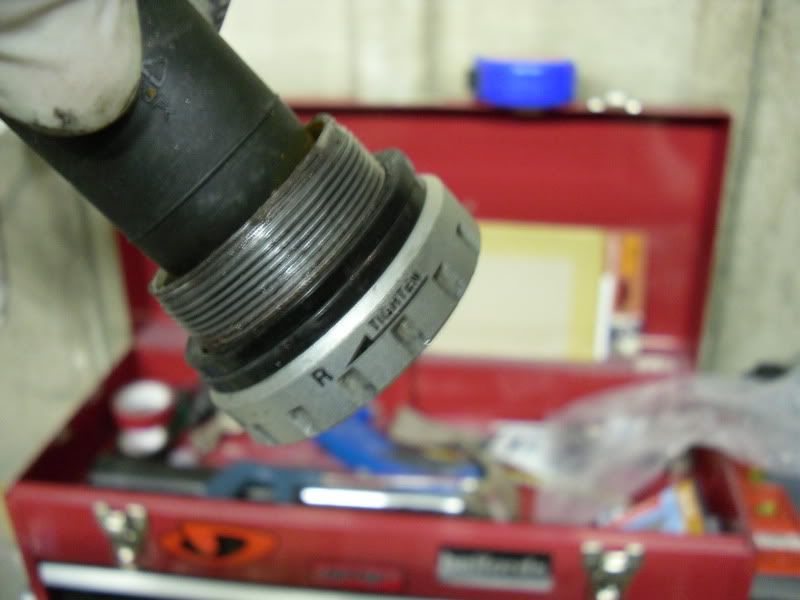
Much better fit
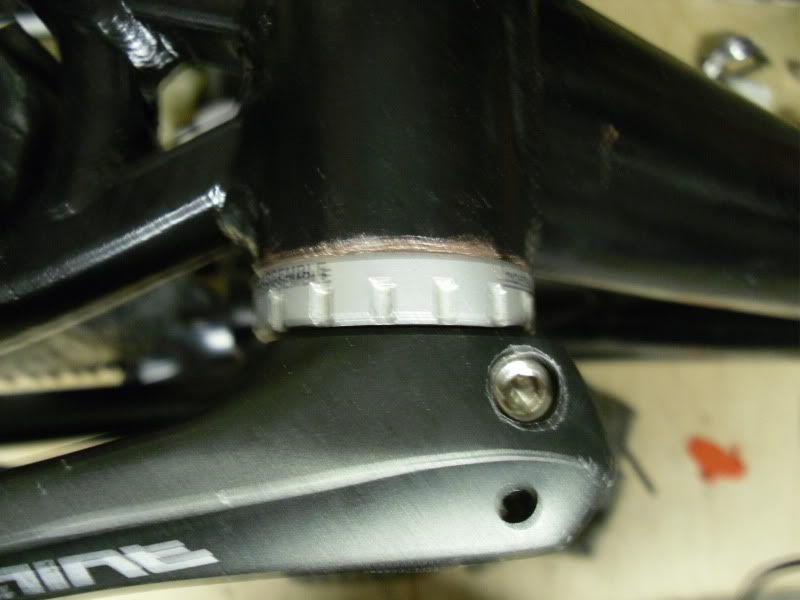
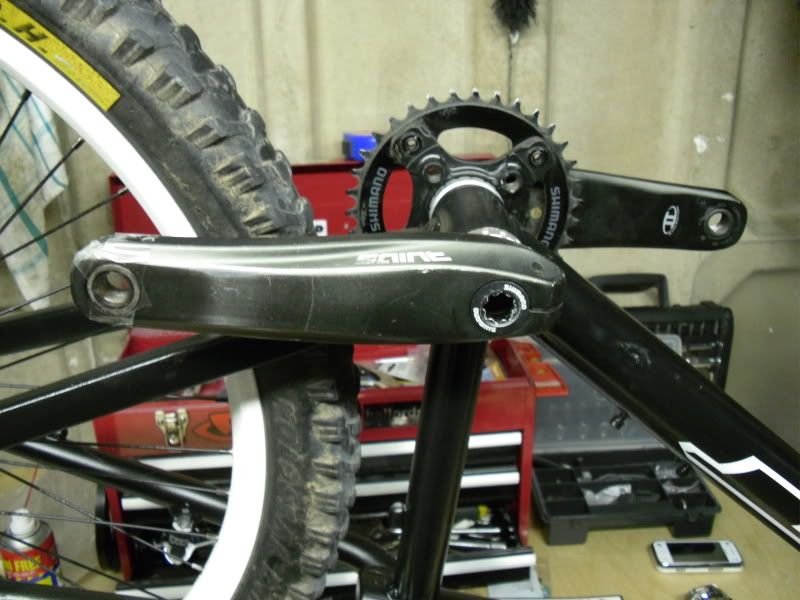
Thats it for the night. Should be ready for her first outing and better complete pics this weekend
How I left her - Dirty. lol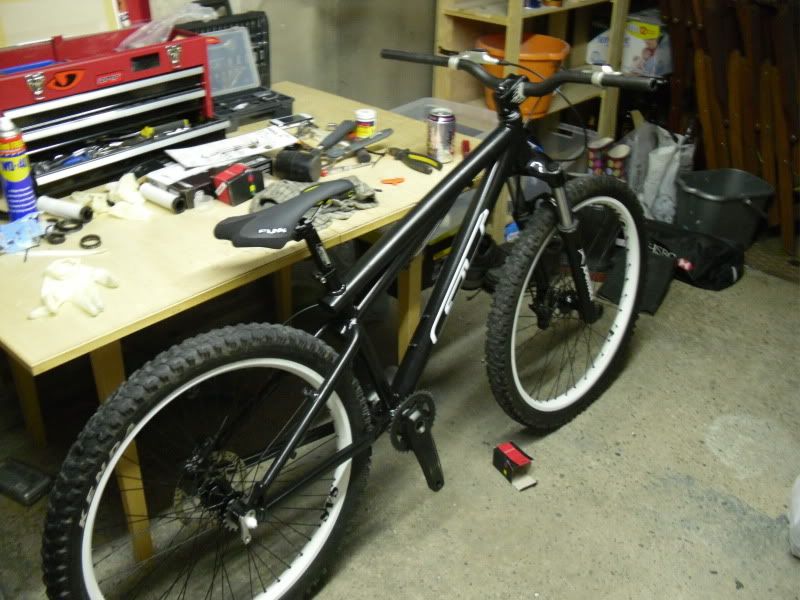
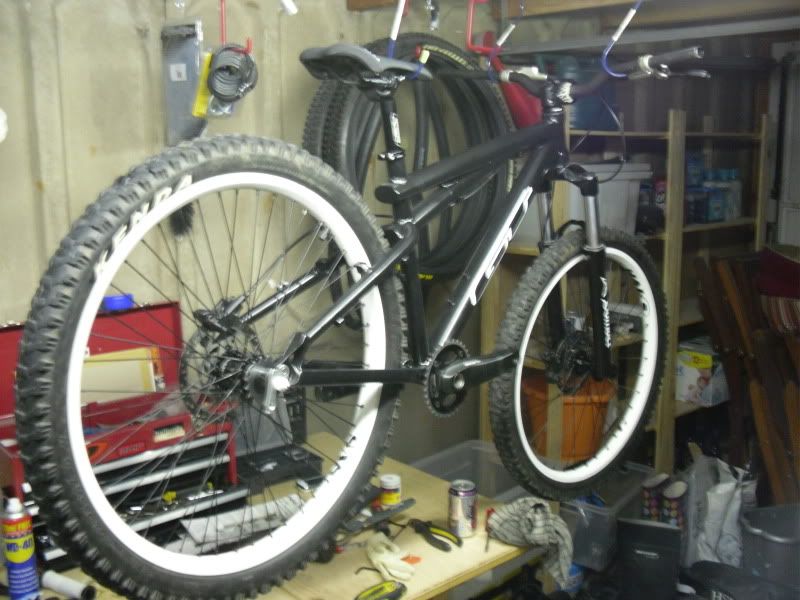
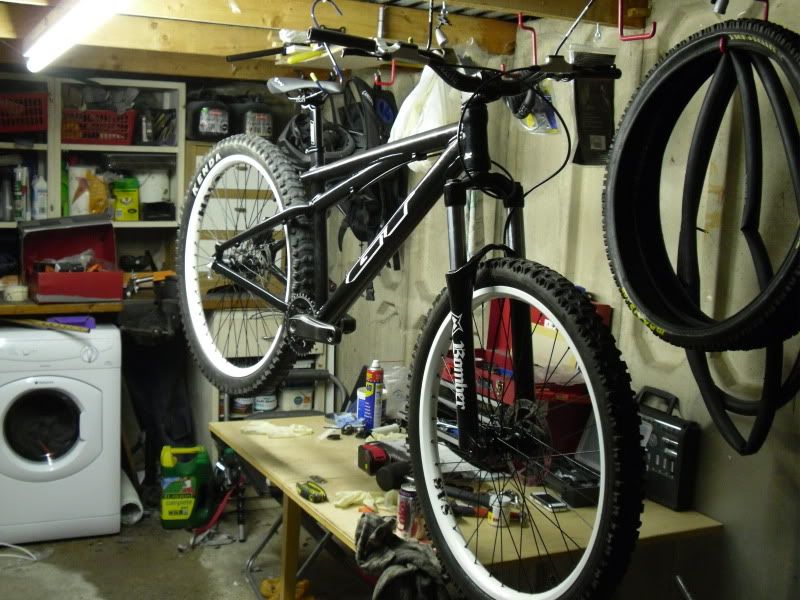
More tomorrow hopefully if not Saturday As always all comments welcome! 0
 -
New tyres obtained!
Brand new Holy rollers -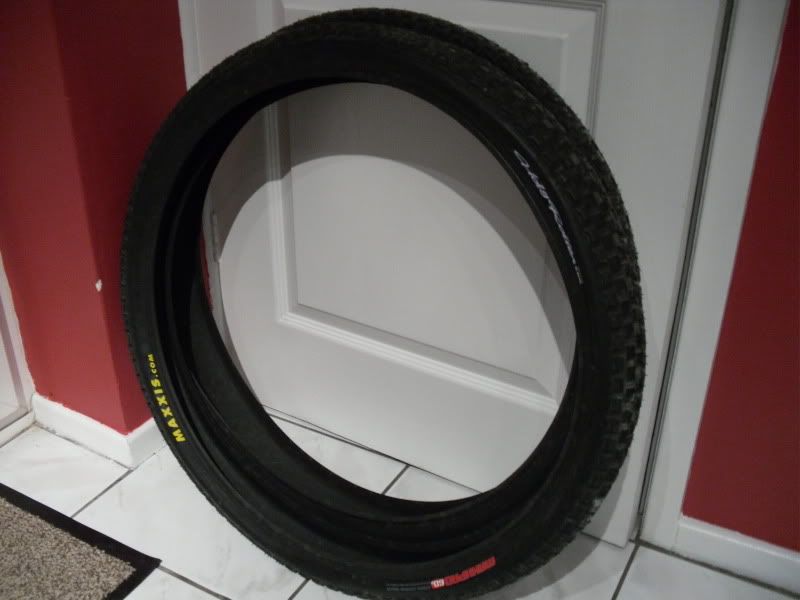
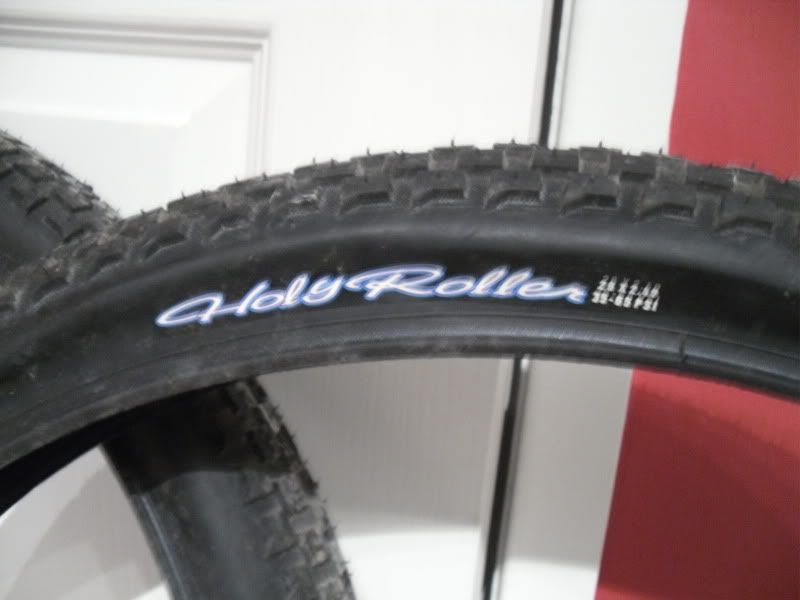
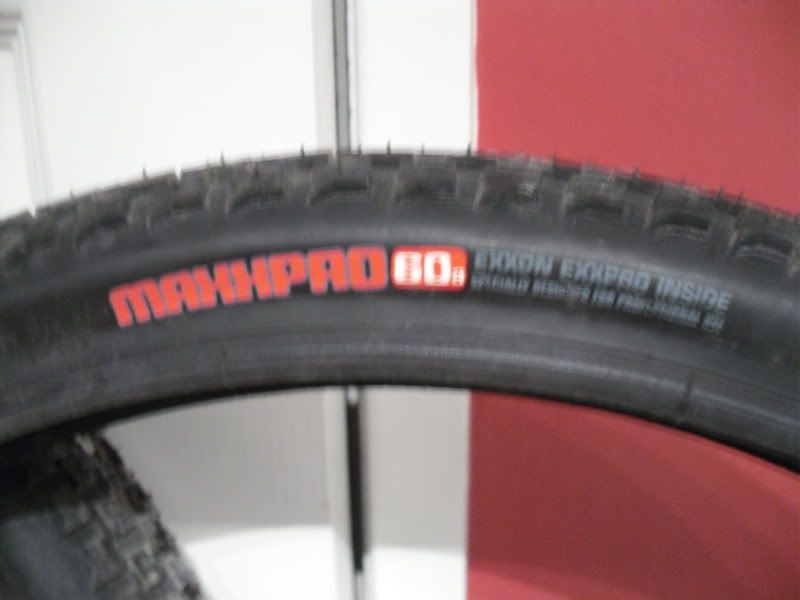
Old Kenda DH tyres (heavy!)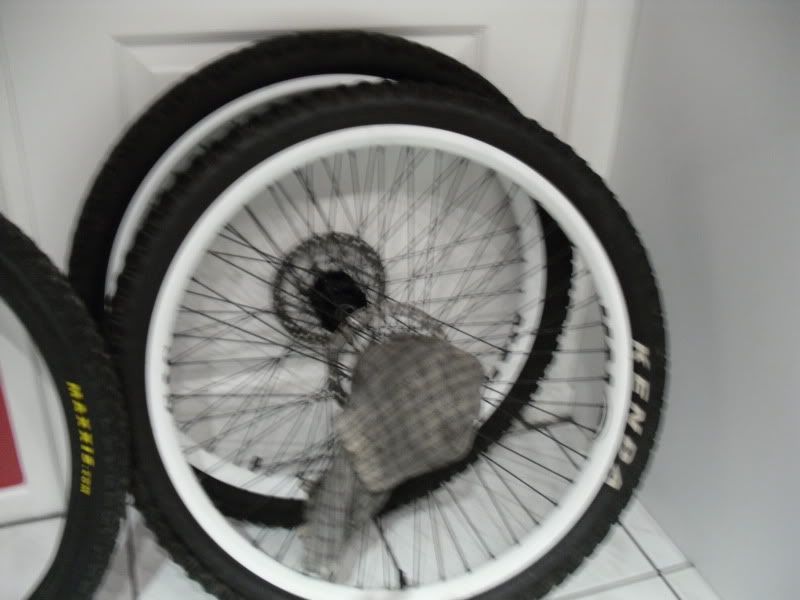
New Holy Rollers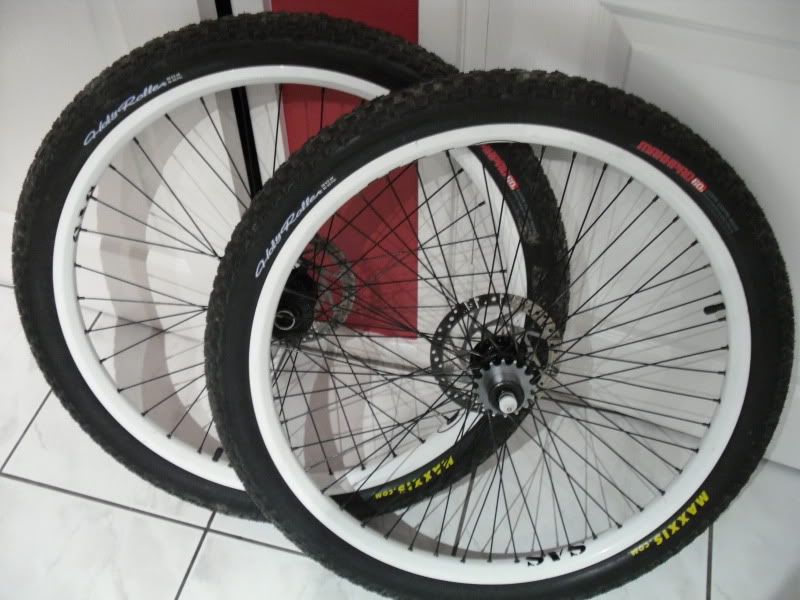
Looking to get finished tomorrow with any luck 8)0 -
Will update finished product this weekend.0
-
Awesome, really enjoying reading this!!!! :shock:
 0
0 -
Blimey, all I did last night was watch a film. You managed to buy, strip, prime, paint and build an entire bike.

Looks good though, I'd quite like to learn how to spray.
Makes for a great read too.0 -
That is awesome! Great looking bike as well

I'd love to do this sometime down the line, build up my own bike from scratch.This is my bike, there are many like it but this one is mine0 -
Brilliant little project. Did the laquer lay ok over the decals? I've thought about it before, but was worried it'd cause runs due to the sharp lines of the decal.0
-
great thread and a nice bike.
why did you sell the sx trail btw?0 -
great thread and a nice bike.
why did you sell the sx trail btw?0 -
EarlofBarnet wrote:Brilliant little project. Did the laquer lay ok over the decals? I've thought about it before, but was worried it'd cause runs due to the sharp lines of the decal.
Had no problems at all lots and little is what I was told to do. Only area I got a run was on the rear triangle but managed to catch it before it set.0 -
BTW this is my first time doing anything like this and first time spraying something of this size. Just read up, researched and a little practice before applying to frame on a piece of cardboard.
Everyone should give it a go 0
0 -
Excellent stuff mate, the bike looks mint so far! My mate is doin a similar build for his young nephew, i think he could use this excellent thread as a guide as he has no experience with the frame strippin and painting!
Well done! 0
0 -
Danr wrote:BTW this is my first time doing anything like this and first time spraying something of this size. Just read up, researched and a little practice before applying to frame on a piece of cardboard.
Everyone should give it a go
Yours has turned out great, any links to the spray cans or did you not buy them online? Am looking forward to spraying mine soon 0
0 -
you can get those plastikote cans from B&Q, so online or from the storemrfmilo wrote:Danr wrote:BTW this is my first time doing anything like this and first time spraying something of this size. Just read up, researched and a little practice before applying to frame on a piece of cardboard.
Everyone should give it a go
Yours has turned out great, any links to the spray cans or did you not buy them online? Am looking forward to spraying mine soon 0
0 -
mrfmilo wrote:Danr wrote:BTW this is my first time doing anything like this and first time spraying something of this size. Just read up, researched and a little practice before applying to frame on a piece of cardboard.
Everyone should give it a go
Yours has turned out great, any links to the spray cans or did you not buy them online? Am looking forward to spraying mine soon
Colour and primer was from Band Q as said to be the best stuff for bikes as its robust. Primer is Halfrauds as it's apparently better 0
0

