I am fixing up an old bike - v pleased with myself

slowlanejane
Posts: 312
... I am a numpty with a spanner you see, and this is a long held ambition for me.
Over the last 2 yrs I have developed from having to (re)learn how to repair my own punctures (I used to do this basic stuff when I was a kid and in my 20's but it seems a bigger thing in your 40's and starting up again after a 20 year gap) to installing my own bits & bobs bought - like racks and lights etc. Then started servicing my hybrid myself - just oiling bits and tensioning cables and minor stuff like that - and maintaining the kids' bikes.
Decided I really want to be able to fix my bike properly and I really should better understand them - not rocket science I tell myself. So I've been reading bike stuff and absorbing as much info as possible - but that only gets you so far so I'm stripping and rebuilding an old bike to learn more.
My road bikes are too valuable / fragile / used all the time to be a project for a ham fisted mechanical newbie, so the husbands old late 80's non-suspension MTB is getting the treatment. Perfect learner machine for me, as its pretty indestructable, was lightly used when he did use it, but has sat in the shed unused and under piles of crap for the last 18 years.
Started last weekend - covered in 18 years accumulated dust I wasn't sure where to start. A basic wash seemed sensible, then I decided I'd just start at one end and work my way along the bike till I got to the other.
So, I've already been back to the LBS for all manner of things you dont realise you're going to need. Like metal polish and diferent types of grease / lubricant. Cables and more cables and the end bits of cables. And cable cutters. And ...
I am replacing all the cables and anything rubber. The rest of the bike seems sound. The chain looks terrible but I haven't gotten that far yet to examine it properly. I have no idea how to remove a chain or how the links work. I shall figure that out later this week probably. I expect it will need a new chain, in which case I can use the old one to practise what chain tools are used for and how they work.
Over the last couple of days (I do an hour of two a day as I have other things to do as well as the bike!) I have dismantled, tested, repaired/replaced, cleaned, polished, rebuilt the front wheel (right down to the bearings), spokes, tubes, tyres, brake blocks & front brake cable. I have taken apart every nut & bolt & gizmo, examined it, learned about it, cleaned it, polished the chrome and rebuilt it. I haven't done the handlebar bits yet, that's tomorrow's task.
Feeling confident for the next steps as I move fwd, as all my reading & learning seems to be falling into place.
Not sure how gears will go as I really dont understand how they work, but that's the point of this exercise, is to take my time with these components until I do understand them.
The dealio with my v helpful LBS mechanic is that I'll do it all then run the bike to him for an assessment to make sure its all safe and I'm not committing the husband to a nasty accident on the 1st ride.
Really enjoying the exercise, its very absorbing.
Apologies for the long post, I have no bike-y friends to share this with other than the BR forum.
0
Comments
-
You're right, bikes are not rocket science. That said, you ought to be well pleased with yourself for having a go and for having the drive to want to learn about how a bike works. Easy enough to pick up a book, read it and become an expert, far better to get your hands dirty and have a go.
Please keep posting as you get further along.
Bob0 -
Excellent stuff
 0
0 -
Excellent post and well done. Cycles can seem a bit daunting with all the techie stuff that gets bandied around but essentially they are simple beasts. I always follow a few simple rules which you seem to be using, keep things clean before during and after, start with the simple stuff, if in doubt ask, and if it won't go in/do up/undo then something is wrong and don't force it.
Love to hear how it turns out and of course we need pictures as proof Norfolk, who nicked all the hills?
http://farm4.static.flickr.com/3013/243 ... 8d.jpg?v=0
http://img362.imageshack.us/my.php?imag ... 076tl5.jpg
http://img216.imageshack.us/img216/3407 ... e001af.jpg0 -
Excellent post well done you. 0
-
Any before and after pictures?0
-
Soon you'll have a wheel building stand...then you'll start looking at compressors and airbrushes...then frame building jigs and brazing courses at the local technical college...finally you'll scare your family by installing an autoclave in the living room and leaving sheets of carbon mat lying around the house!
All the best.- - - - - - - - - -
On Strava.{/url}0 -
Pictures or it didn't happen..0
-
Garz wrote:Pictures or it didn't happen..
What I was going to say - befores and afters.
Anyway, well done so far. I've done a few similar restorations and it is hugely satisfying - here is my latest effort (and the sort of thing we'd like you to post!!).
Now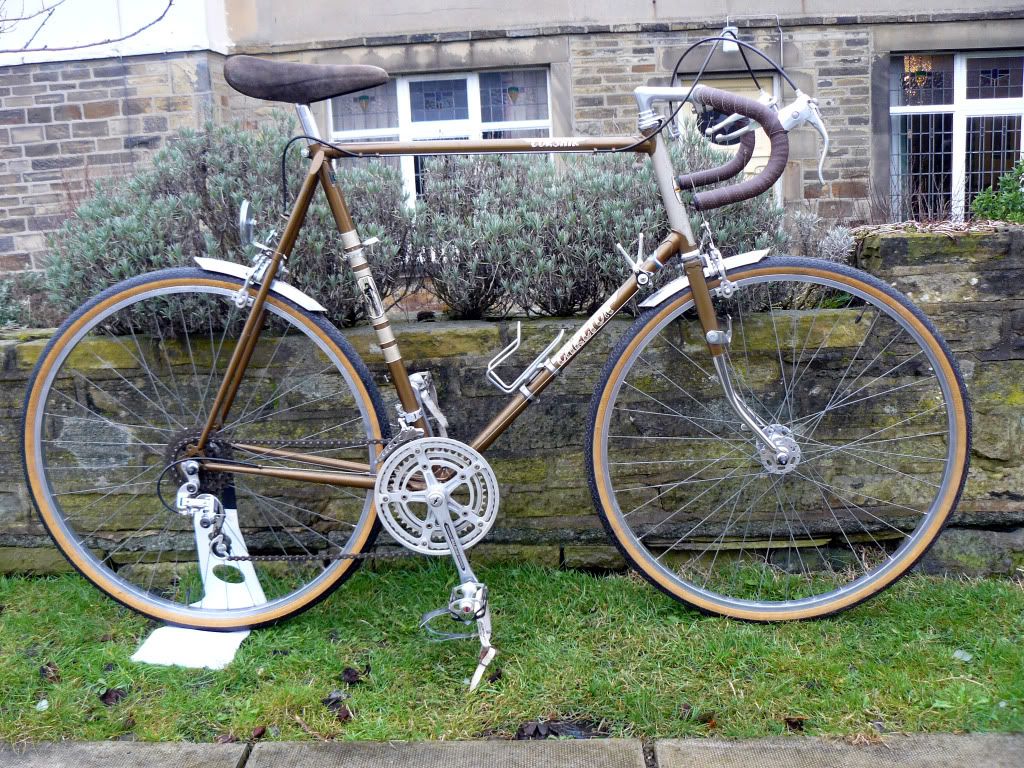
Before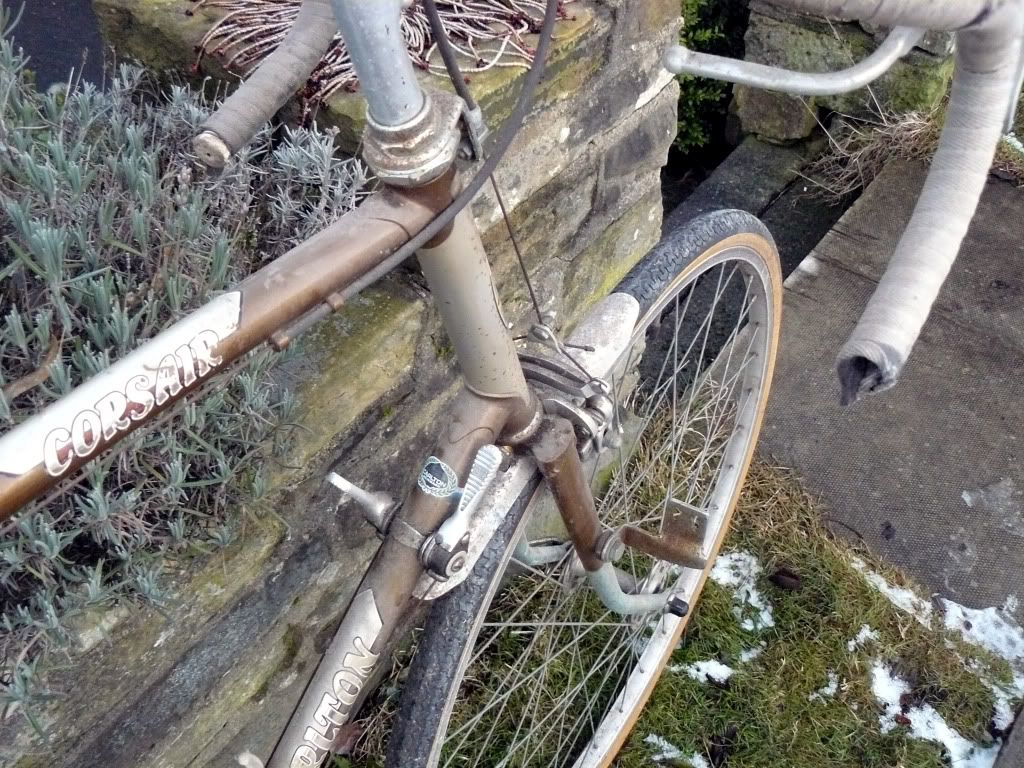
 Faster than a tent.......0
 -
Rolf, you win! My restoration project is much more - er- or maybe it's less er. I dunno, but you win. I have shiny chrome envy. How did you bring it up to that standard - or did you replace everything?
I didn't take a before pic of it first out of the shed but I'll take one now and from now on. I think it took some pics while it was still buried as the lbs mechanic was asking what kind of brakes it had and I didn't know, so I took a pic and showed him.
I shall be asking you all questions from now on, you know.
And right abt the tools, Des! I've been posting the workshop section abt bike stands already.0 -
Nothing replaced on that bike barring the cables and the bottle cage. The rust mostly just polishes away - a lot of the time, the huge great big blobs of brown rust stain originate from a tiny pinhole. It's amazing what a bit of elbow grease and metal polish/ T cut can do. The head tube was particularly satisfying - for some reason, these bikes are prone to getting rusty head tubes (possibly less paint) but the solution was mainly a case of sacrificing my finger nails - removed much of the rust staining without damaging the good paint.
The fork chrome was satisfying as well - you can see what it was like originally; I even thought it might be silver paint rather than chrome! Have to admit, on this one I didn't polish the spokes
So, basically, lots of elbow grease.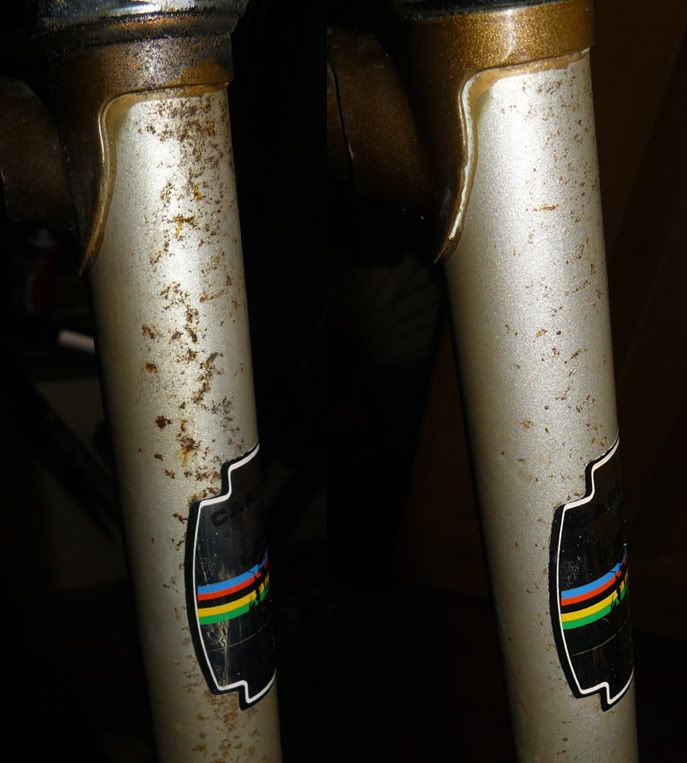 Faster than a tent.......0
 -
Phew that makes me feel better - that's abt the level of finish I've achieved so far and you gave me an uneasy feeling I needed to go back & do it again!0
-
grumble grumble, flippin brakes. Knew I shouldn't remove then and do them at my desk. No idea now what way round they go back on :oops: not helped by the fact I think I've fitted the wrong type of blocks. Its been like Krypton Factor in my kitchen this evening while I've fiddled with every configuration I could think of, and I cant find my manual and I'm tired now so am giving up for tonight. Bah! :?
Y..A...W...N ..... zzzzz0 -
I can't believe no-one has mentioned Park Tools yet. An invaluable resource, even for fairly experienced mechanics.- - - - - - - - - -
On Strava.{/url}0 -
Very inspiring, I'm at the beginning of that very journey and still struggling to get my caliper brakes to center properly - I mean old single pivots, but compared to when I started - being able to set up a single speed - bar chainset/ chainline - is exciting. Anyway, well done you0
-
DesWeller wrote:I can't believe no-one has mentioned Park Tools yet. An invaluable resource, even for fairly experienced mechanics.
Des! Mwah!! Thanks 0